Overview
Macros are a powerful feature that allow users to automate and streamline common tasks or workflows within the application. A macro is a customizable button or shortcut that can be configured to perform a specific set of actions, such as executing G-code commands, loading files from storage, or triggering remote devices.
The available macro types can depend on the targeted system and its capabilities. This documentation is applicable to applications like ESP3D, ESP3DLib, ESP3D-TFT, or GrblHAL, which utilize the ESP3D-webUI for their user interface.
Setting up Macros
Accessing the Setup Macros Interface
- The setup macros interface can be accessed through a dedicated "Macros" panel within the tab Settings/Interface of ESP3D-WebUI.
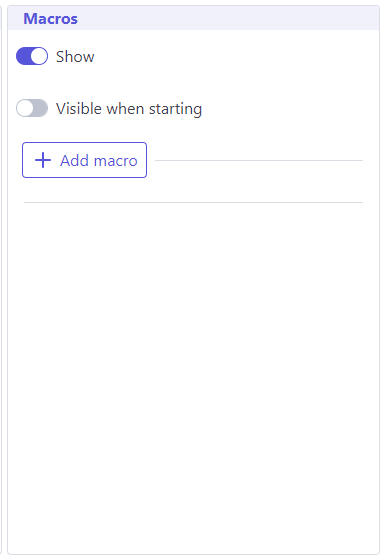
- This panel allows users to view, create, and manage their custom macros.
Macro Visibility and Customization
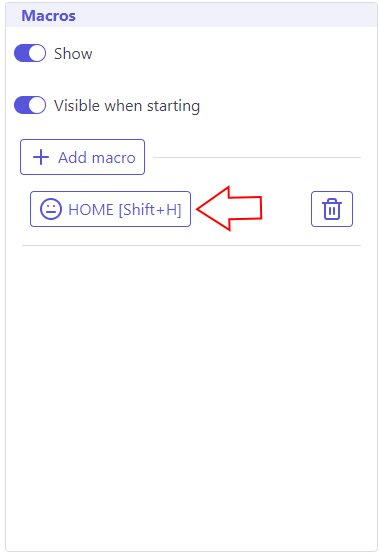
The macros panel can be set to "Show" or "Visible when starting" to control the visibility of the macros. This allows users to manage the display of macros based on their preferences and workflow needs.
Creating a New Macro
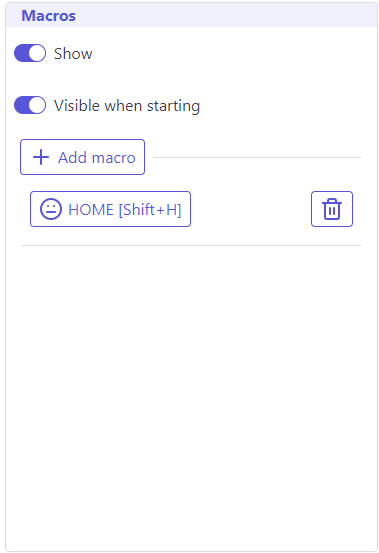
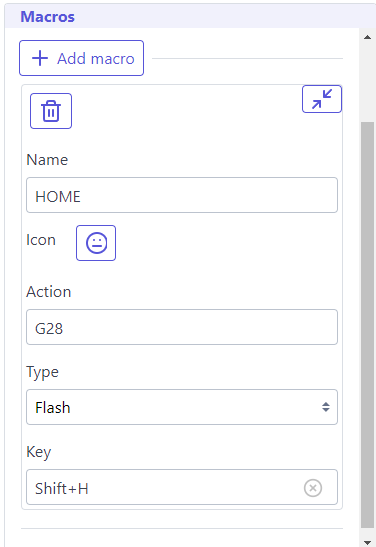
- To add a new macro, click the "Add macro" button in the macros interface. It will create a new macro with default settings.
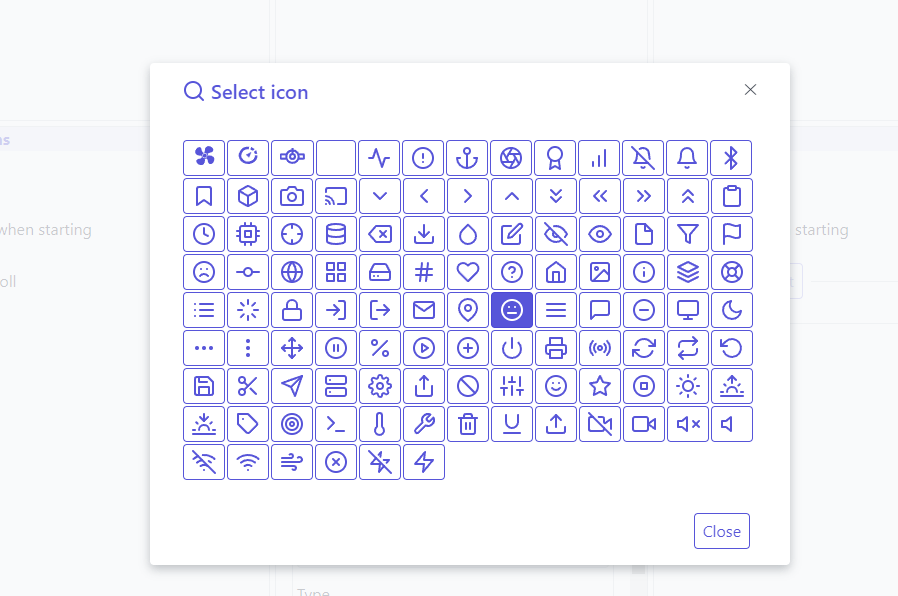
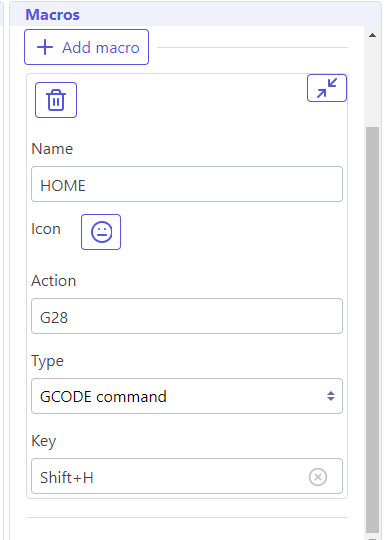
- Provide a name for the macro and select an icon to represent it.
- Configure the macro's action, which can be one of the following types:

- GCODE Command: Enter a single G-code command or a sequence of commands separated by semicolons. It's recommended to use a file type instead if there are multiple commands.
- Flash File: Specify a file stored in the system's flash memory that will be sent to the target device.
- SD Card File: Select a file stored on the system's SD card to be sent to the target device. This is the preferred option over using the flash memory due to limited space.

- URL Address: Input a URL that will be accessed when the macro is triggered.
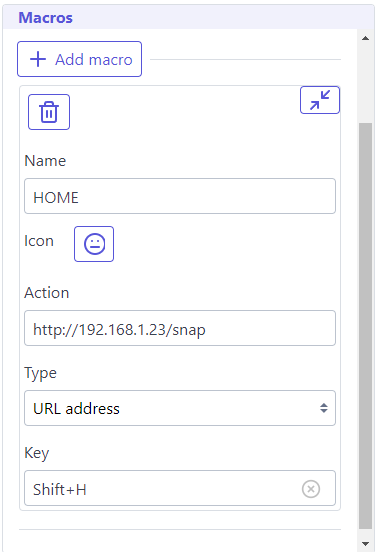
4 . Optionally, assign a keyboard shortcut (e.g., "Shift+H") to quickly execute the macro.
Editing a Macro
To modify an existing macro, click on the macro button you wish to update. This will open the macro configuration interface, where you can make changes to the macro's name, icon, action, and keyboard shortcut.
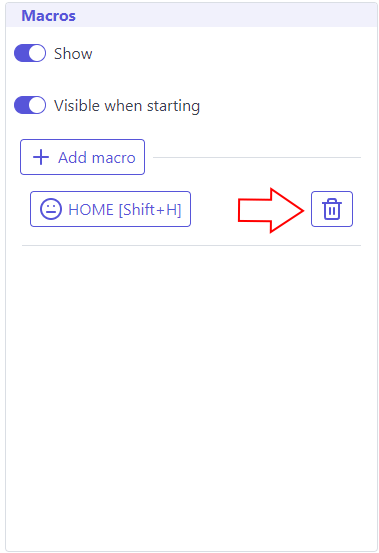
Deleting a Macro
To remove a macro, click on the "Trash" button next to the macro you wish to delete.
Using Macros
Accessing Macros from the Dashboard
Once macros are set up, they will be displayed as buttons on the application's main dashboard.
Users can simply click on the macro buttons to trigger the corresponding actions.
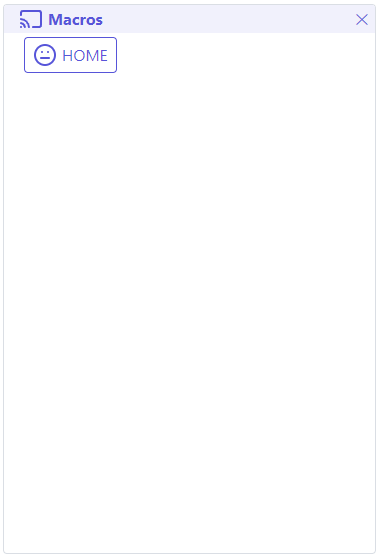
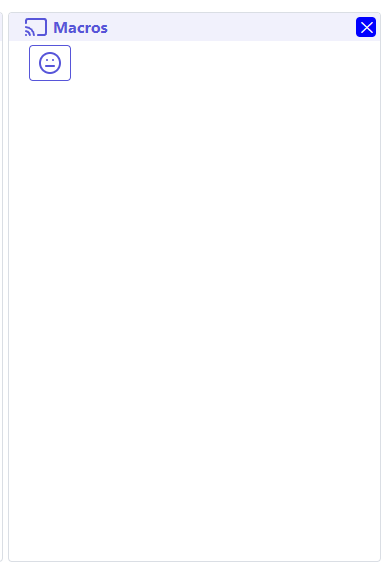
In the mobile view, the macro name may not be displayed to save UI space, and only the icon will be shown.
Executing Macros using Keyboard Shortcuts
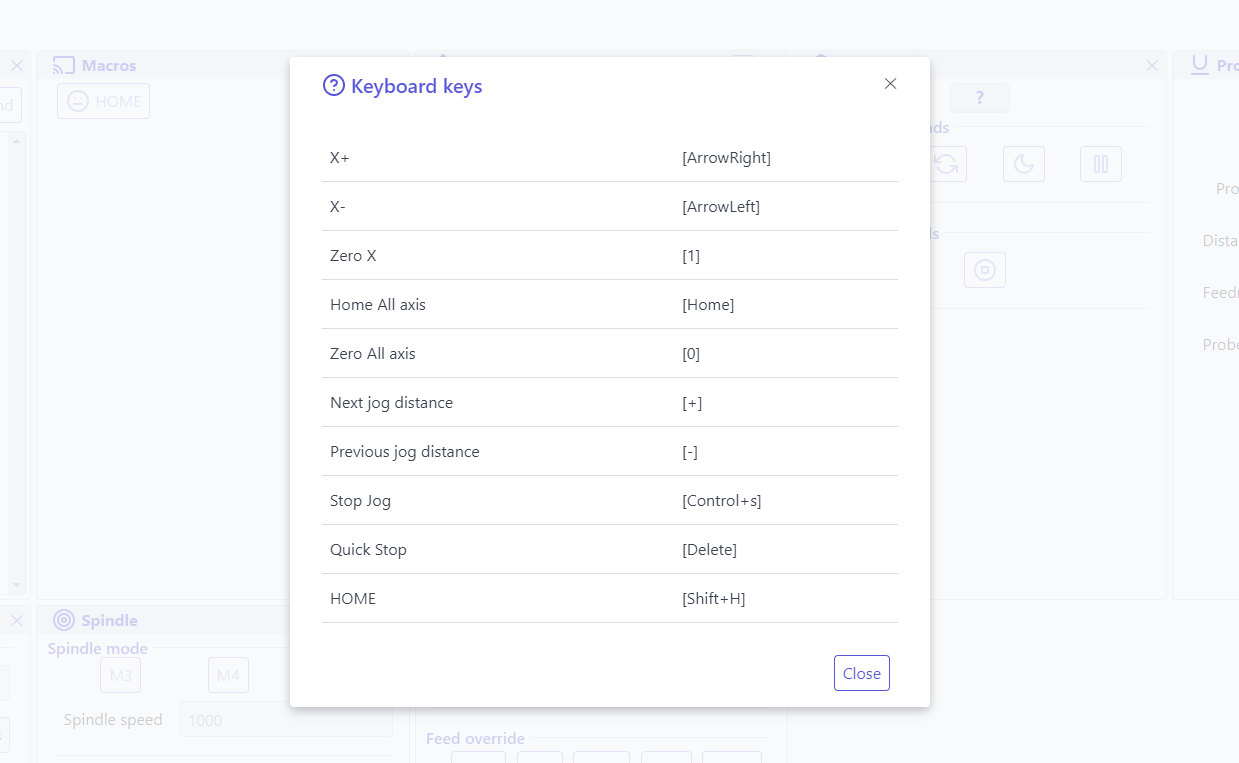
If a keyboard shortcut has been assigned to a macro, users can press the specified key combination to execute the macro quickly.

An help is available to show the list of available shortcuts, including macro's ones.
Conclusion
By leveraging the macros feature, users can streamline their interactions with the application, automating repetitive tasks and accessing frequently used commands or functionalities with just a few clicks or keystrokes. The flexibility to configure macros of various types ensures that users can tailor the system to their specific requirements and enhance their overall productivity.
