Documentation
The documentation section will help you on:
- ESP3D commands
Syntax and parameters
- Notifications
Setup and configuration
- API
API description
- About SD card
SD Card support
The documentation section will help you on:
Syntax and parameters
Setup and configuration
API description
SD Card support
Please note all commands are in format [ESPxx]. These first brackets [] are not optional.
Most of the time givin no argument will return current configuration
If authentication is on, somme commands will need admin password. They are recognised by the optional argument pwd=<admin password> in command line.
Get/change STA SSID
[ESP100] <SSID> pwd=<admin password>
Change STA Password
[ESP101] <Password> pwd=<admin password>
Get/change Hostname
[ESP102] <hostname> pwd=<admin password>
Get/change Wifi mode (STA/AP)
[ESP103] <mode> pwd=<admin password>
Get/change STA IP mode (DHCP/STATIC)
[ESP104] <mode> pwd=<admin password>
Get/change AP SSID
[ESP105] <SSID> pwd=<admin password>
Change AP Password
[ESP106] <Password> pwd=<admin password>
Get/change AP IP mode (DHCP/STATIC)
[ESP107] <mode> pwd=<admin password>
Get/change wifi state (on/off)
[ESP110] <state> pwd=<admin password>
Get current IP
[ESP111]
Get/Change hostname
[ESP112] <hostname>
Get/Set pin value
[ESP201] P<pin> V<value> PULLUP=<YES/NO> RAW=<YES/NO> ANALOG=<NO/YES> ANALOG_RANGE=[255/1024] CLEARCHANNELS=<NO/YES} pwd=<admin password>
if no V get P value
if V 0/1 set INPUT_PULLUP value, but for GPIO16 INPUT_PULLDOWN_16
GPIO1 and GPIO3 cannot be used as they are used for serial
if PULLUP=YES set input pull up, if not set input
if RAW=YES do not set pinmode just read value
Output to oled column C and line L
[ESP210] C=<col> L=<line> T=<Text>
Output to oled line 1
[ESP211] <Text>
Output to oled line 2
[ESP212] <Text>
Output to oled line 3
[ESP213] <Text>
Output to oled line 4
[ESP214] <Text>
Delay
[ESP290] <delayMs> pwd=<admin password>
Get EEPROM mapping version
[ESP300]
Get full EEPROM settings content
but do not give any passwords
can filter if only need wifi or printer
[ESP400] <network/printer>
Set EEPROM setting
[ESP401] P=<position> T={B | I | S | A} V=<value> pwd=<user/admin password>
T type: B(byte), I(integer/long), S(string), A(IP address / mask)
P position: address in EEPROM
     Description:        Positions:
    EP_WIFI_MODE             0    //1 byte = flag
    EP_STA_SSID              1    //33 bytes 32+1 = string  ; warning does not support multibyte char like chinese
    EP_STA_PASSWORD          34   //65 bytes 64 +1 = string ;warning  does not support multibyte char like chinese
    EP_STA_IP_MODE           99   //1 byte = flag
    EP_STA_IP_VALUE          100  //4  bytes xxx.xxx.xxx.xxx
    EP_STA_MASK_VALUE        104  //4  bytes xxx.xxx.xxx.xxx
    EP_STA_GATEWAY_VALUE     108  //4  bytes xxx.xxx.xxx.xxx
    EP_BAUD_RATE             112  //4  bytes = int
    EP_STA_PHY_MODE          116  //1 byte = flag
    EP_SLEEP_MODE            117  //1 byte = flag
    EP_CHANNEL               118  //1 byte = flag
    EP_AUTH_TYPE             119  //1 byte = flag
    EP_SSID_VISIBLE          120  //1 byte = flag
    EP_WEB_PORT              121  //4  bytes = int
    EP_DATA_PORT             125  //4  bytes = int
    EP_OUTPUT_FLAG           129  //1  bytes = flag
    EP_HOSTNAME              130  //33 bytes 32+1 = string  ; warning does  not support multibyte char like chinese
    EP_DHT_INTERVAL          164  //4  bytes = int
    EP_FREE_INT2             168  //4  bytes = int
    EP_FREE_INT3             172  //4  bytes = int
    EP_ADMIN_PWD             176  //21  bytes 20+1 = string  ; warning does  not support multibyte char like chinese
    EP_USER_PWD              197  //21  bytes 20+1 = string  ; warning does  not support multibyte char like chinese
    EP_AP_SSID               218  //33 bytes 32+1 = string  ; warning  does not support multibyte char like chinese
    EP_AP_PASSWORD           251  //65 bytes 64 +1 = string ;warning  does not support multibyte char like chinese
    EP_AP_IP_VALUE           316  //4  bytes xxx.xxx.xxx.xxx
    EP_AP_MASK_VALUE         320  //4  bytes xxx.xxx.xxx.xxx
    EP_AP_GATEWAY_VALUE      324  //4  bytes xxx.xxx.xxx.xxx
    EP_AP_IP_MODE            329  //1 byte = flag
    EP_AP_PHY_MODE           330  //1 byte = flag
    EP_FREE_STRING1          331  //129 bytes 128+1 = string  ; warning  does not support multibyte char like chinese
    EP_DHT_TYPE              460  //1  bytes = flag
    EP_TARGET_FW             461  //1  bytes = flag
Get available AP list (limited to 30)
[ESP410]<plain>
Output is JSON or plain text according parameter
Get current settings of ESP3D
[ESP420]<plain>
Output is JSON or plain text according parameter
Get/Set ESP mode (RESET, SAFEMODE, CONFIG, RESTART)
[ESP444] <mode> pwd=<admin password>
if authentication is on, need admin password for RESET, RESTART and SAFEMODE
Send GCode with check sum caching right line numbering
[ESP500] <gcode>
Send line checksum
[ESP501] <line>
Change / Reset password
[ESP550] <password> pwd=<admin password>
If no password set it use default one
Change / Reset user password
[ESP555] <password> pwd=<admin/user password>
If no password set it use default one
Send notification
[ESP600] <message> pwd=<admin password>
Set/Get notification settings (type can be NONE, PUSHOVER, EMAIL, LINE)
[ESP610] type=<type> T1=<token1> T2=<token2> TS=<Settings> pwd=<admin password>
Get will give type and settings only not the protected T1/T2
Read SPIFFS file and send each line to serial
[ESP700] <filename>
Format SPIFFS
[ESP710] FORMAT pwd=<admin password>
Get SPIFFS total size and used size
[ESP720]
Get fw version and basic information
[ESP800]
Get fw target
[ESP801]
Get state / Set Enable / Disable Serial Communication (state: {ENABLE, DISABLE)
[ESP900] <state>
You can use only one type of notification from the following ones:
Pushover, which is a pay service
Please follow this link for more information on how to setup a pushover notification service
Line, which is a free service
Please follow this link for more information on how to setup a line notification service
Email using SMTP and HTTPS
Please follow this link for more information on how to setup a email notification service
IFTTT webhook, which is a free service up to 5 applets
Please follow this link for more information on how to setup a pushover iftt service
Just add following command in your slicer’s end script, or manualy on your GCODE file:
[ESP600]msg pwd=<admin password>
on Repetier
M118 [ESP600]msg
on Marlin
M118 P0 [ESP600]msg
on Smoothieware
echo [ESP600]msg
Pushover is paid service
Considering you have pushover account (even just trial) and you already installed pushover client on you phone/PC:
1 - Go to https://pushover.net/ and connect with email and password
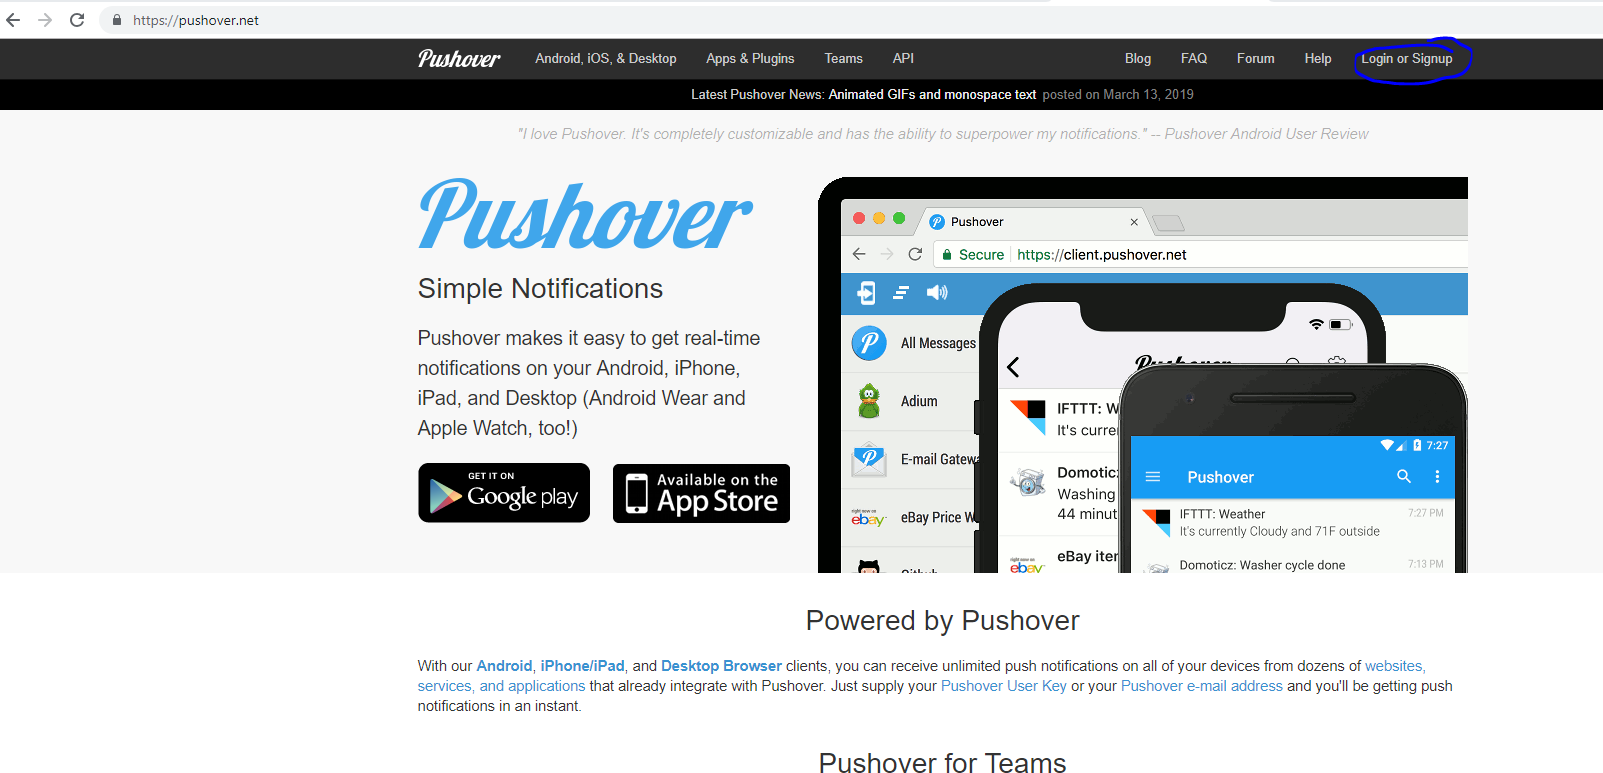
2 - Once connected you will be able to get the token 1, the user token
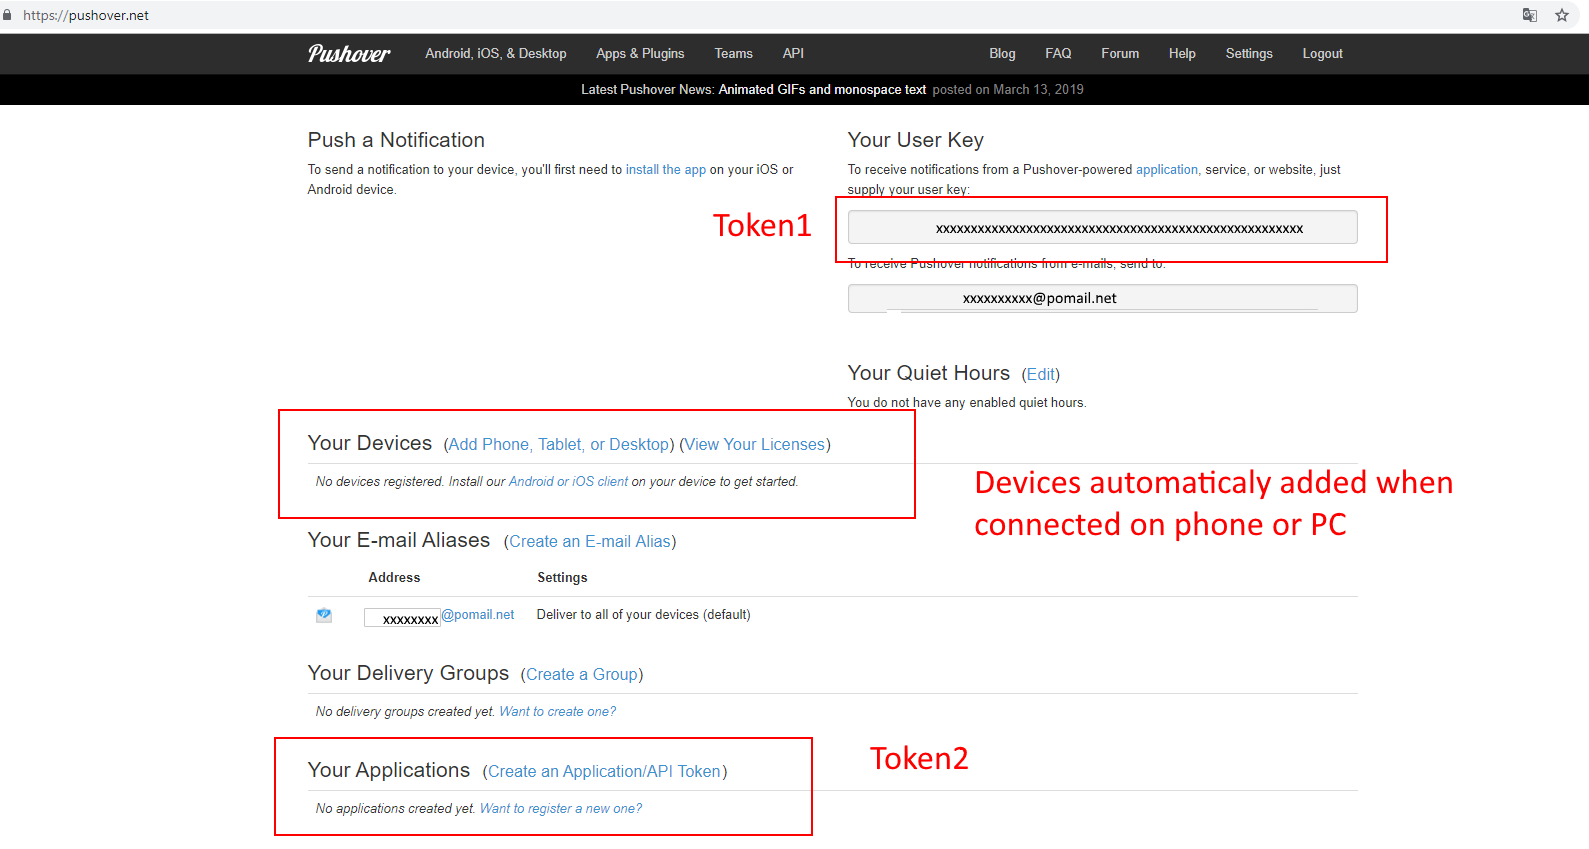
3 - You also need to generate an application token, which is the token 2
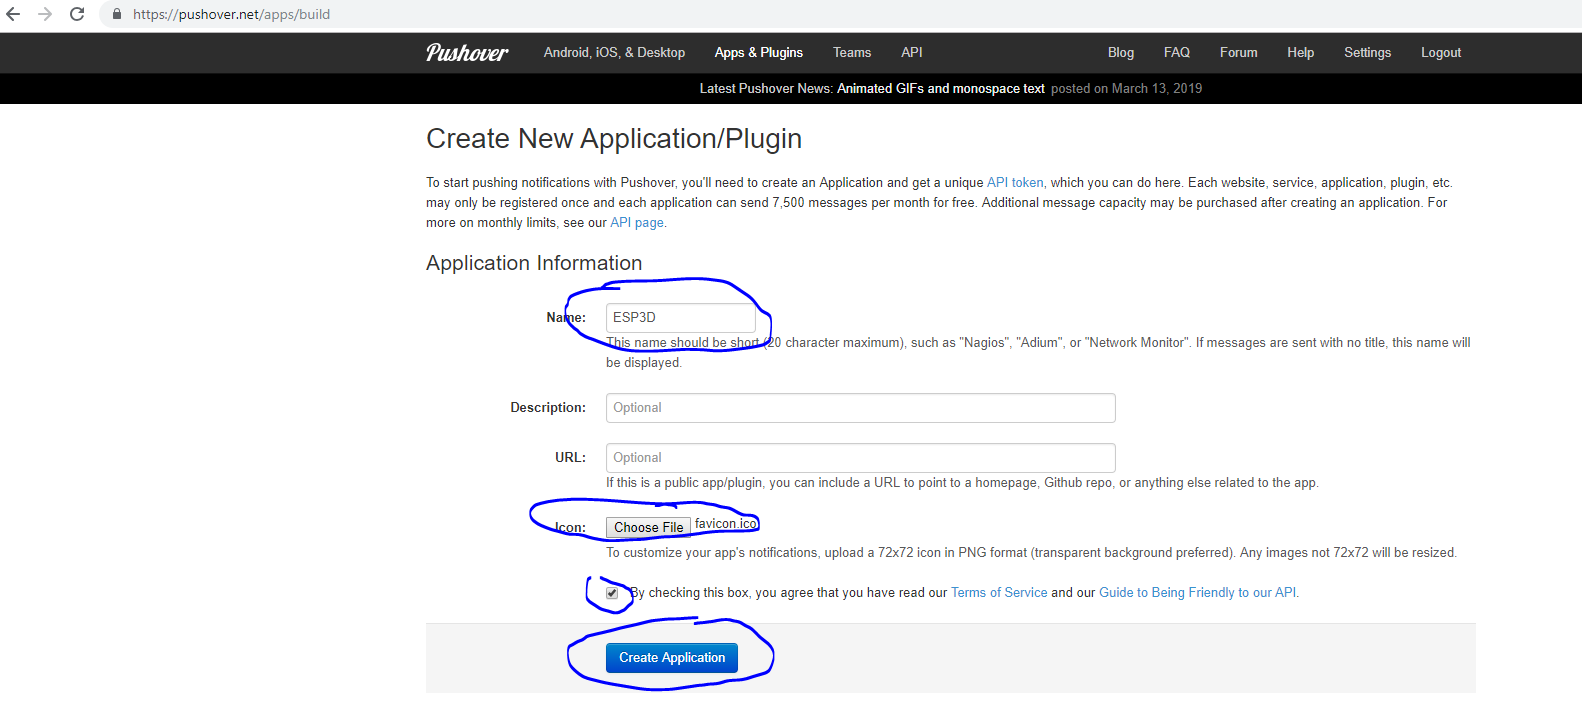
4 - The token 2 generation:
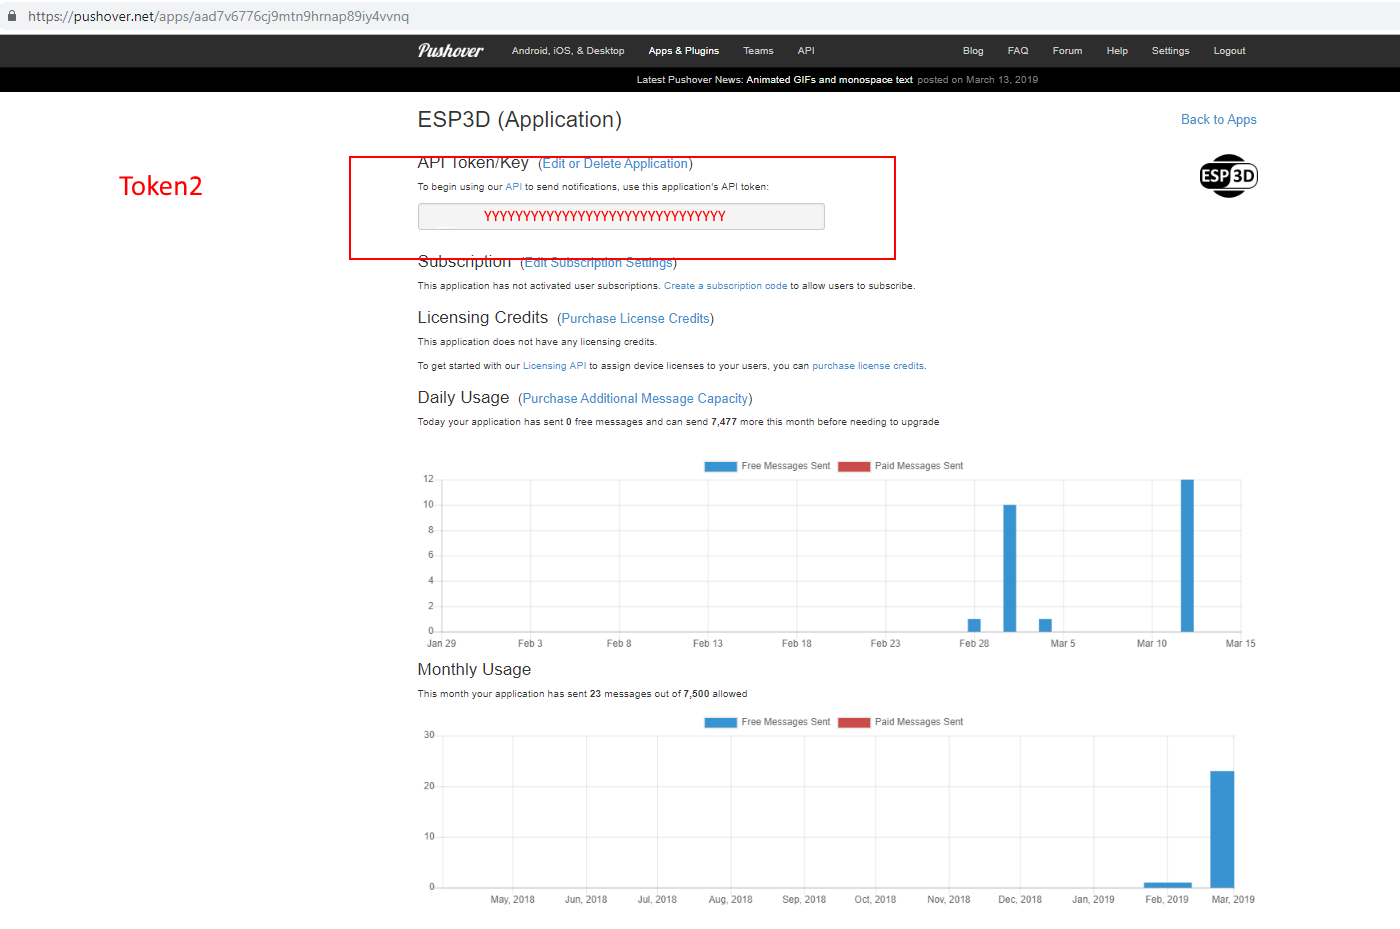
5 - Save the generate token 1 and token 2 in ESP3D, and set PUSHOVER as notification supplier
[ESP610]type=PUSHOVER T1=xxxxxxxxxxxxxxxxxx T2=yyyyyyyyyyyyyyyyy
6 - type [ESP610] to verify (T1 and T2 won’t be displayed)
7 - Try to send message:
[ESP600]Hi there, test from ESP3D
Line is free service
Considering you have line account and you already installed line on you phone/PC:
1 - Go to https://notify-bot.line.me/my/ and connect with email and password

2 - Once connected you will be able to generate token
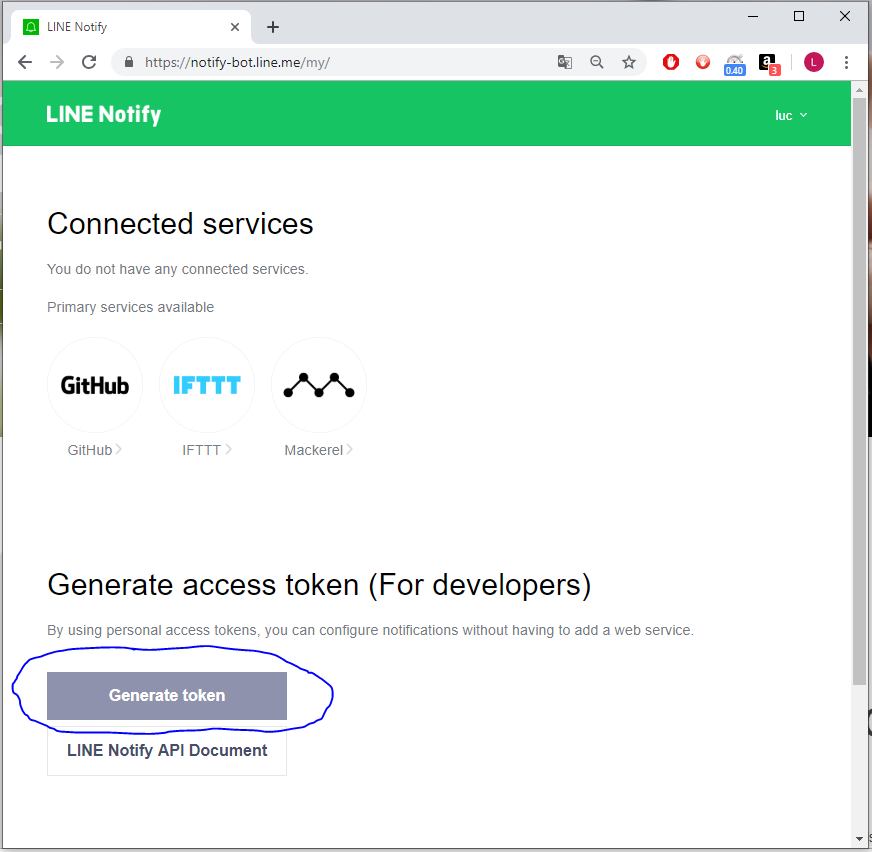
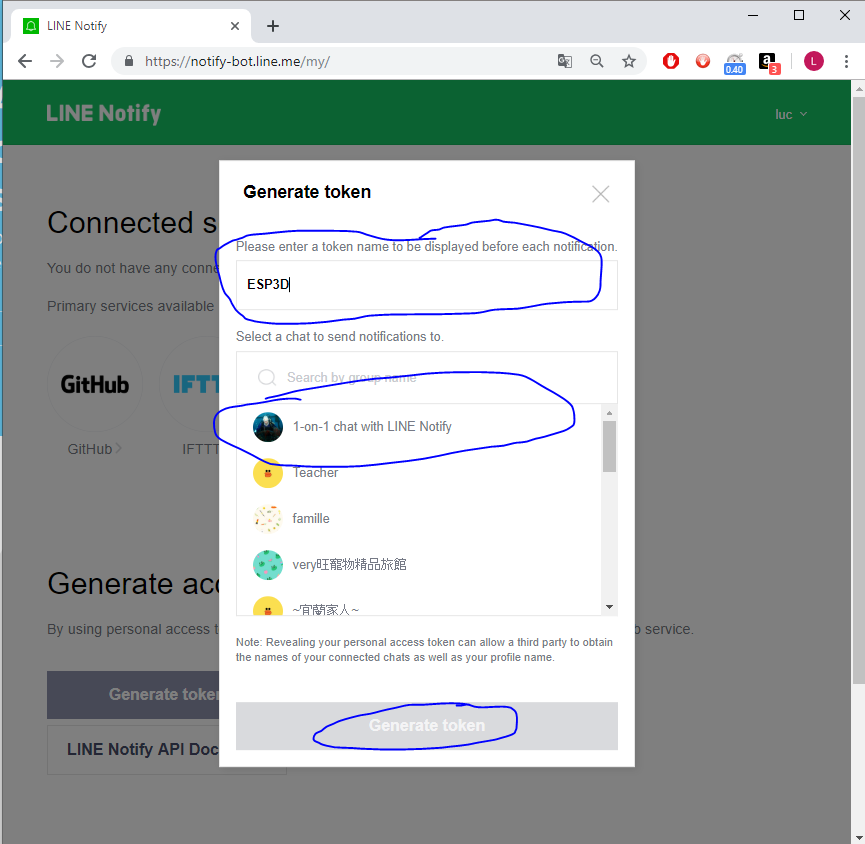
3 - Type token name on top, select recipient(s) and press Generate token
4 - Once token is created you need to copy it
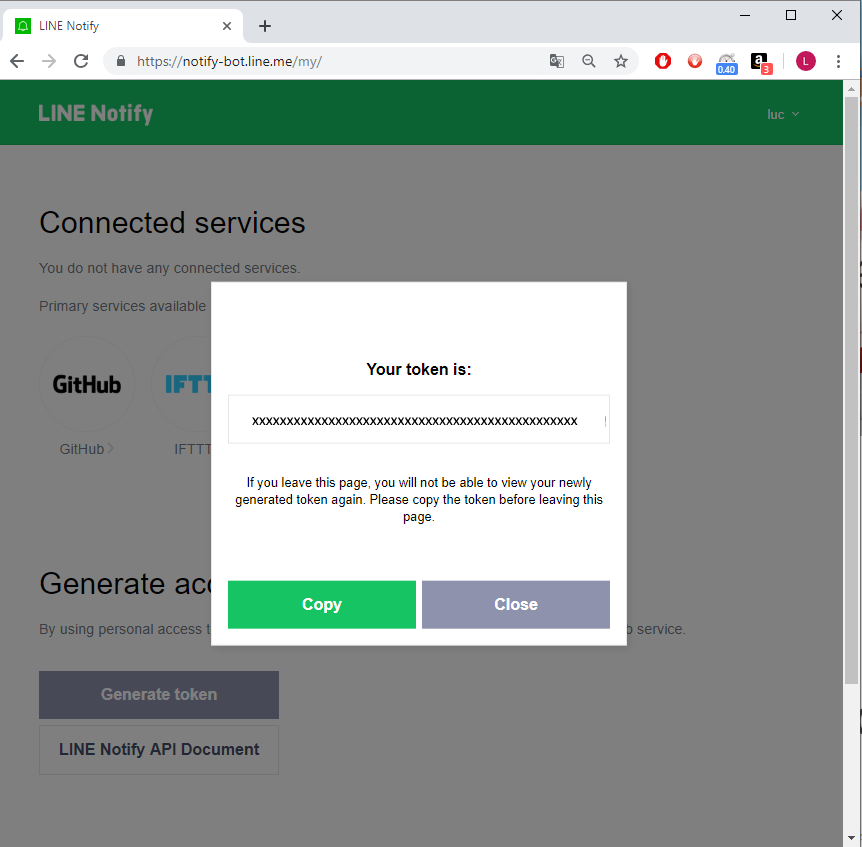
5 - You can create as many tokens you want, and delete the ones you do not need
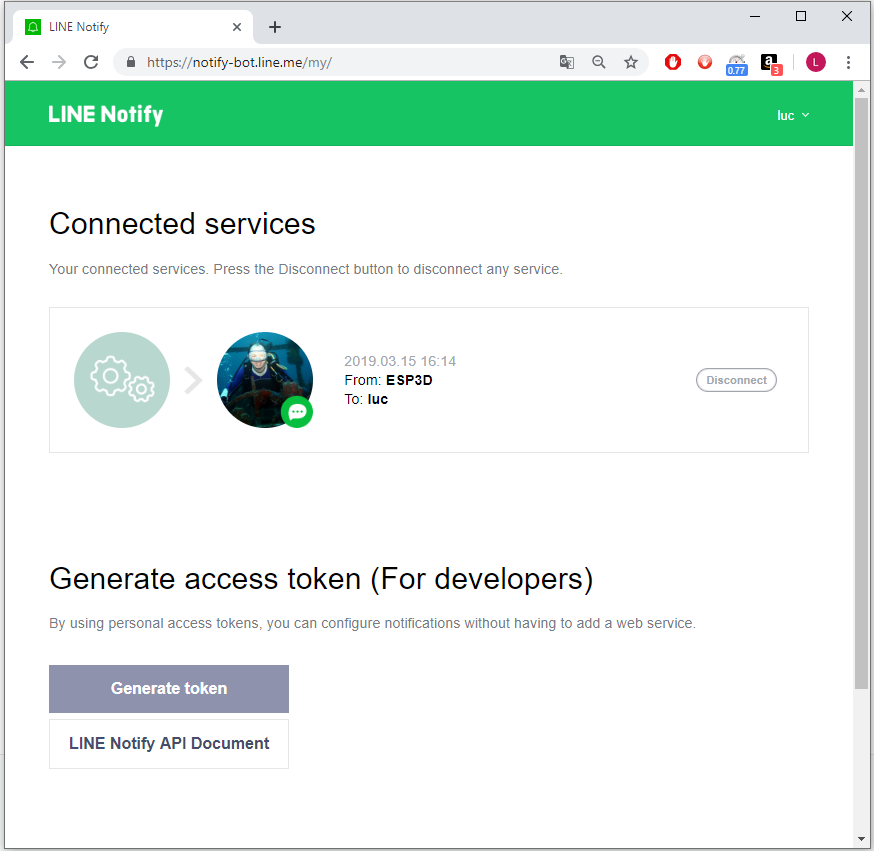
6 - Save the generate token in ESP3D, and set LINE as notification supplier
[ESP610]type=LINE T1=xxxxxxxxxxxxxxxxxx
7 - type [ESP610] to verify (T1 won’t be displayed)
8 - Try to send message:
[ESP600]Hi there, test from ESP3D
Email Notification is using SMTP and HTTPS, so you need to collect the following information fof your email supplier
ESP3D use the parameters as follow:
the_recipient email#smtp_server:port where # and : are fields separators.For example: luc@gmail.com#smtp.gmail.com:465
1 -Save the token 1, token 2 and token settings in ESP3D, and set EMAIL as notification supplier
[ESP610]type=EMAIL T1=luc@gmail.com T2=mypassword TS=luc@gmail.com#smtp.gmail.com:465
2 - Type [ESP610] to verify (T1 and T2 won’t be displayed)
3 - Try to send message:
[ESP600]Hi there, test from ESP3D
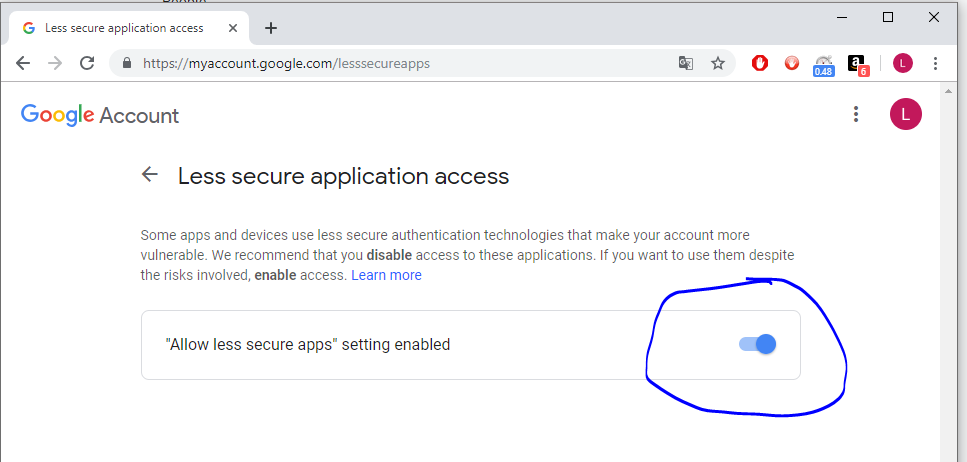
4 - Important : if you are using Gmail there is an additional step, as by default https access is disabled.
go to : https://myaccount.google.com/lesssecureapps and allow less secure applications to connect
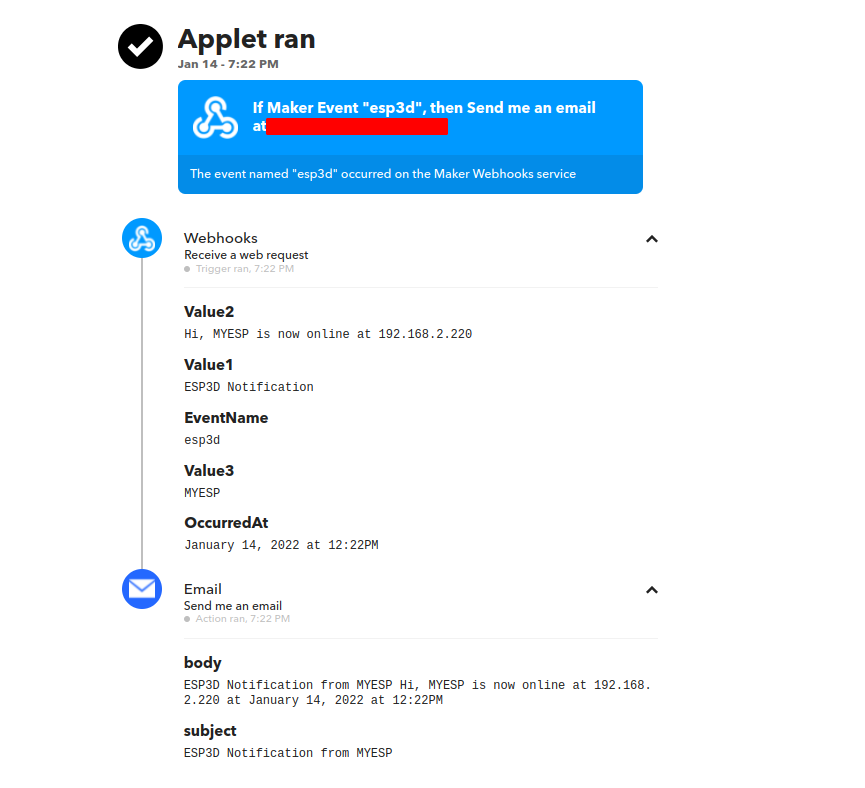
IFTTT is free service up to 5 applets
IFTTT is a wrapper that allows several kind of notifications, please refer to it documentation.
ESP3D use the webhook method.
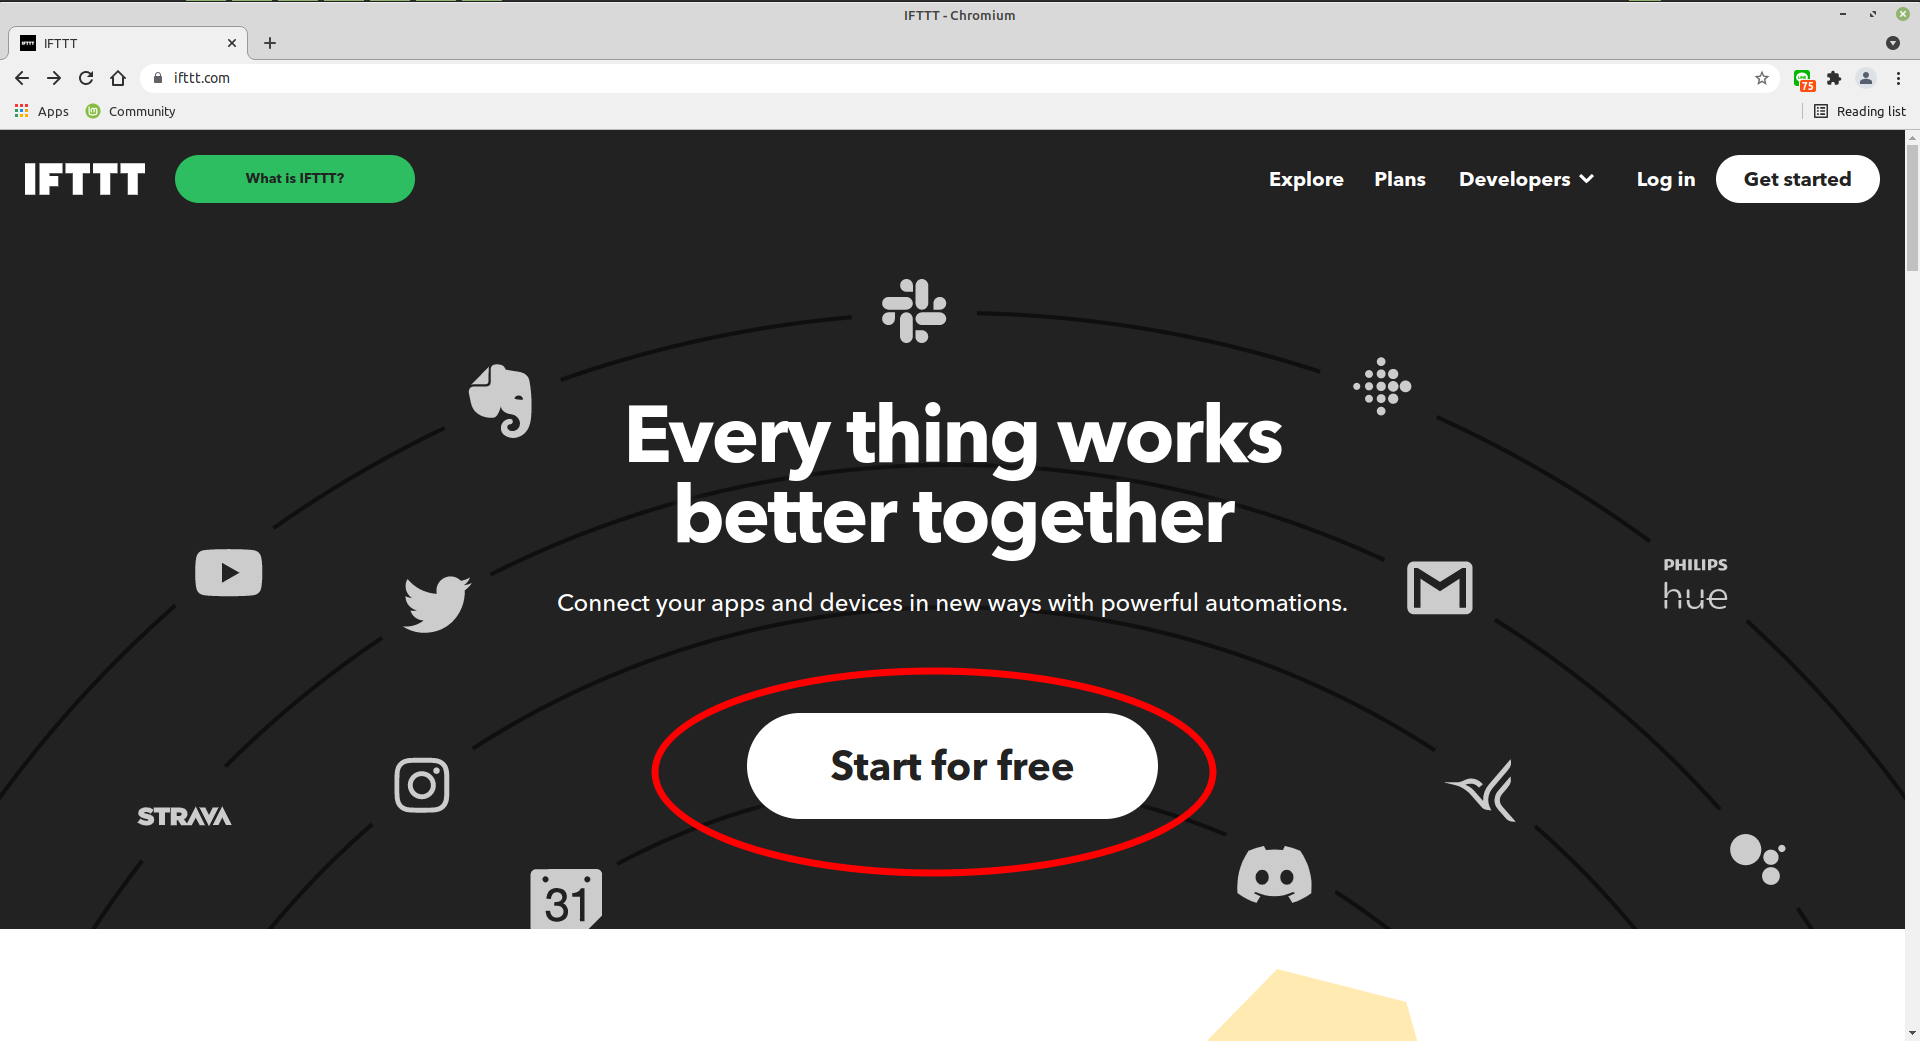
1 - If you do not have IFTTT account you can create for free to use up to 5 applets.
2 - Create New applet

Create new trigger
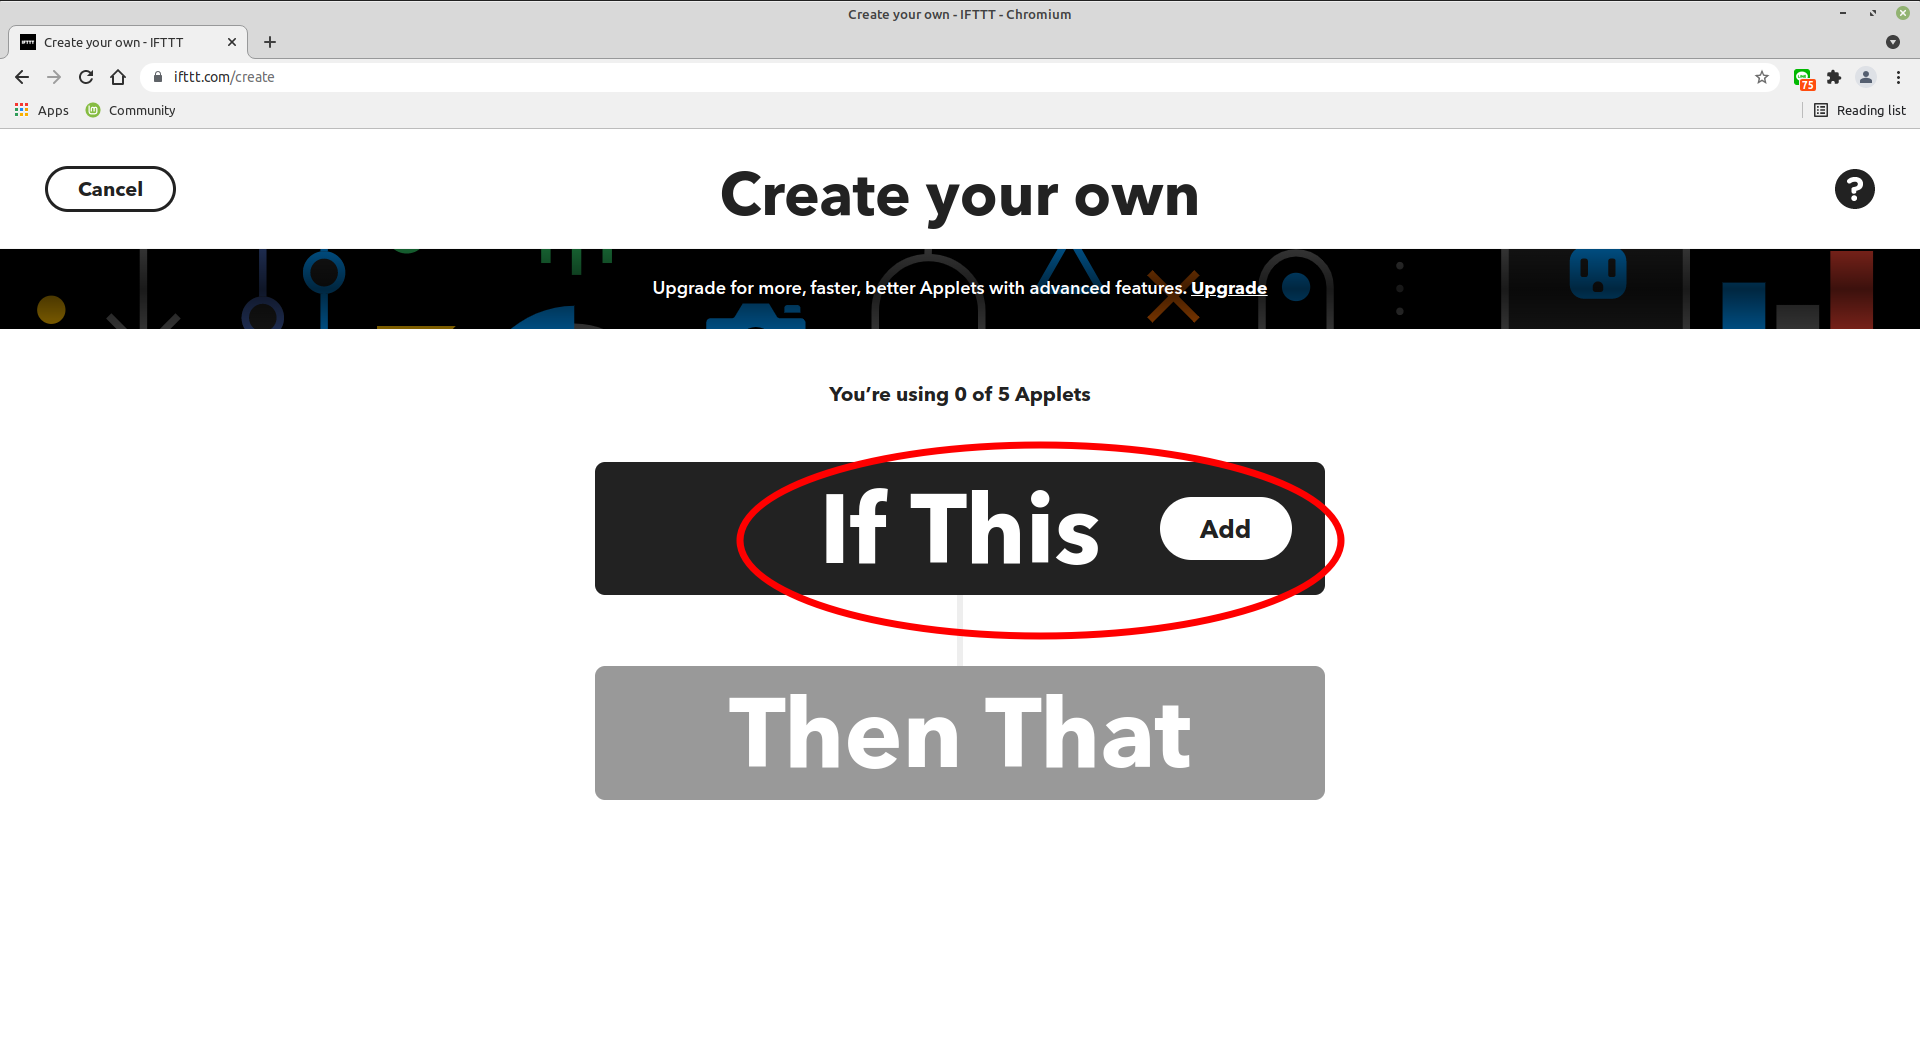
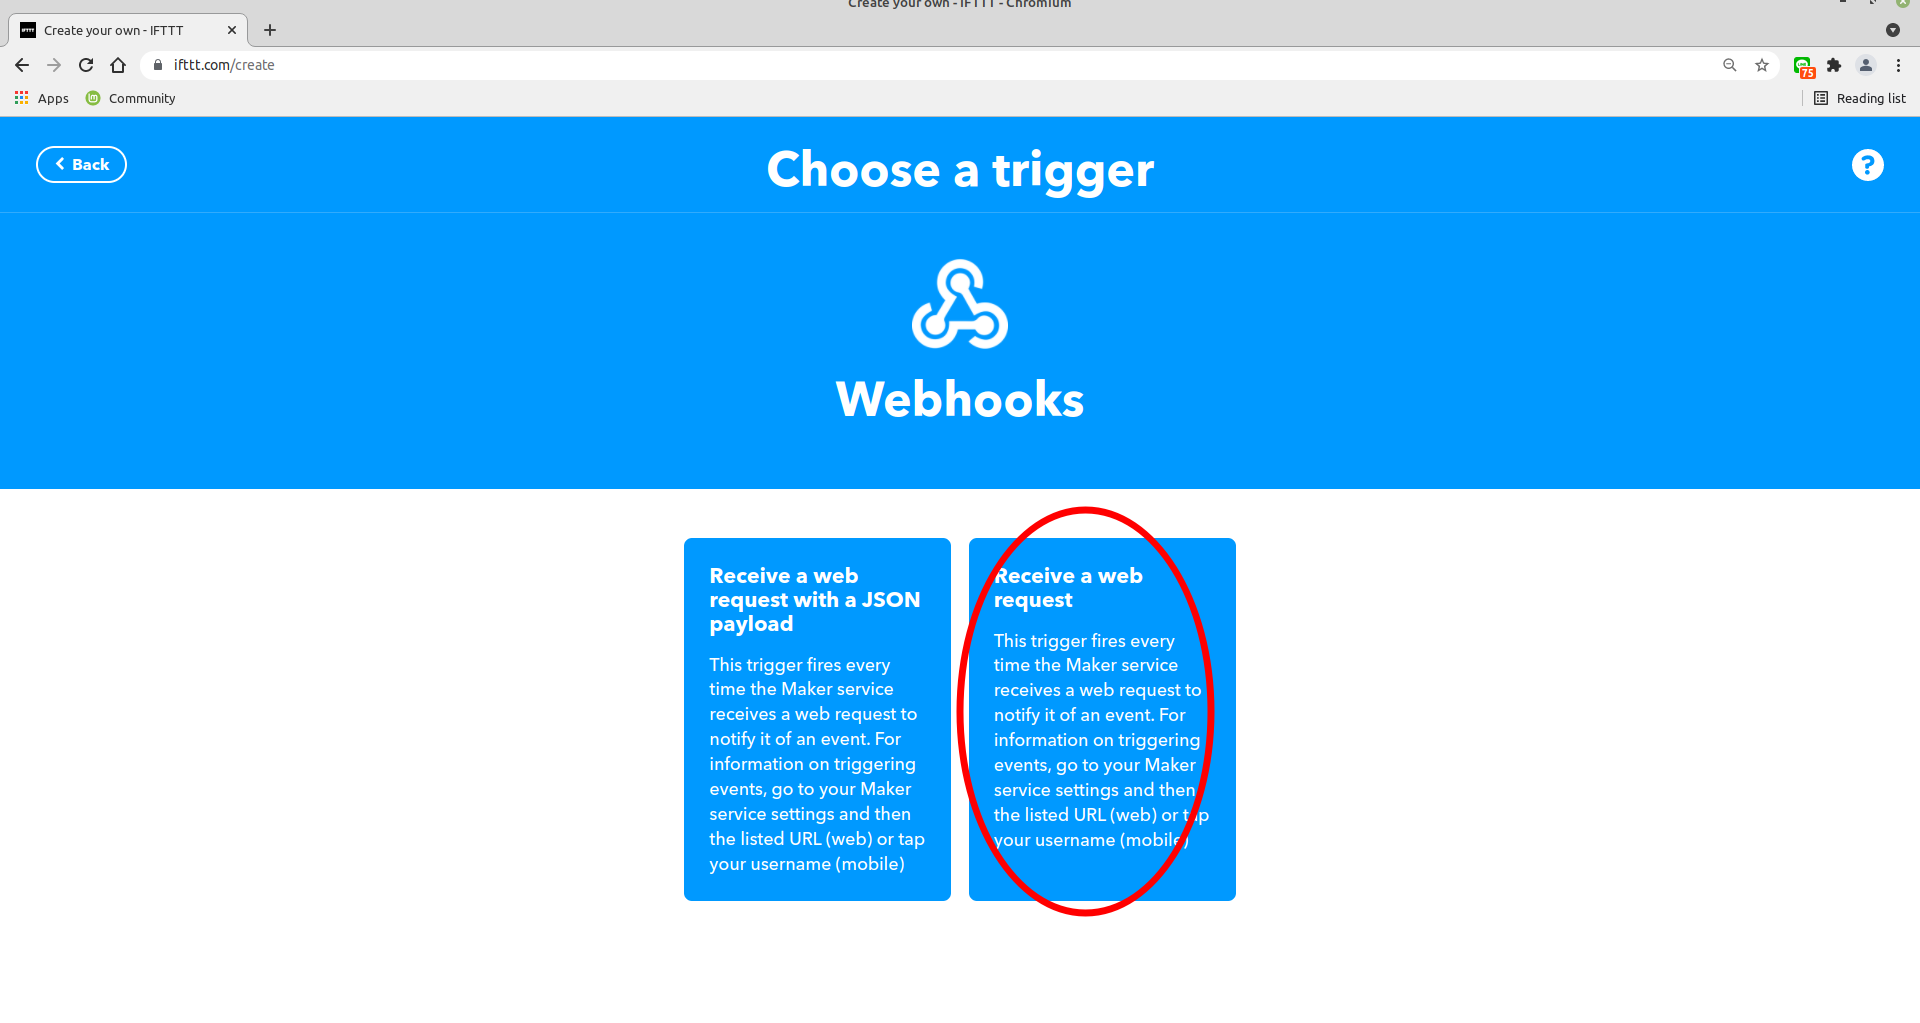
The trigger is a webhook
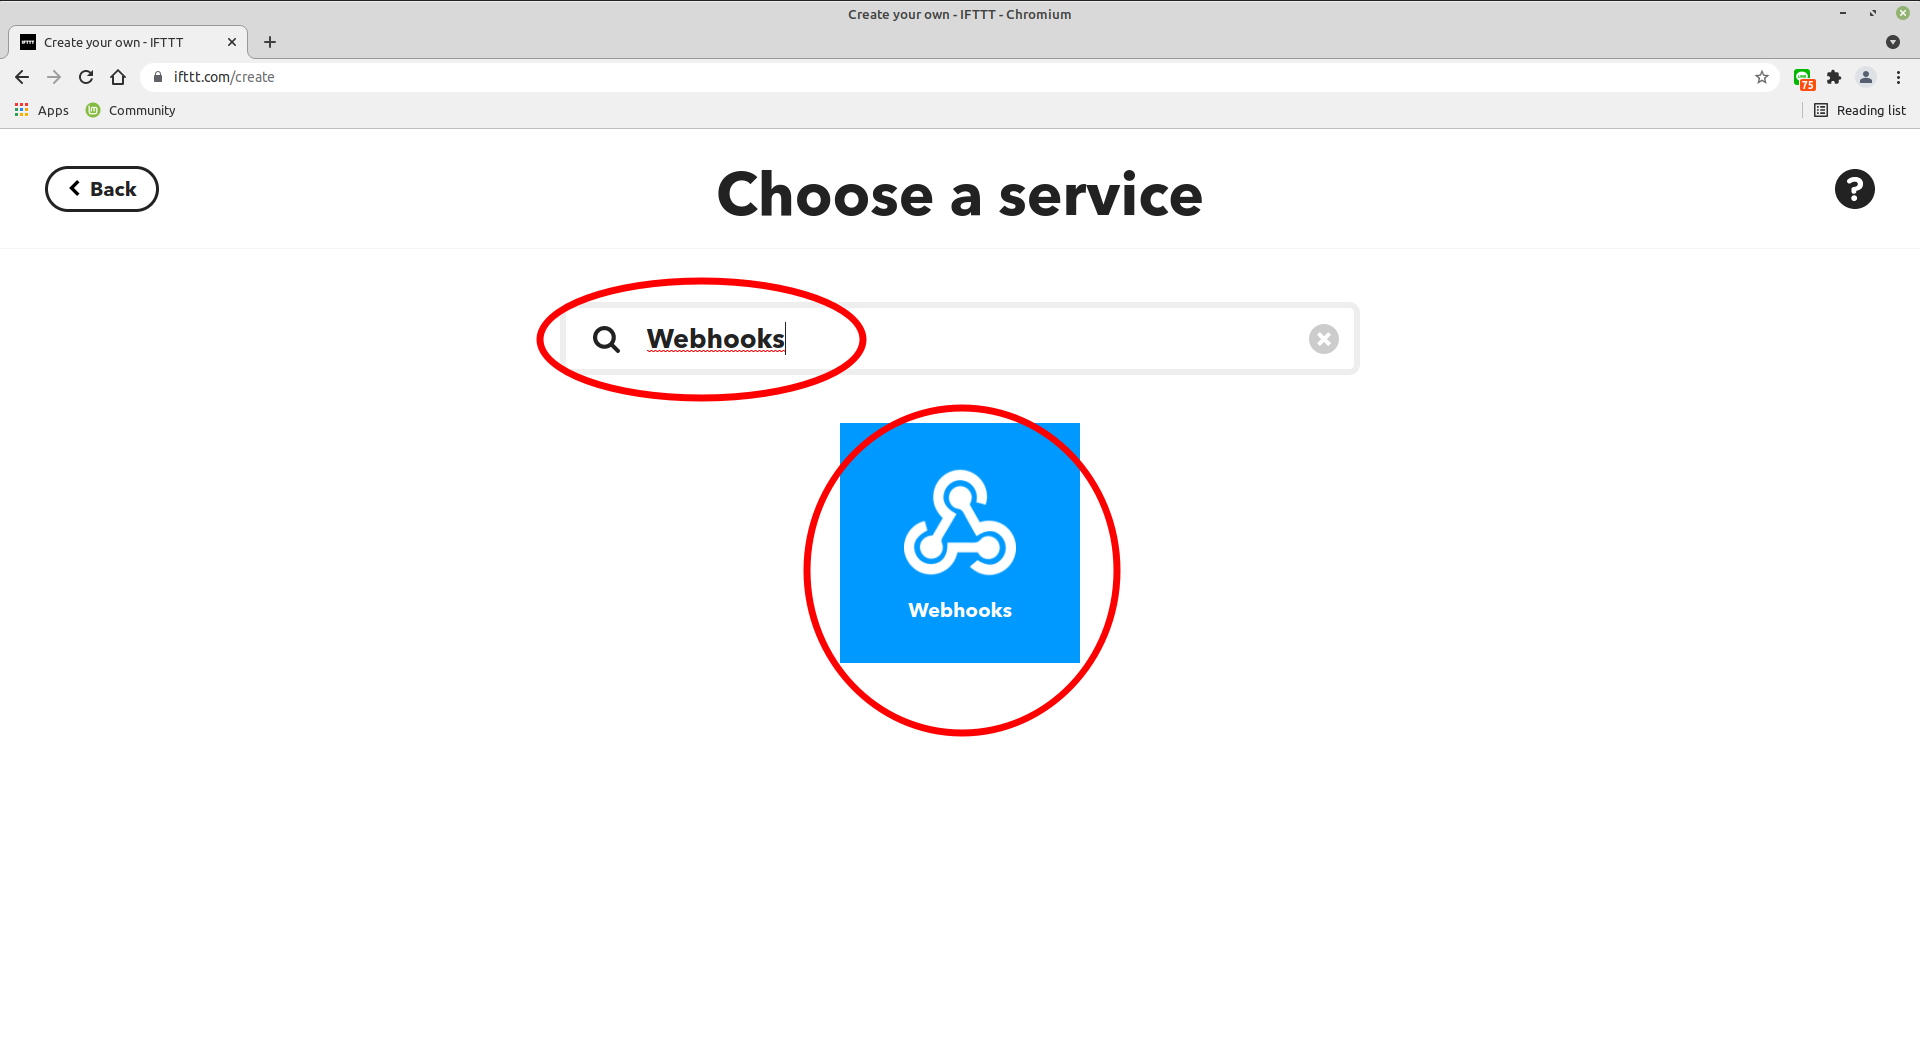
Choose Web request
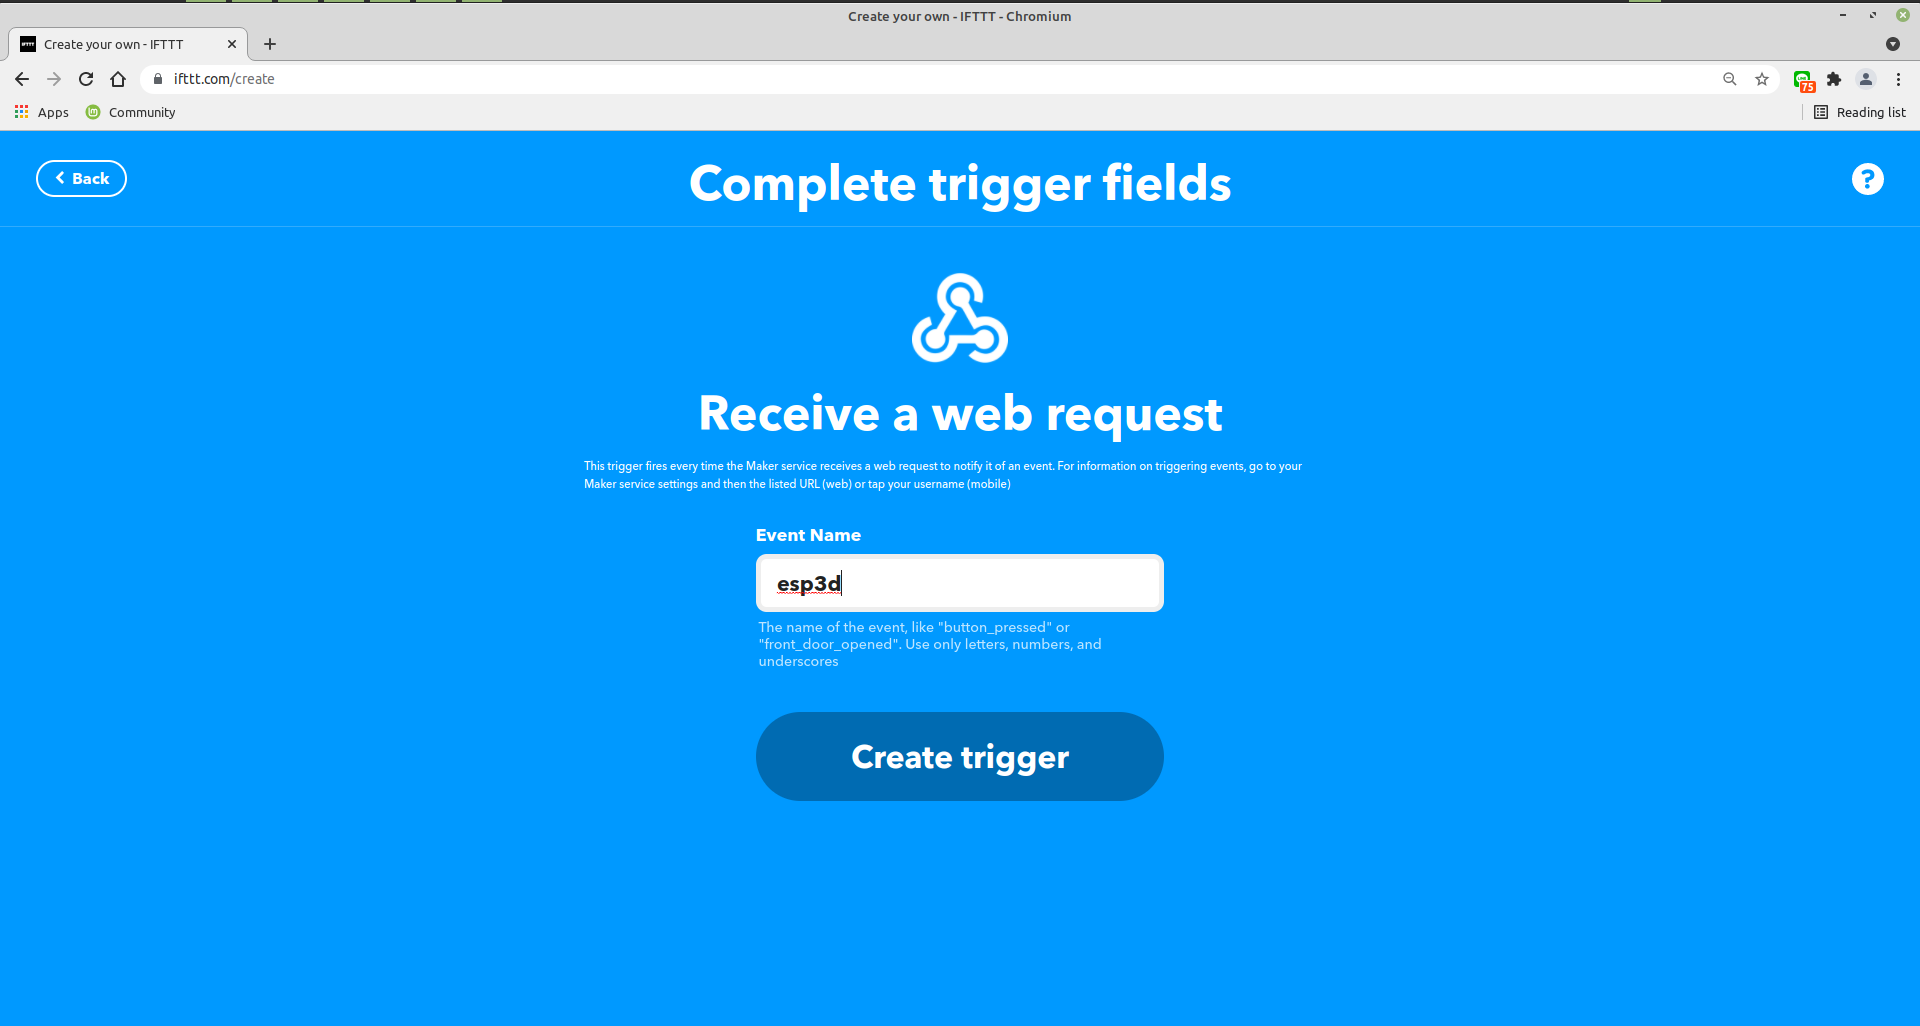
Set the event name
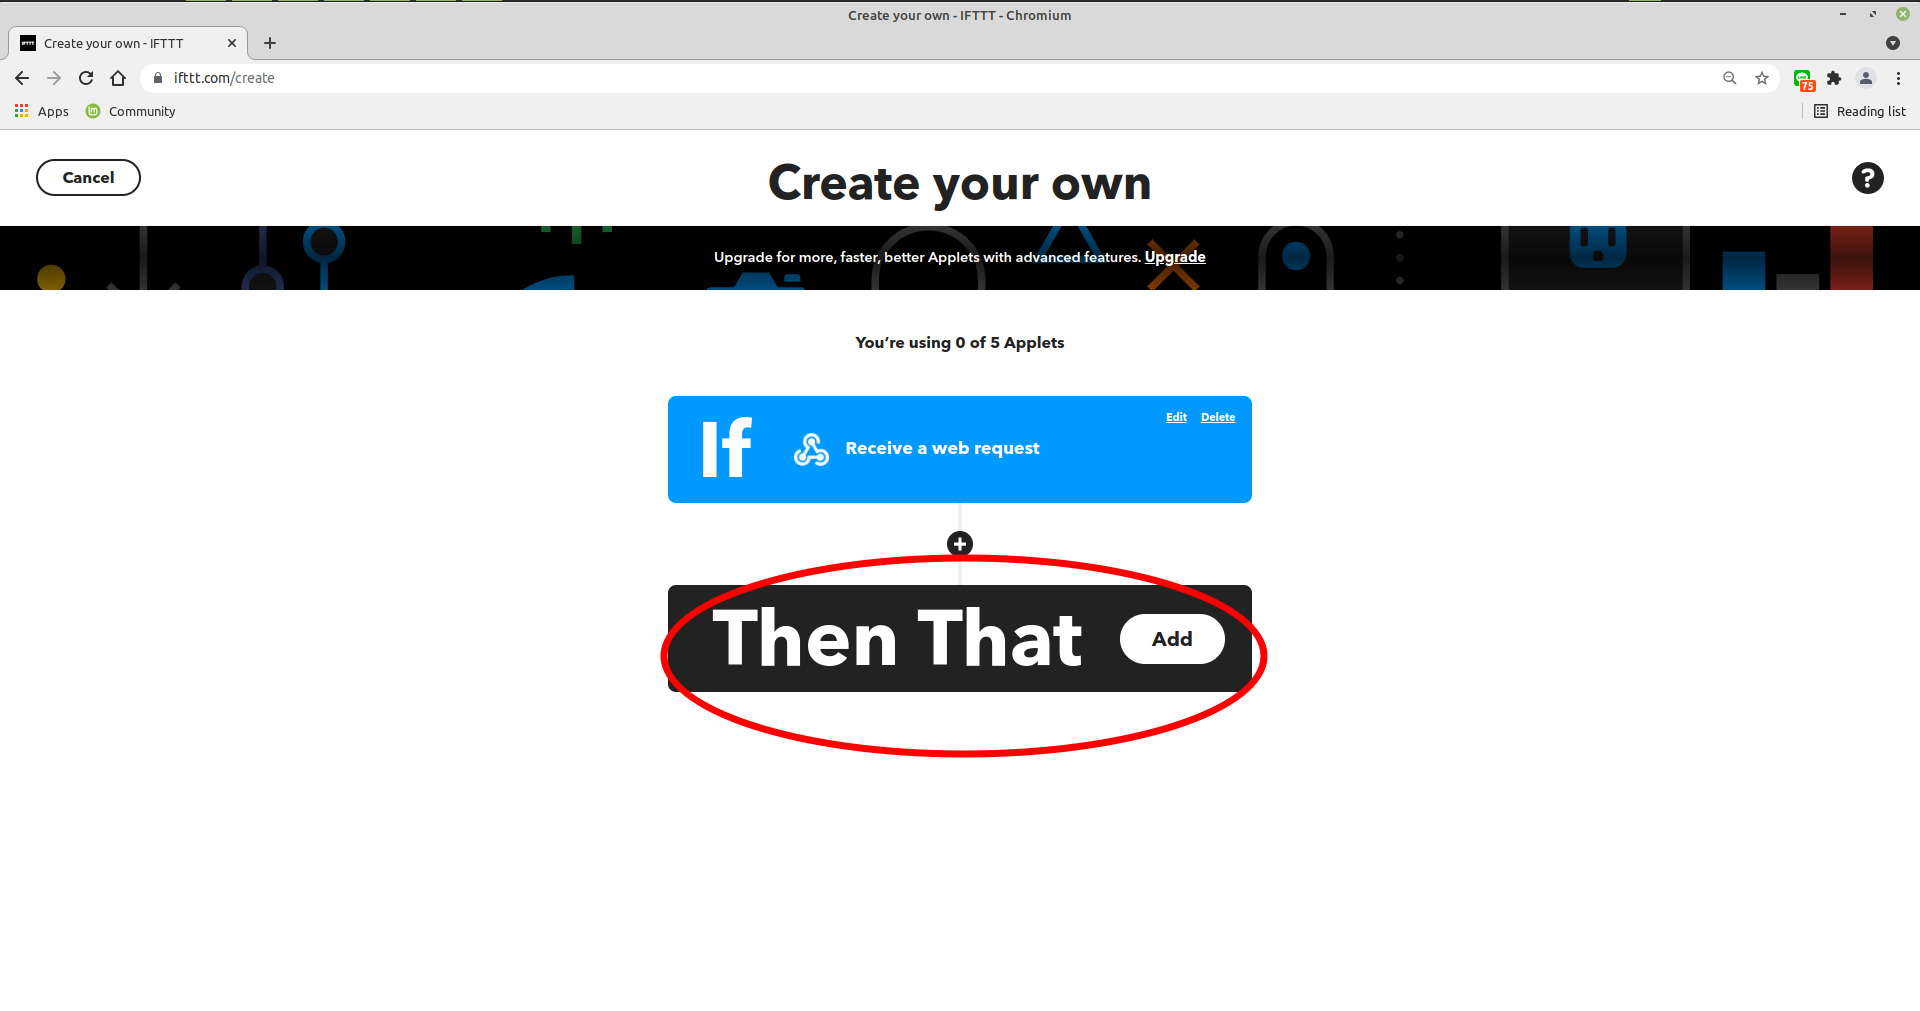
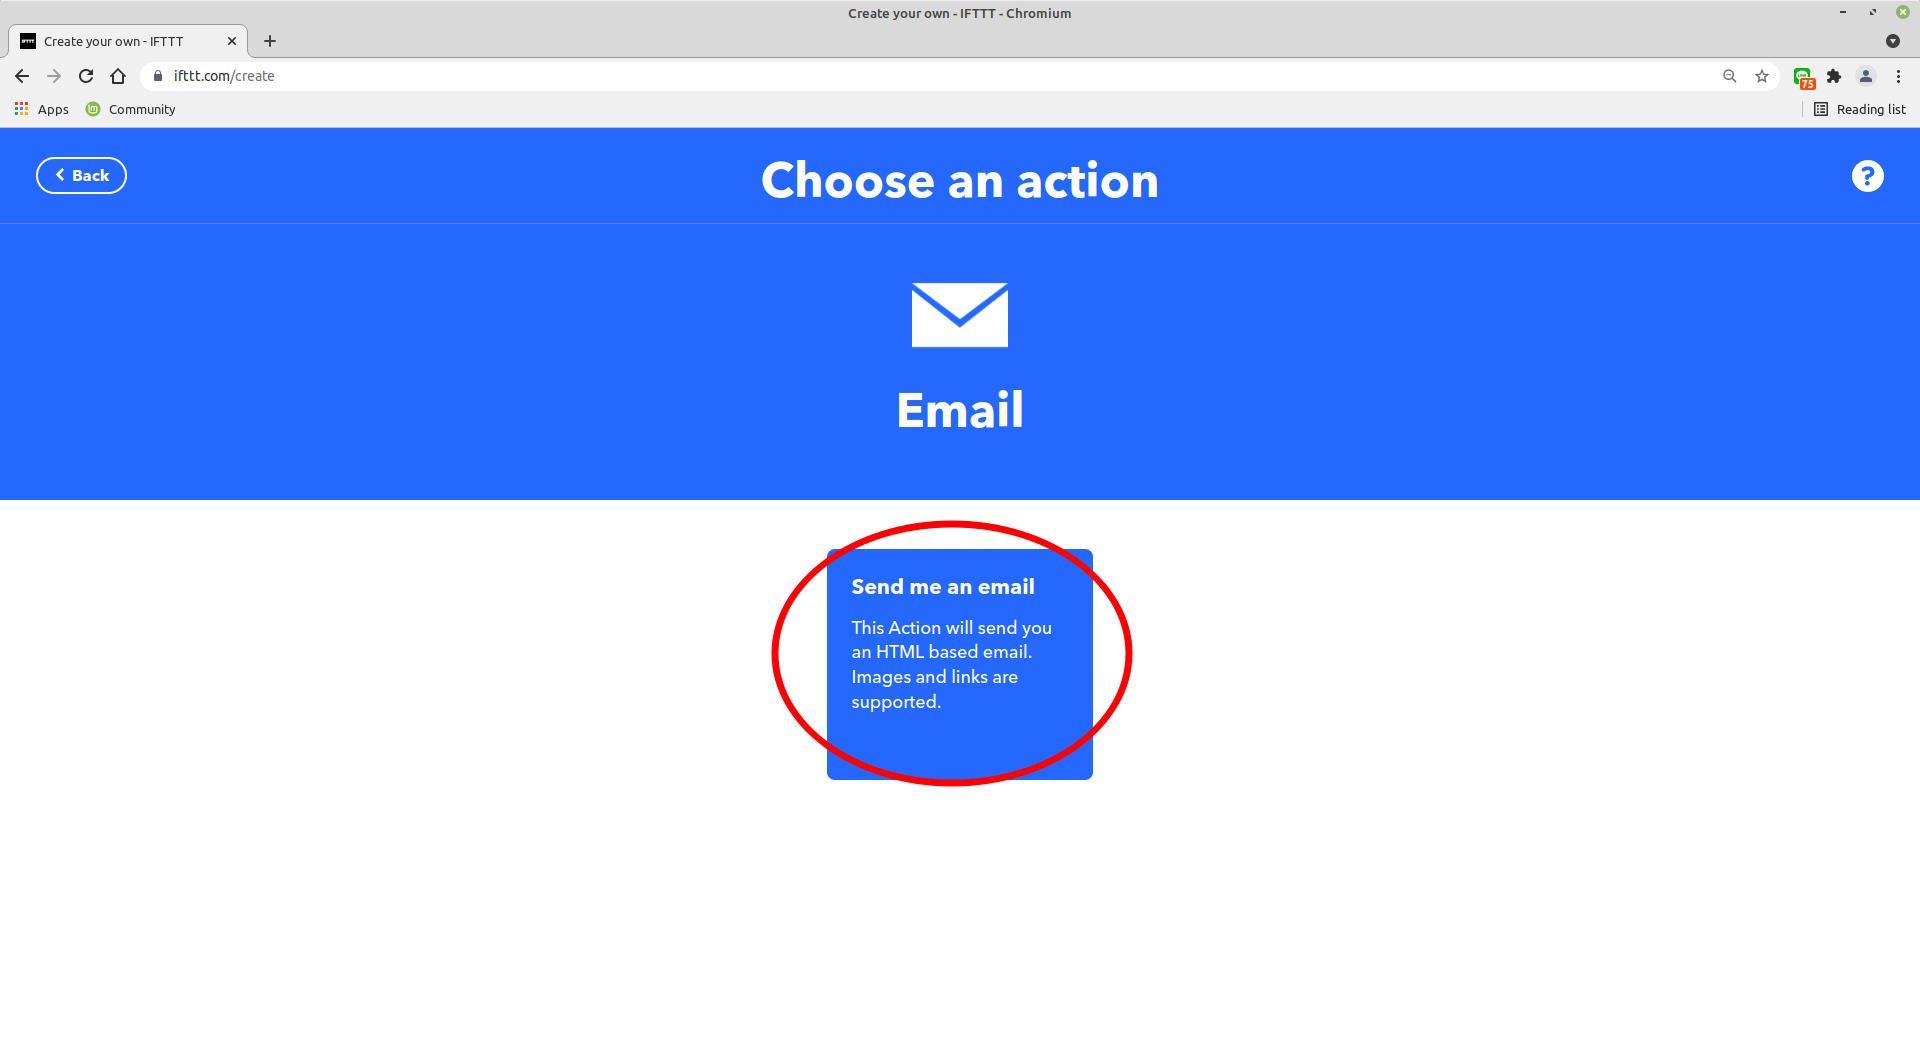
Define the action you want
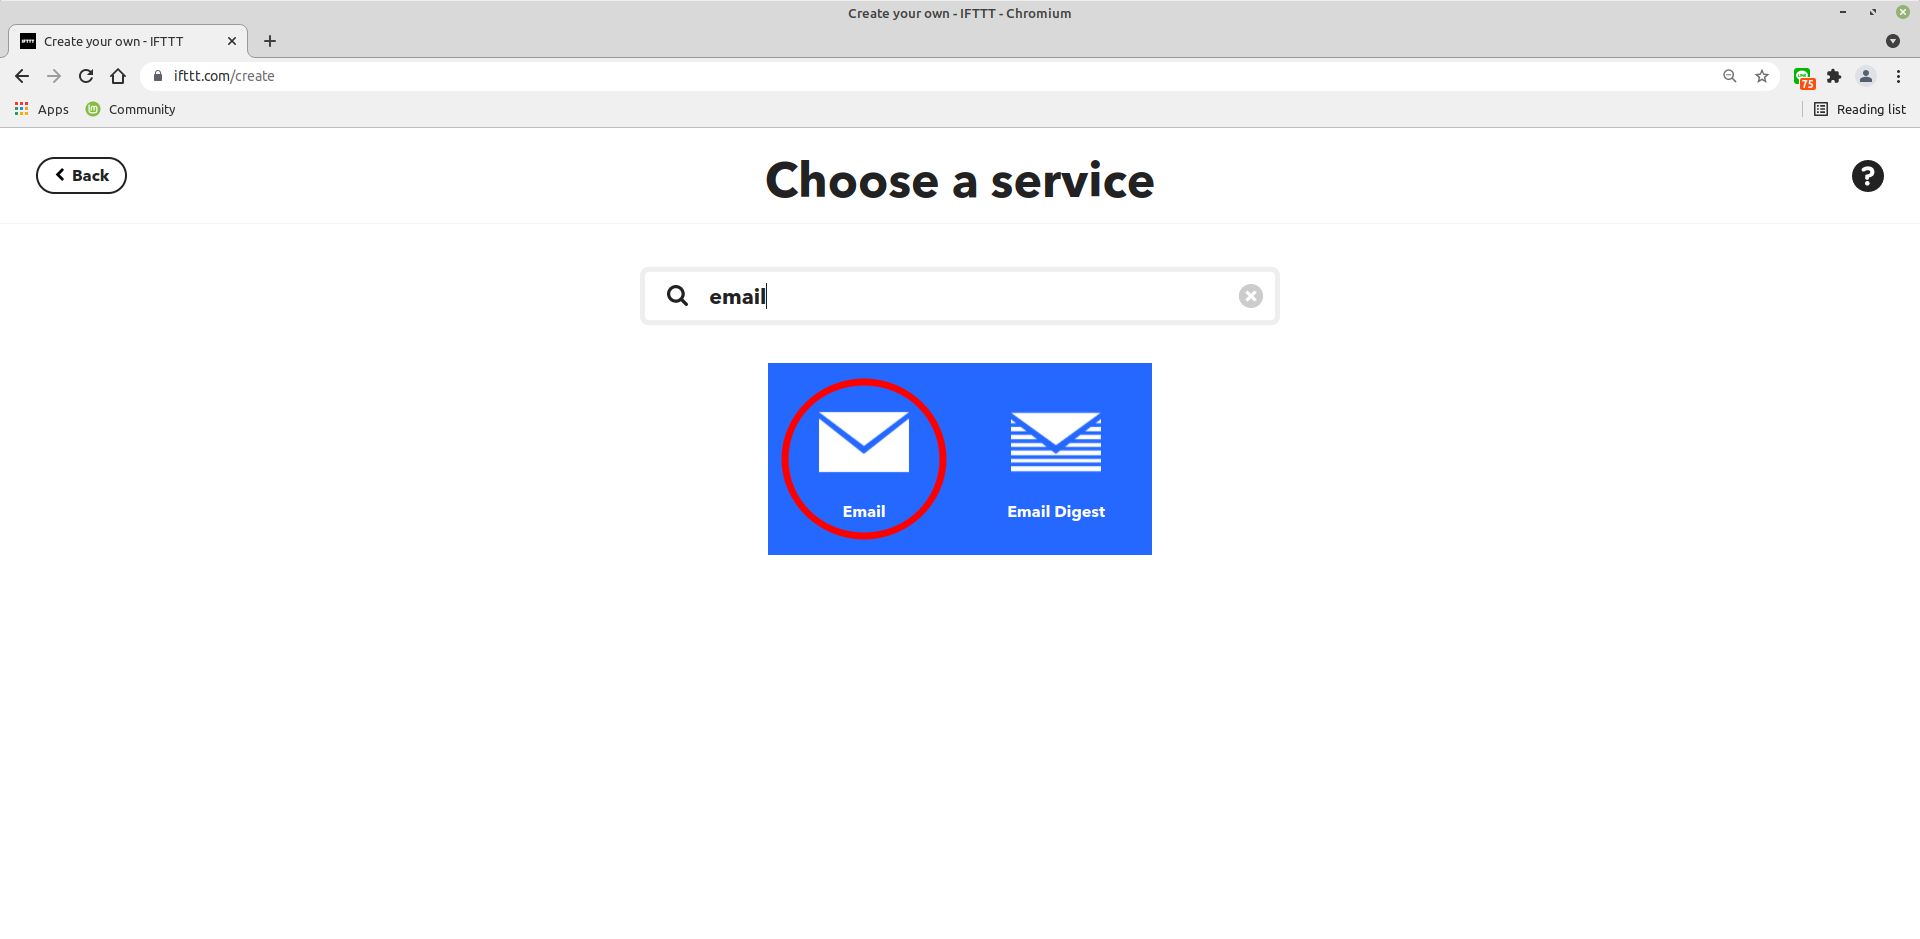
Select the service you want to use
As you can see there are a lot, let use email as example, but you can select any one that fit your needs
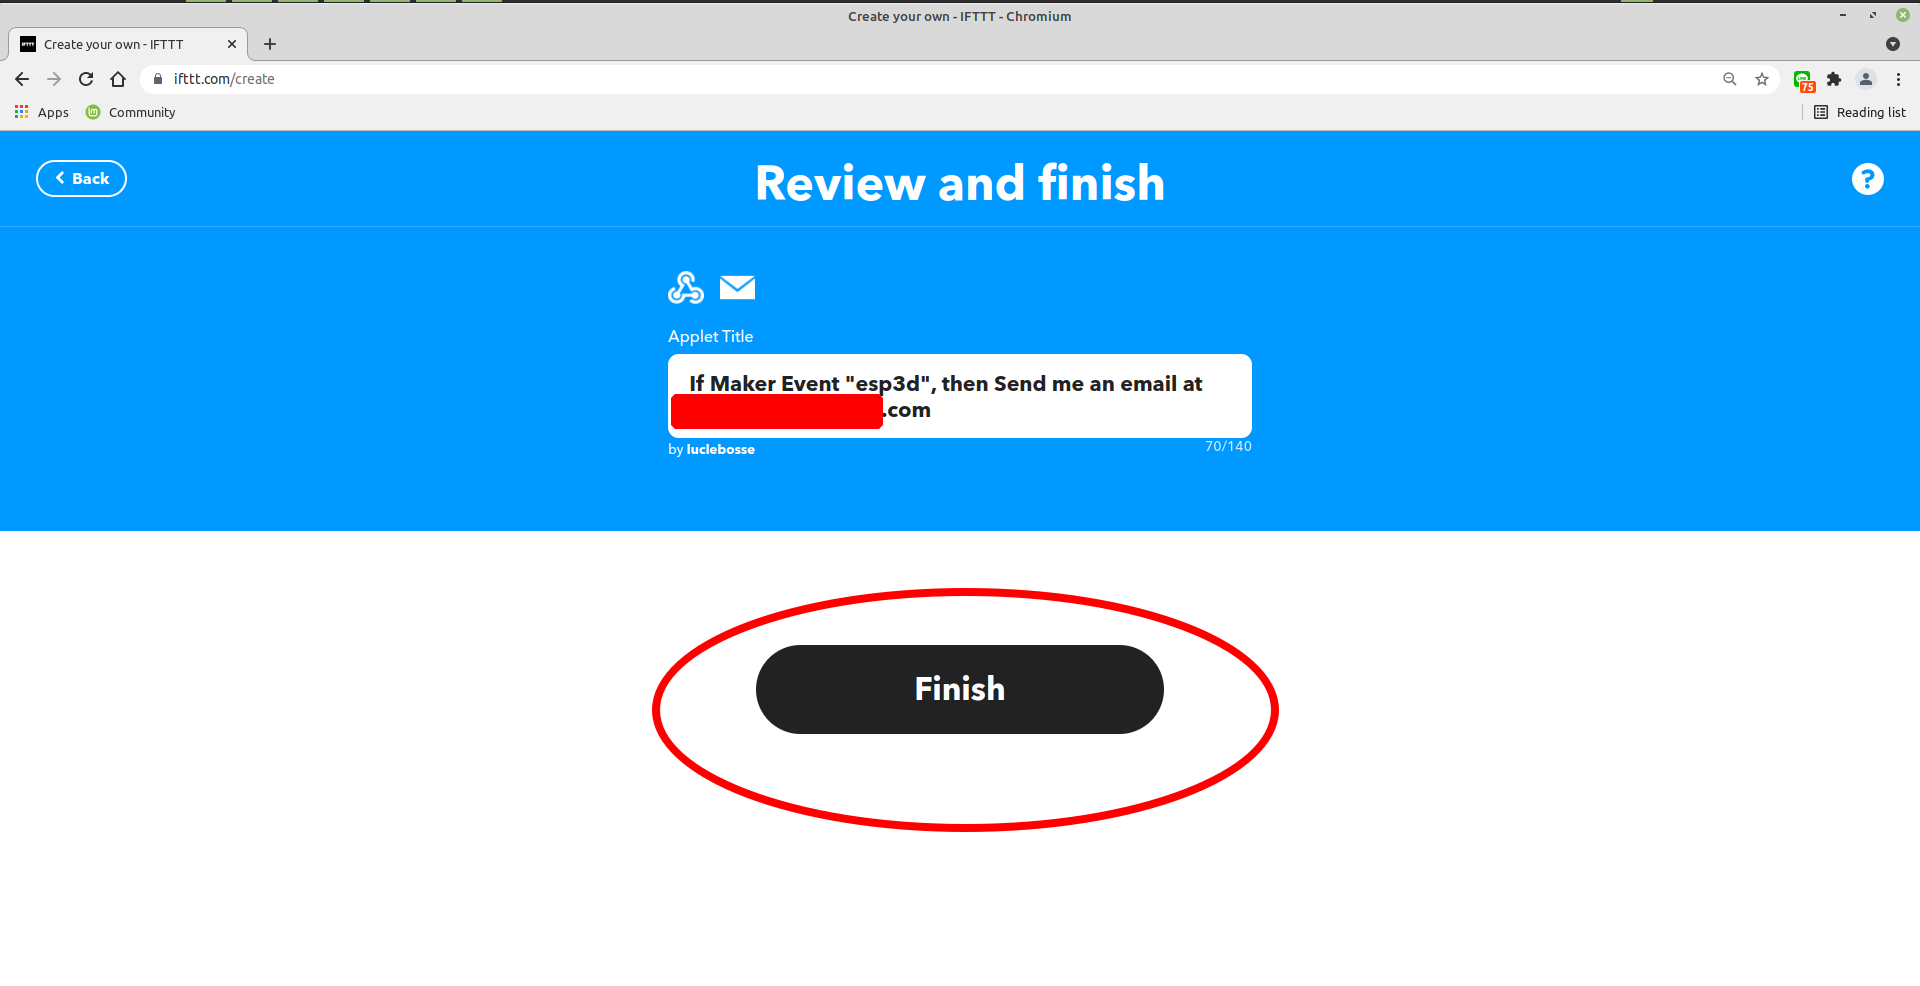
Define the message
IFTTT allows some variables:

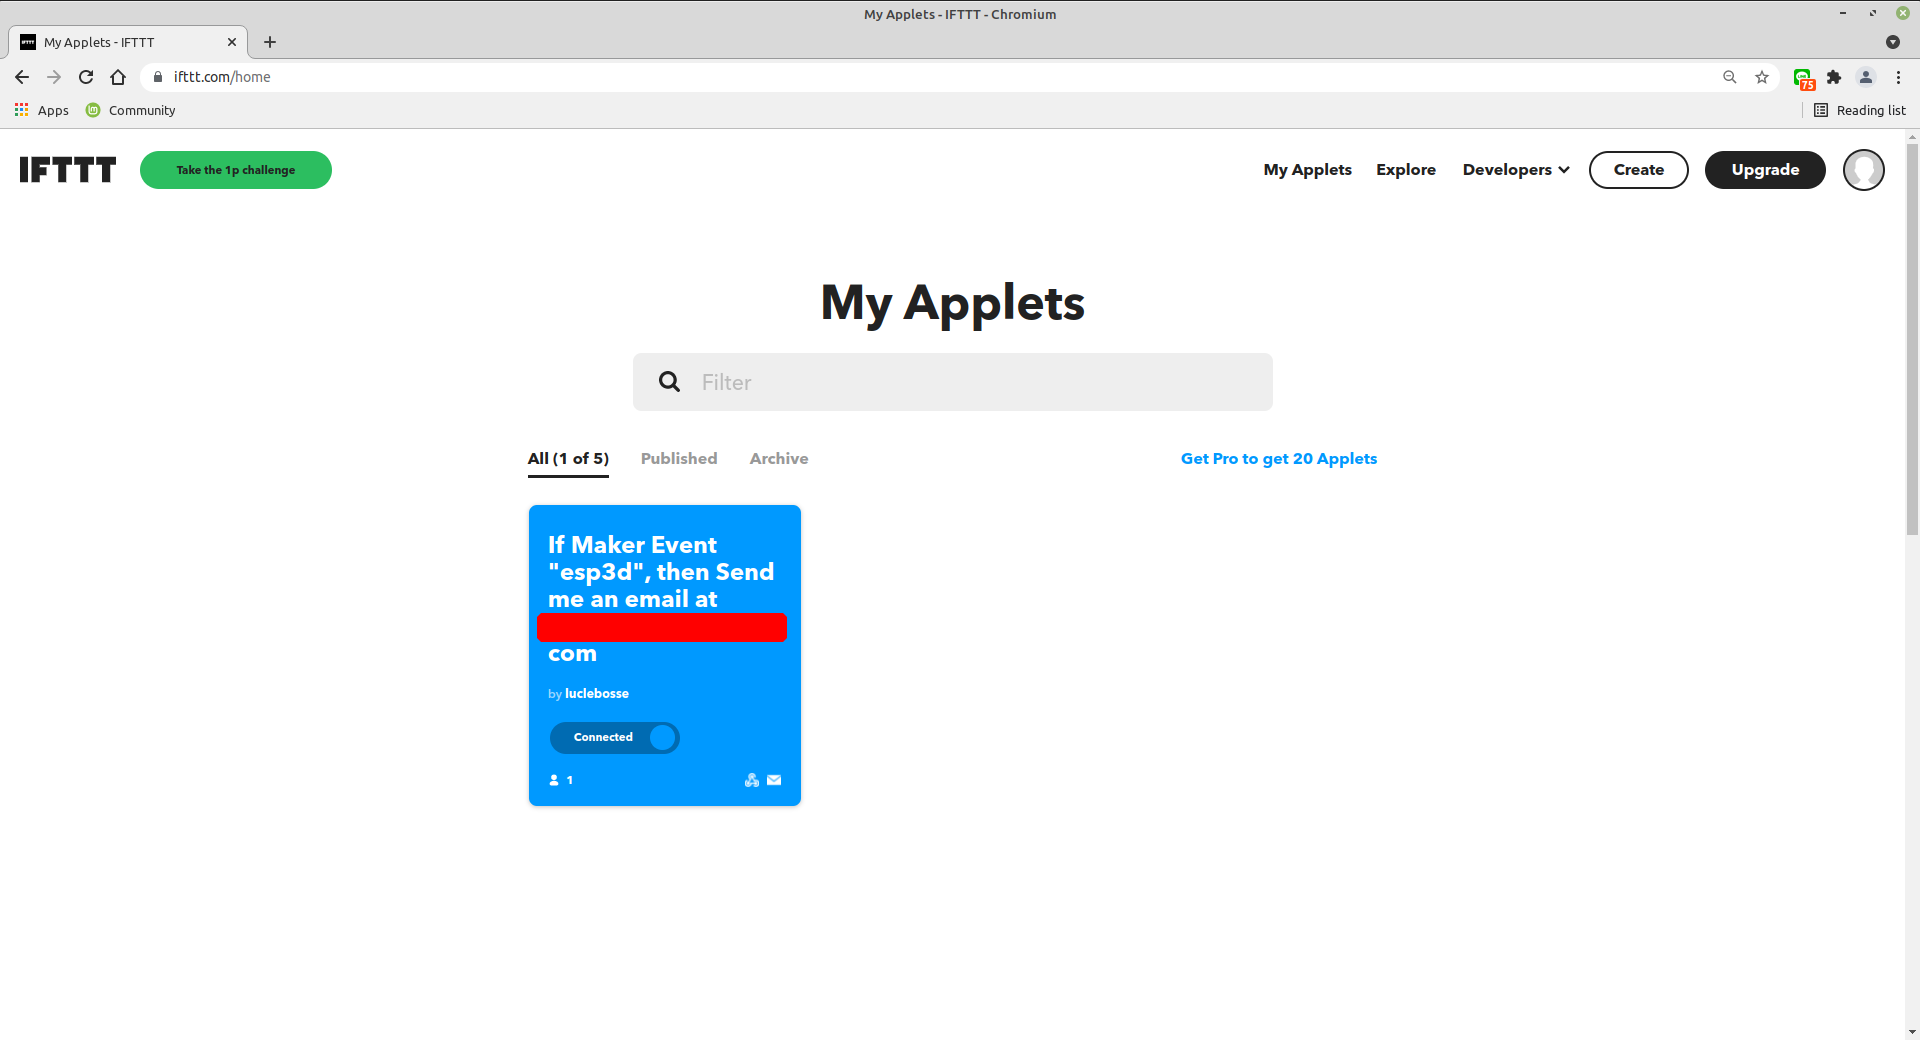
Applet is created
3 - Retrieve the webhook key
Go to settings
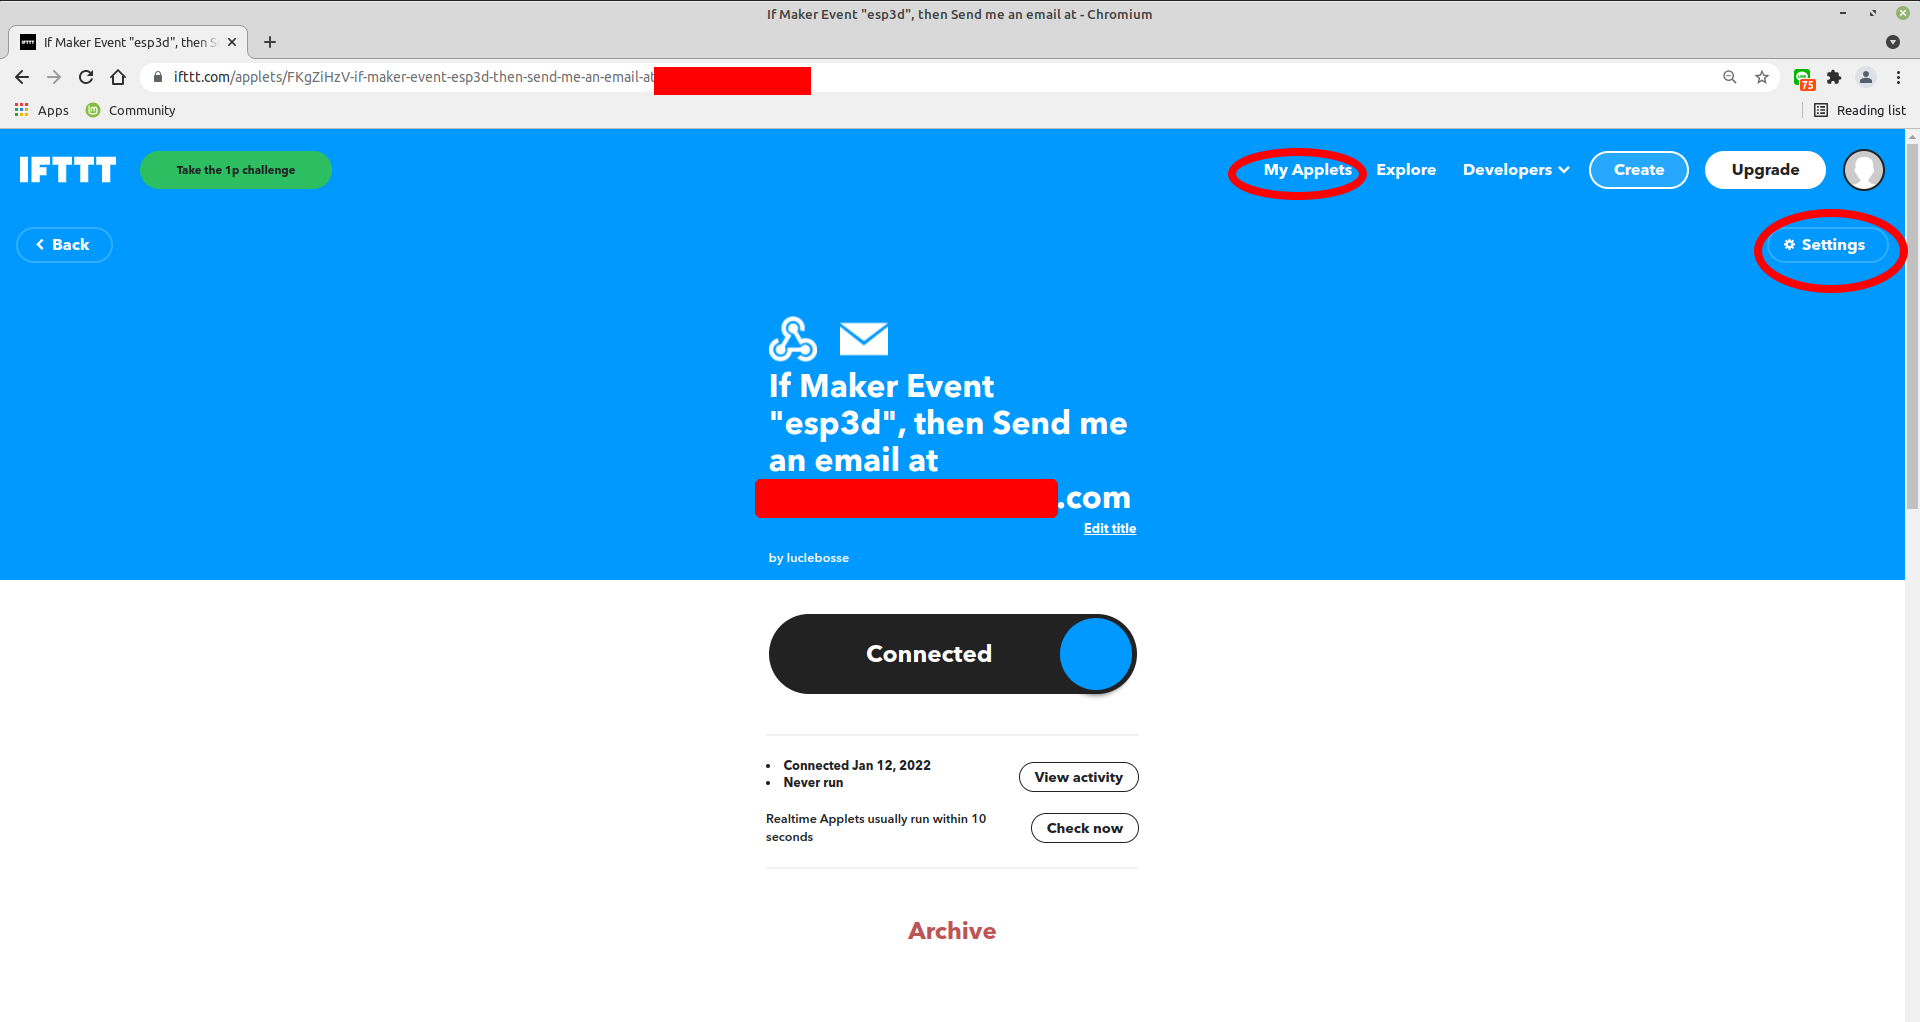
Select service
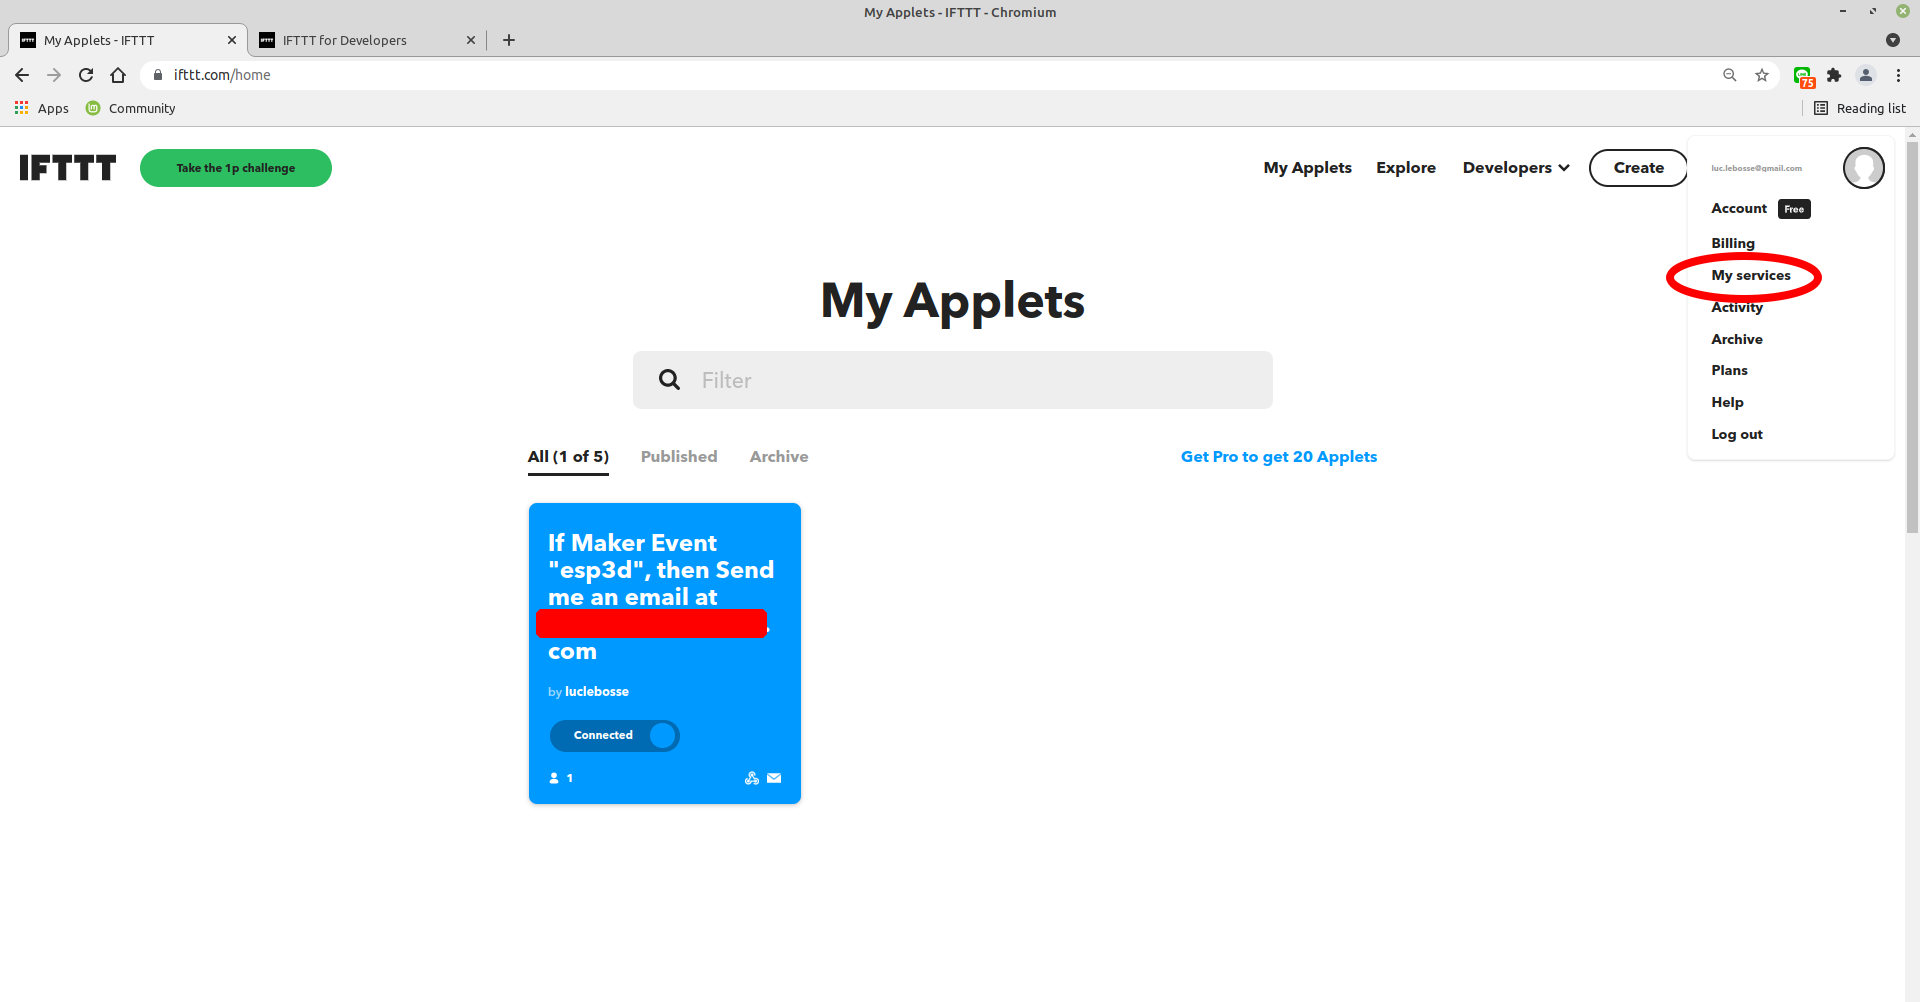
Select webhook
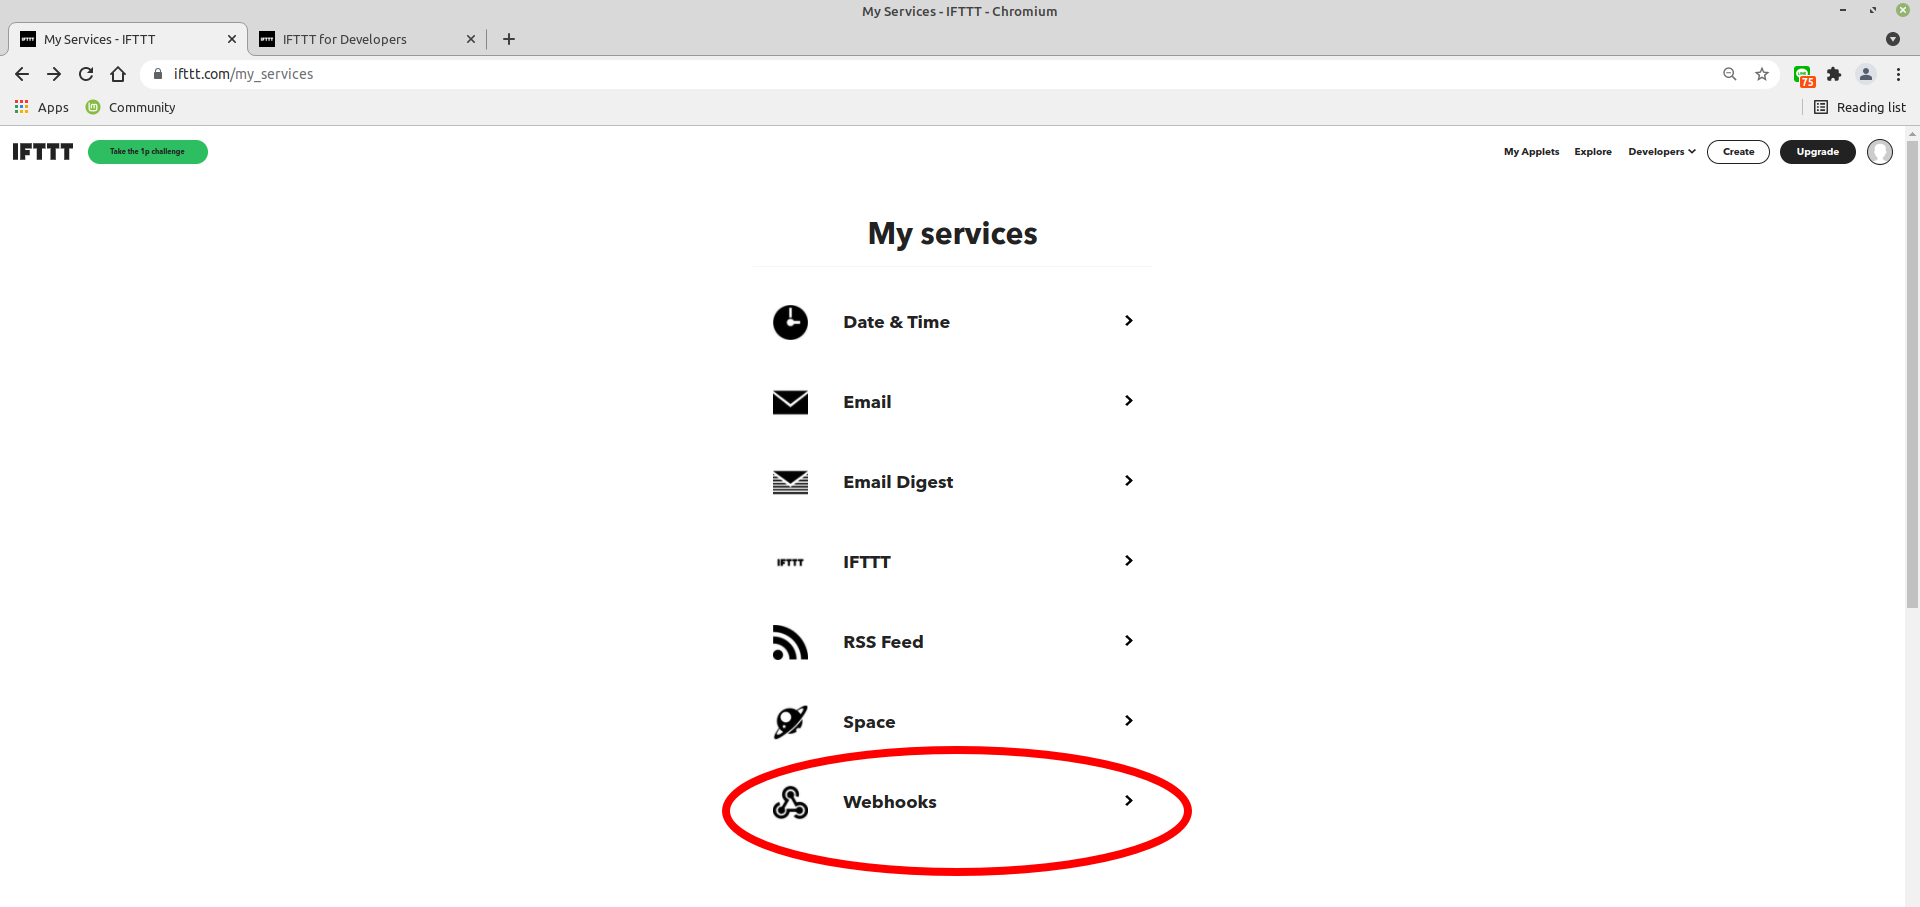
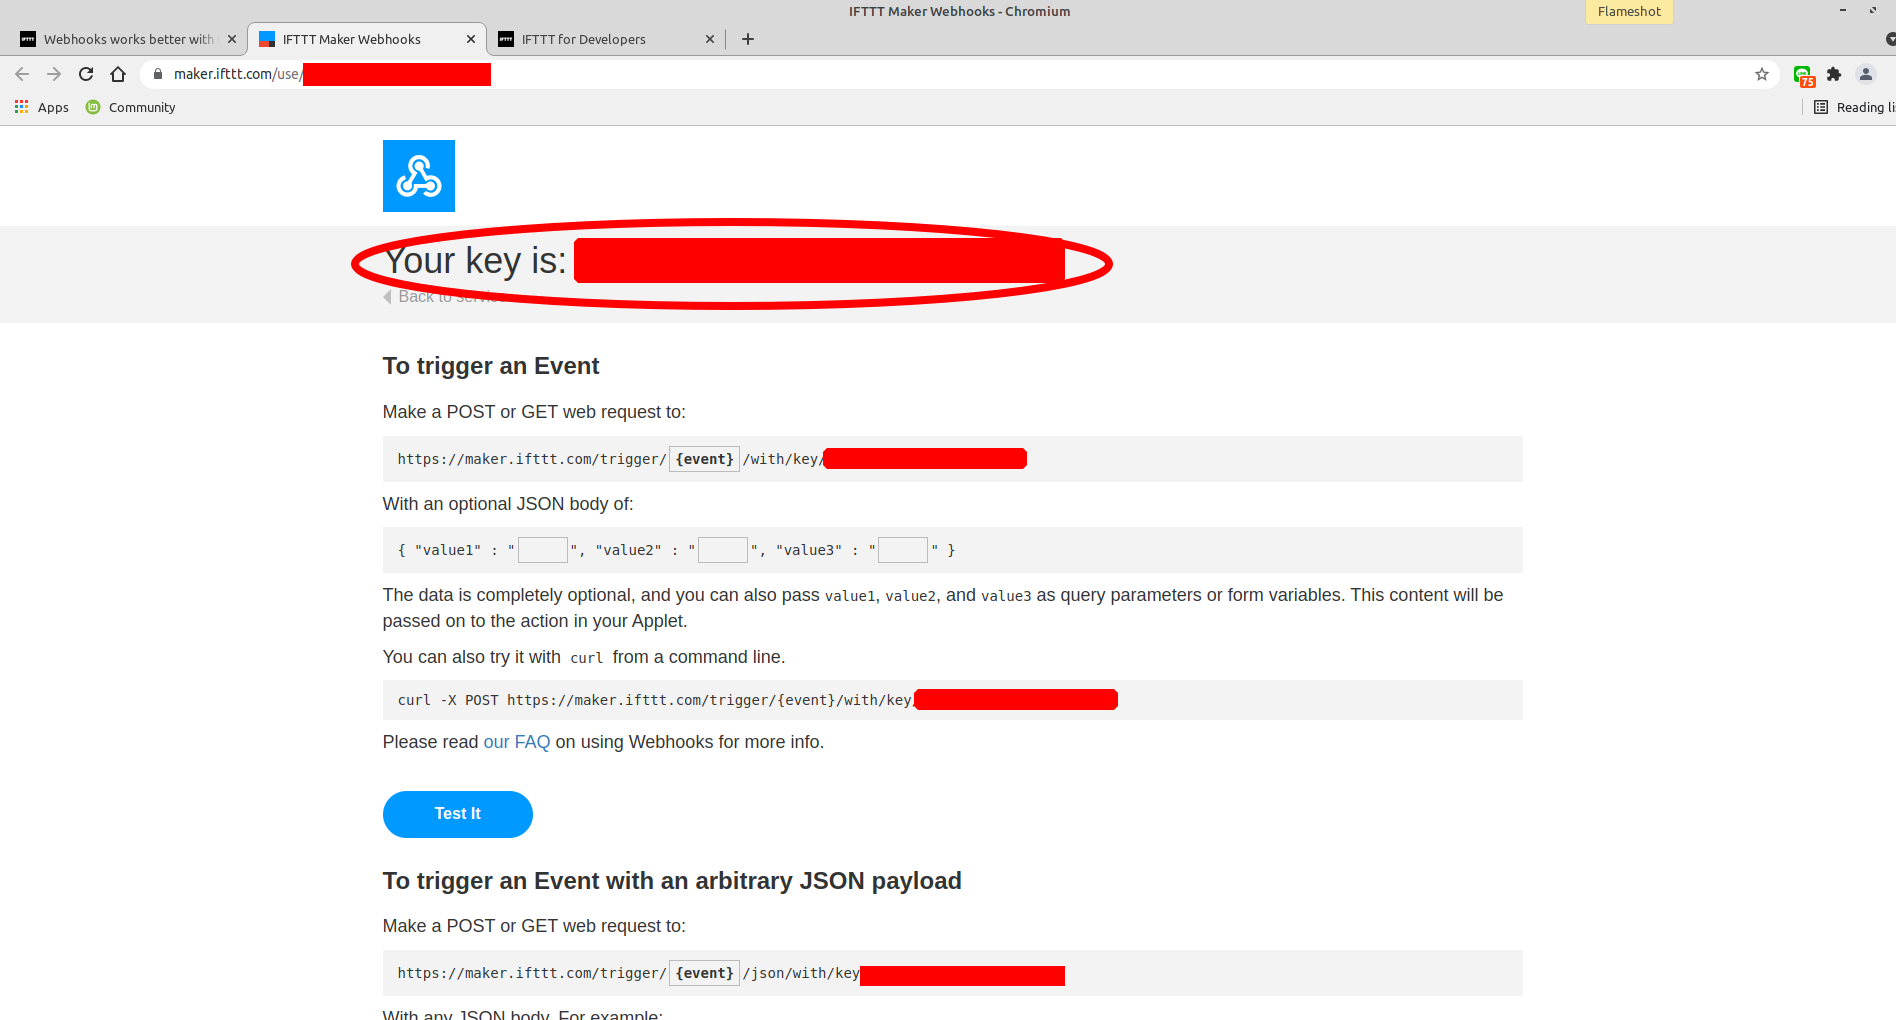
Choose documentation

Copy the key
4 - Save the generate token and chatID in ESP3D, and set IFTTT as notification supplier
[ESP610]type=IFTTT T1={event} T2={webhooks_key}
5 - type [ESP610] to verify (T1/T2 won’t be displayed)
6 - Try to send message:
[ESP600]Hi there, test from ESP3D
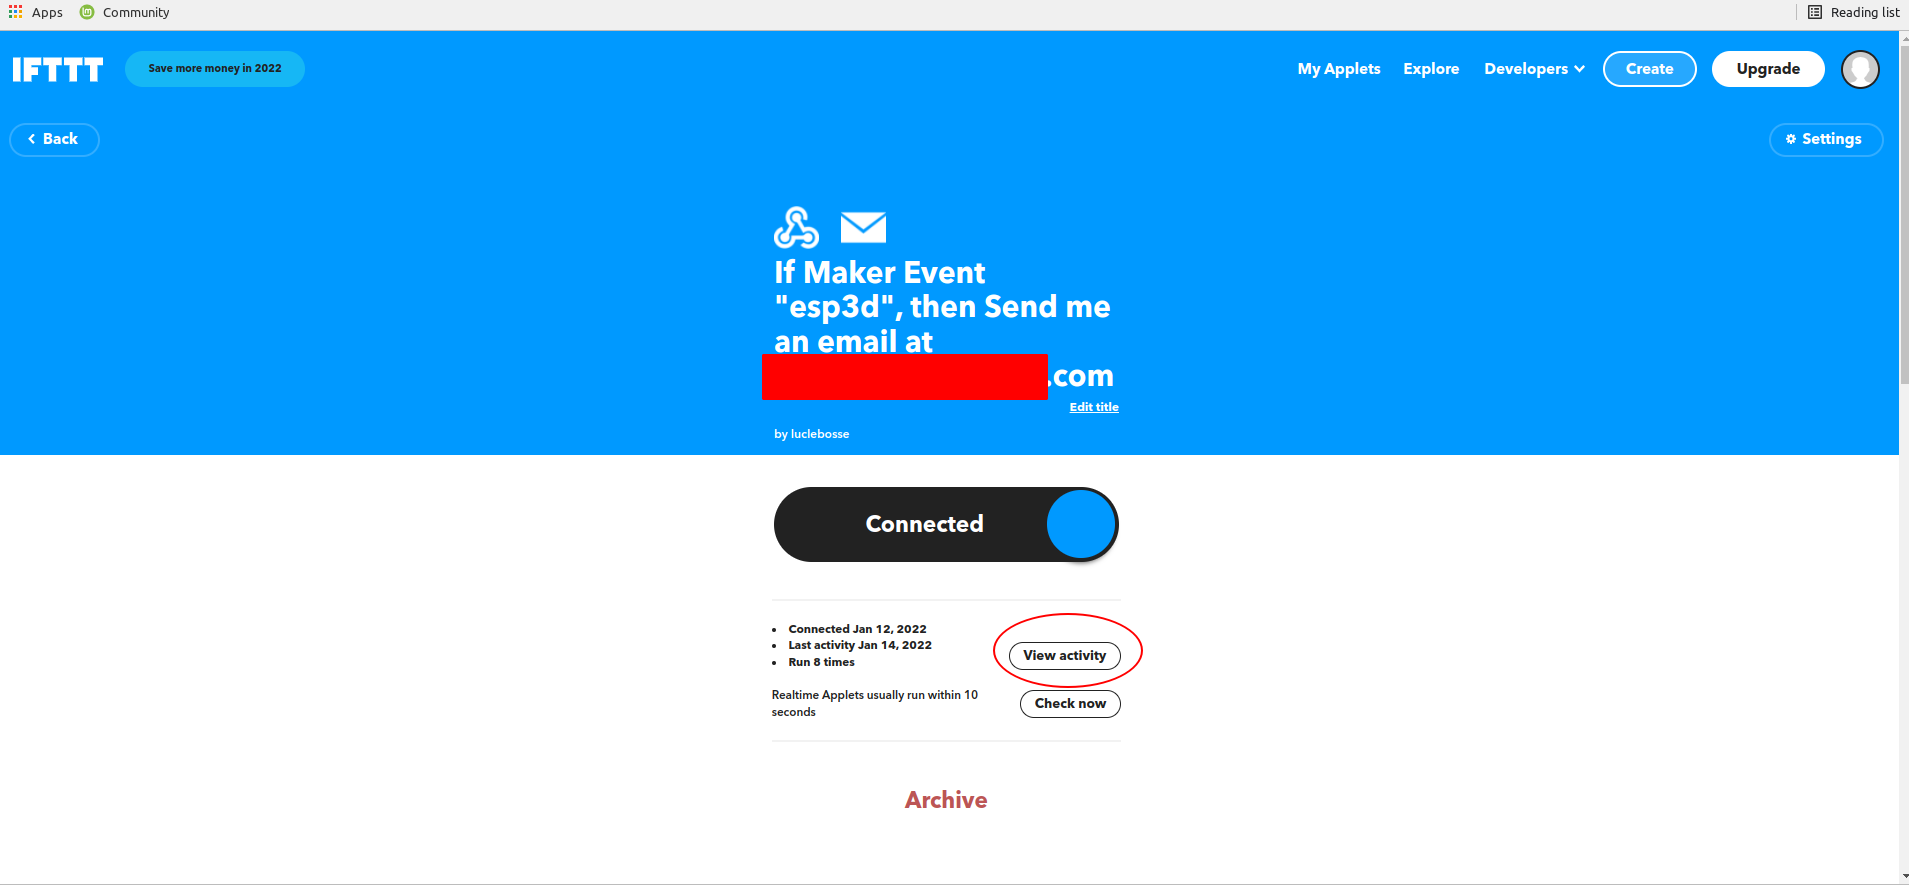
7 - Verify the workflow
Note: This documentation is not exaustive due to huge features of IFTTT notifications service but base is always same :
IFThis => webhooks based on webrequest
THENThat => IFTTT notification service
root is the default handler where all files will be served, if no file is defined, it looks for index.html or index.html.gz (compressed) if you call specific file, it will look for the filename and filename.gz (compressed) if no file is defined and there is not index.html(.gz) it will display embedded page another way to show the embedded page is /?forcefallback=yes
this handler handle all commands for FS, including upload on FS.
possible options/arguments are:
quiet=yes can be used when you don’t want list files but just upload thempath=... define the path to the fileaction=... define the action to execute which can be:deletefilename=... it will also use path=... to do full pathdeletedirfilename=... it will also use path=... to do full path createdir
create the directory defined by filename=... it will also use path=... to do full path<filename>S=... give the size of uploaded file with name, need to be set before file is set in upload, POST onlythe output is a json file:
```
{
    "files":[ //the files list
        {
            "name":"index.html.gz", //the name of the file
            "size":"83.46 KB", //the formated size of the file
            "time":"2022-09-04 11:56:05" //the time when the file was modified last time, this one is optional and depend on (FILESYSTEM_TIMESTAMP_FEATURE)
        },
        {
            "name":"subdir", //the name of the file / directory
            "size":"-1", //the size is -1 because it is a directory
            "time":"" //no time for directories optional as depend on (FILESYSTEM_TIMESTAMP_FEATURE)
        }
    ],
    "path":"/", //current path
    "occupation":"52", //% of occupation
    "status":"subdir created", //status
    "total":"192.00 KB", //Formated total space of Filesystem
    "used":"100.00 KB" //Formated used space of Filesystem
}
```
this handler is for uploading files to printer SD using M28/M29 protocol
this handler is for all commands the parameter is cmd=...
if it is an [ESPXXX] command the answer is the [ESPXXX] response
if it is not an [ESPXXX] command the answer is ESP3D says: command forwarded and can be ignored
this handler is for authentication function if enabled
possible options/arguments are:
- DISCONNECT=YES
it will clear current session, remove authentication cookie, set status to disconnected and response code to 401
- SUBMIT=YES
to login it will need also PASSWORD=... and USER=..., the answer will be 200 if success and 401 if failed
if user is already authenticated it can use NEWPASSWORD=... instead of PASSWORD=... to change his password, if successful answer will be returned with code 200, otherwise code will be 500 if change failed or if password format is invalid
this handler is a shortcut to [ESP420] command in text mode, to get output in json add json=yes
this handler is for FW upload and update
this handler is for SSDP if enabled to present device informations
<root xmlns="urn:schemas-upnp-org:device-1-0">
    <specVersion>
        <major>1</major>
        <minor>0</minor>
    </specVersion>
    <URLBase>http://192.168.2.178:80/</URLBase>
    <device>
        <deviceType>urn:schemas-upnp-org:device:upnp:rootdevice:1</deviceType>
        <friendlyName>esp3d</friendlyName>
        <presentationURL>/</presentationURL>
        <serialNumber>52332</serialNumber>
        <modelName>ESP Board</modelName>
        <modelDescription/>
        <modelNumber>ESP3D 3.0</modelNumber>
        <modelURL>https://www.espressif.com/en/products/devkits</modelURL>
        <manufacturer>Espressif Systems</manufacturer>
        <manufacturerURL>https://www.espressif.com</manufacturerURL>
        <UDN>uuid:38323636-4558-4dda-9188-cda0e600cc6c</UDN>
        <serviceList/>
        <iconList/>
    </device>
</root>
to avoid a redirect to index.html and so a refresh of the page, some classic handler have been added so they all go to / handler actually
Only for WebUI not for bridge data
use subprotocol arduino and web port +1 (e.g: 80+1=>81)
Reserved
messages between webui / ESP
Format: <label>:<message>
from ESP to WebUI
CURRENT_ID:<id>
Sent when client is connecting, it is the last ID used and become the active ID
ACTIVE_ID:<id>
Broadcast current active ID, when new client is connecting, client without this is should close, ESP WS Server close all open WS connections but this one also
ERROR:<code>:<message>
If an error raise when doing upload, it informs client it must stop uploading because sometimes the http answer is not possible,
or cannot cancel the upload, this is a workaround as there is no API in current webserver to cancel active upload
DHT: <value>C
The DHT sensor connected to ESP like DHT22
Reserved
from ESP to WebUI serial stream data from ESP to WebUI
from WEBUI to ESP
[Not used]
The SD transfer use the GCODE protocol based on M28/M29 commands, this protocol is often broken by external queries or even auto reporting. Additionnaly the SD transfer is very slow: ~0.4KB/s, which make it almost unusable.
So this protocol is no more supported in ESP3D, and feature is provided as it is.
The only existing reliable solution to be used in addition of ESP3D 2.1X, is to use a WiFi SD card like Toshiba FlashAir, which is no more produced.
ESP3D 3.0 has some existing solution and some ongoing plan for better SD support depending on hardware used.