Notifications
You can use only one type of notification from the following ones:
A pay service
Please follow this link for more information on how to setup a pushover notification service
A free service
Please follow this link for more information on how to setup a line notification service
Email using SMTP and HTTPS
Please follow this link for more information on how to setup a email notification service
A free service up to 5 applets
Please follow this link for more information on how to setup a pushover iftt service
A free service
Please follow this link for more information on how to setup a telegram notification service
The notification will also be sent to the WebUi
Talk directly to your local home assistant
Please follow this link for more information on how to setup a Home Assistant notification service
How to send message ?
Just add following command in your slicer’s end script, or manualy on your GCODE file:
[ESP600]msg pwd=<admin password>
How to ask printer to send command from file played from SD ?
-
on Repetier
M118 [ESP600]msg
-
on Marlin
M118 P0 [ESP600]msg
-
on Smoothieware
echo [ESP600]msg
Note
The message can also contain the following variables:
- %ESP_IP% : the IP address of the ESP
- %ESP_NAME% : the name of the ESP
- %ESP_DATETIME% : the current date and time
Subsections of Notifications
Pushover Notification
Pushover is paid service
Considering you have pushover account (even just trial) and you already installed pushover client on you phone/PC:
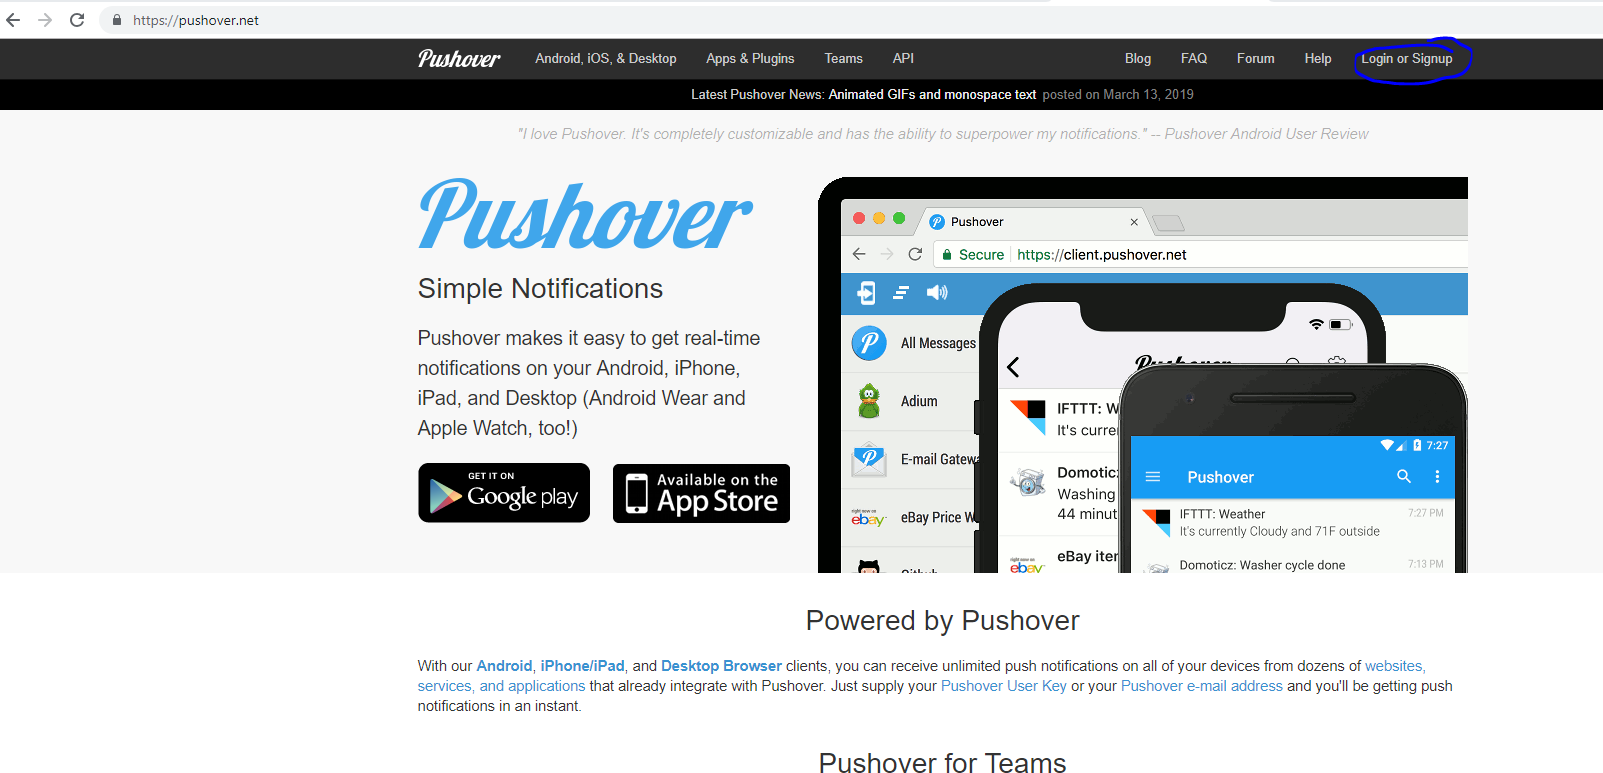
1 - Go to https://pushover.net/ and connect with email and password
2 - Once connected you will be able to get the token 1, the user token
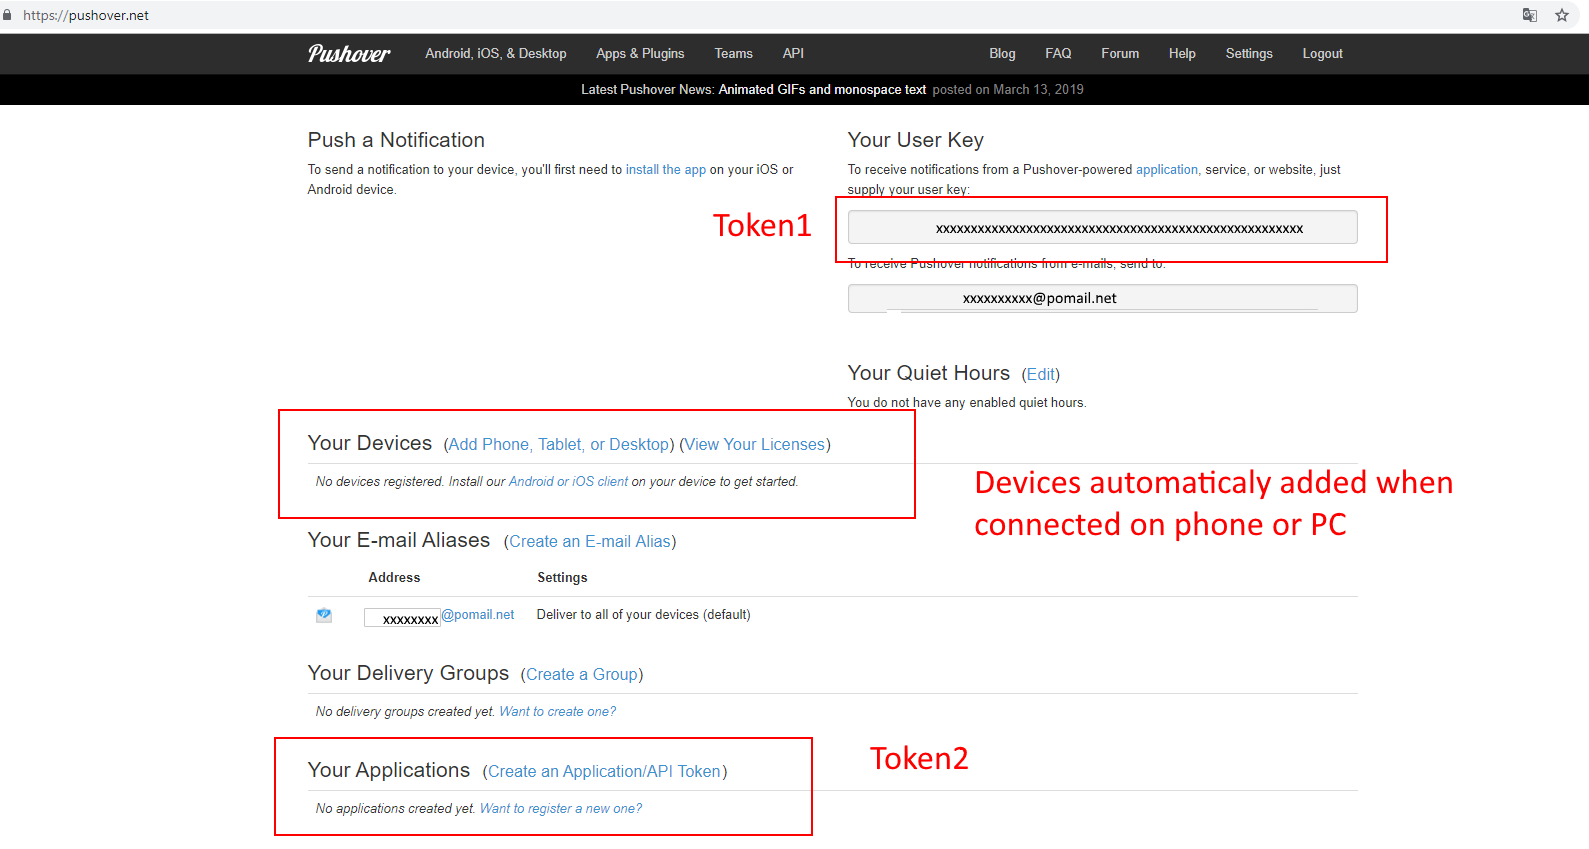
3 - You also need to generate an application token, which is the token 2
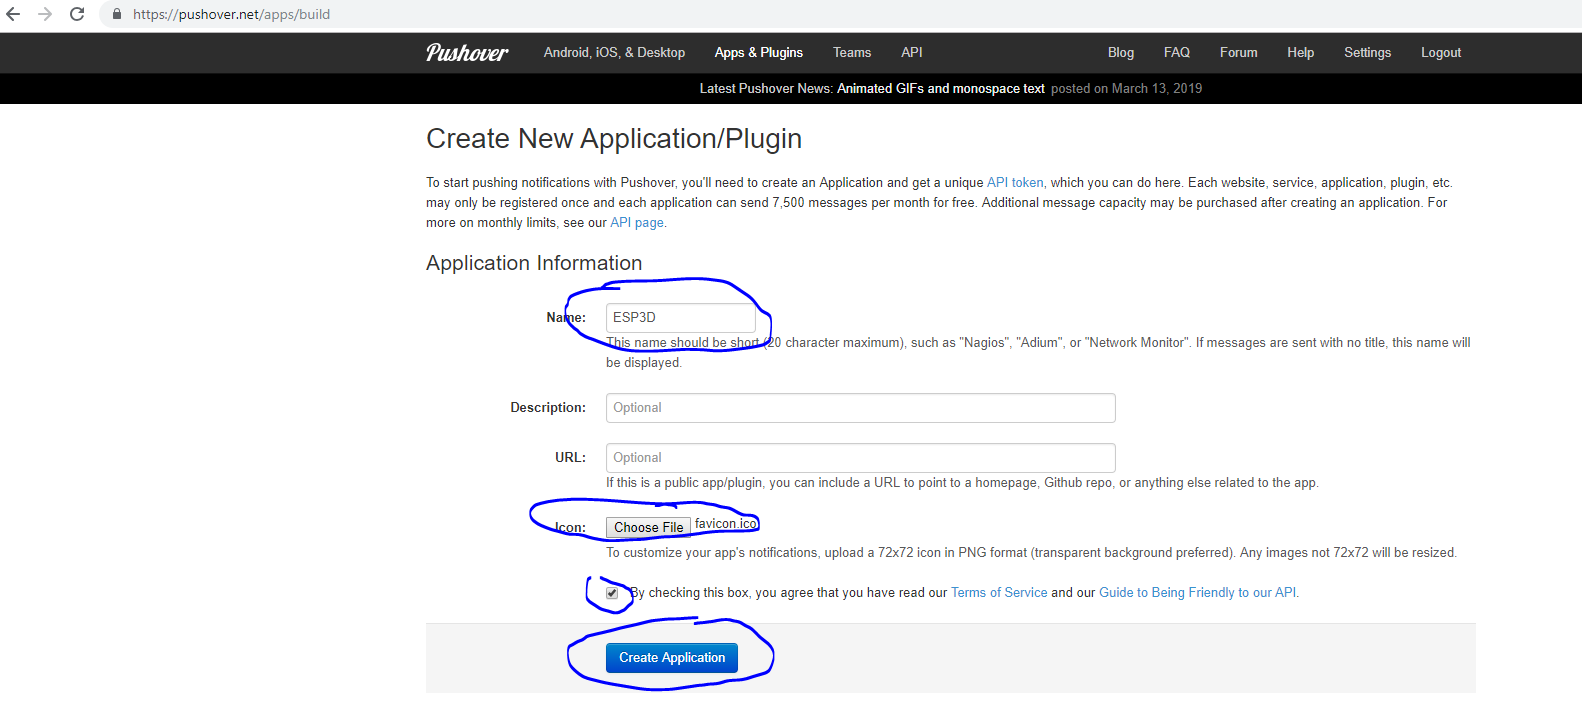
4 - The token 2 generation:
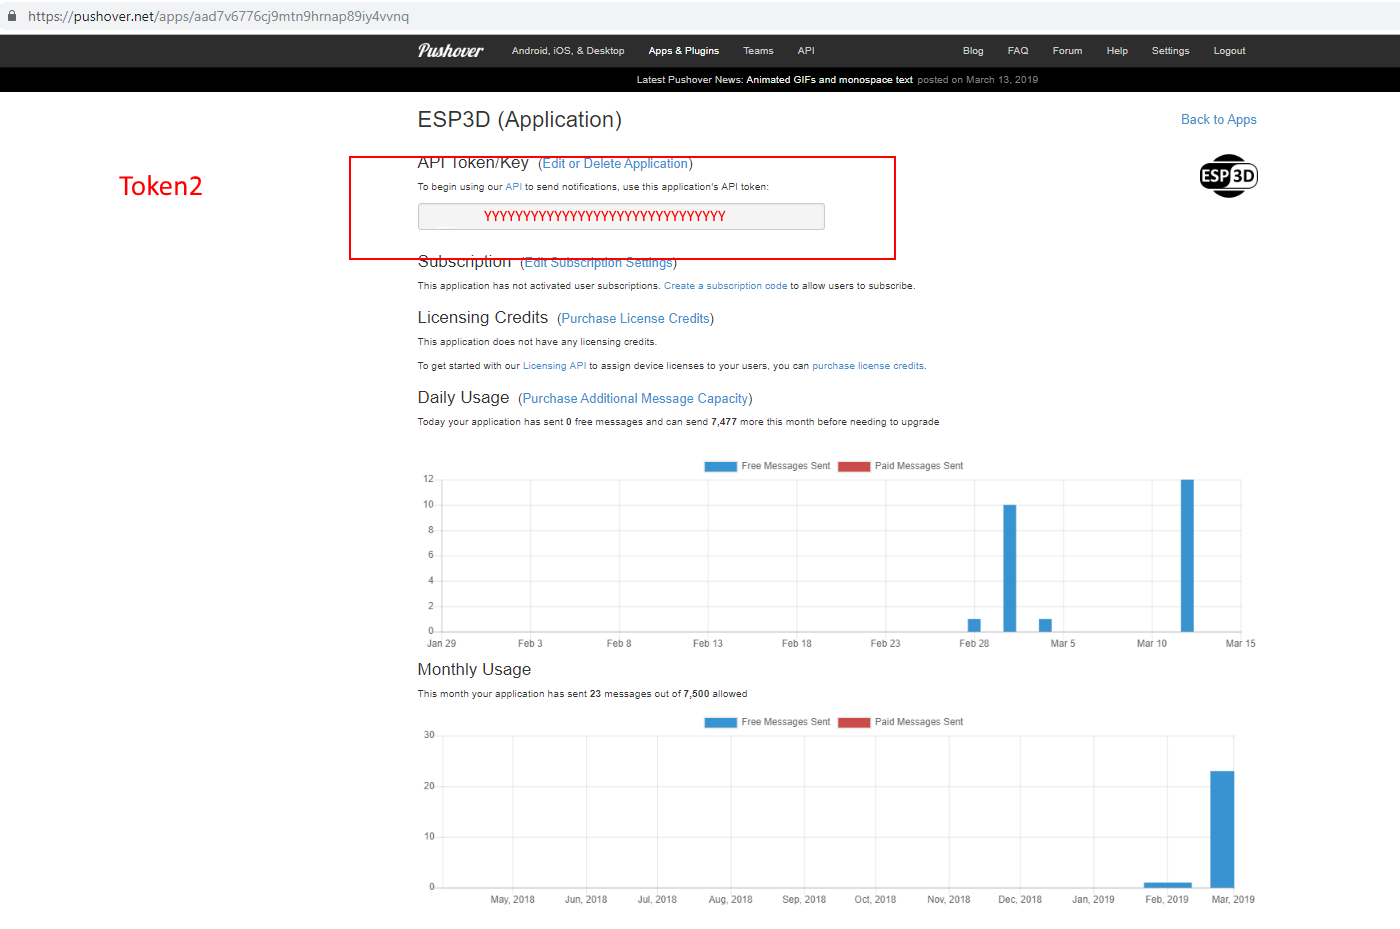
5 - Save the generate token 1 and token 2 in ESP3D, and set PUSHOVER as notification supplier
[ESP610]type=PUSHOVER T1=xxxxxxxxxxxxxxxxxx T2=yyyyyyyyyyyyyyyyy
6 - type [ESP610] to verify (T1 and T2 won’t be displayed)
7 - Try to send message:
[ESP600]Hi there, test from ESP3D
Home Assistant
Home Assistant is a home automation platform
Considering you have Home Assistant running in your local network:
1 - Go to
 , and create a long-lived access token
2 - Save the generated token in ESP3D, and set HOMEASSISTANT as notification supplier
[ESP610]type=HOMEASSISTANT T1=xxxxxxxxxxxxx TS=homeassistant.local:8123
3 - type [ESP610] to verify (T1 won’t be displayed)
4 - Try to send message:
[ESP600]/api/services/light/toggle#{"entity_id":"light.wintergarten_spots"}
5 - At the end of your gcode, you can add the following have your vacuum cleaner announce the print is done:
Line Notification
Line is free service
Considering you have line account and you already installed line on you phone/PC:
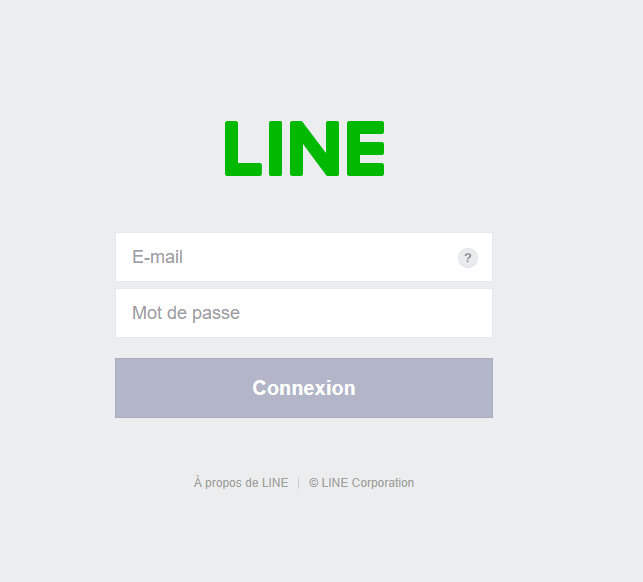
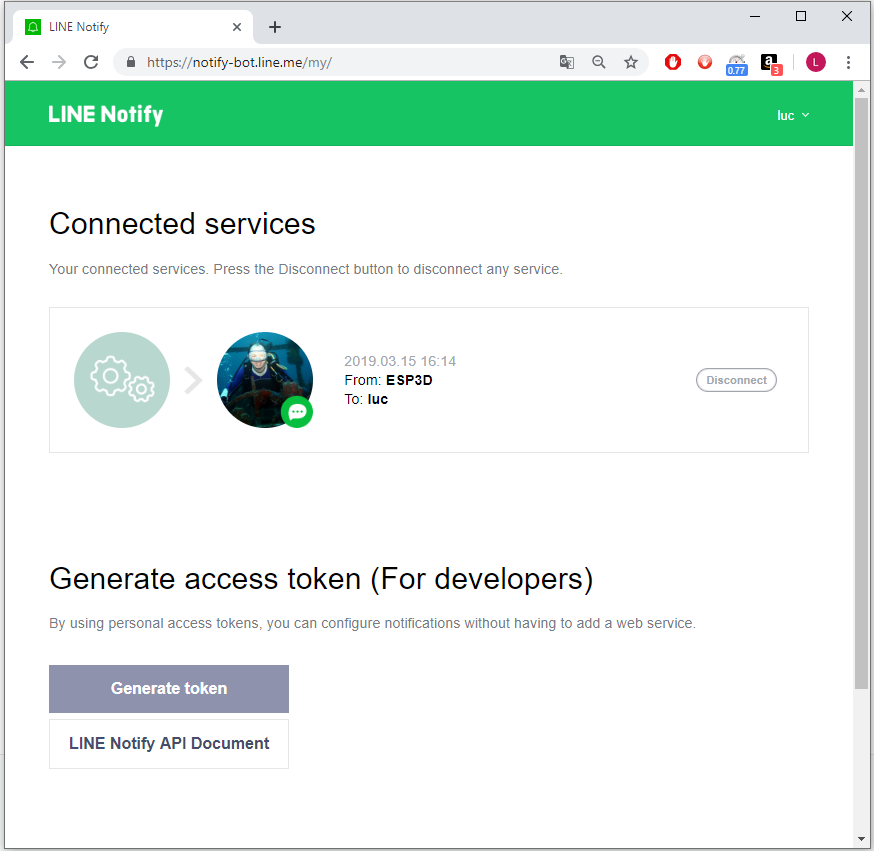
1 - Go to https://notify-bot.line.me/my/ and connect with email and password
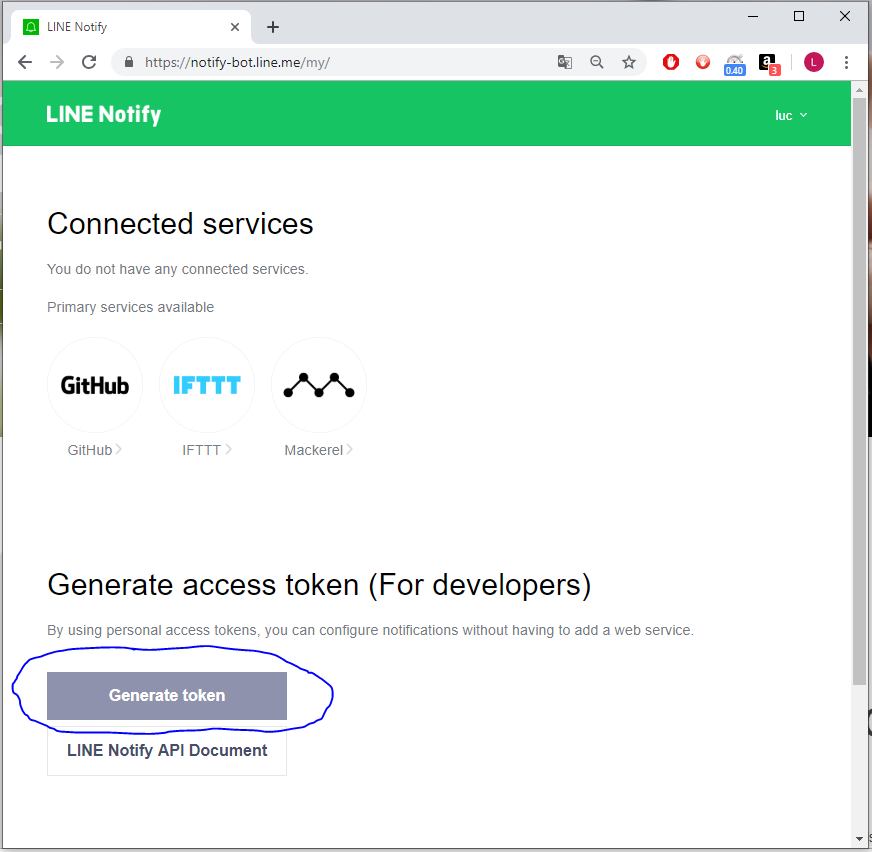
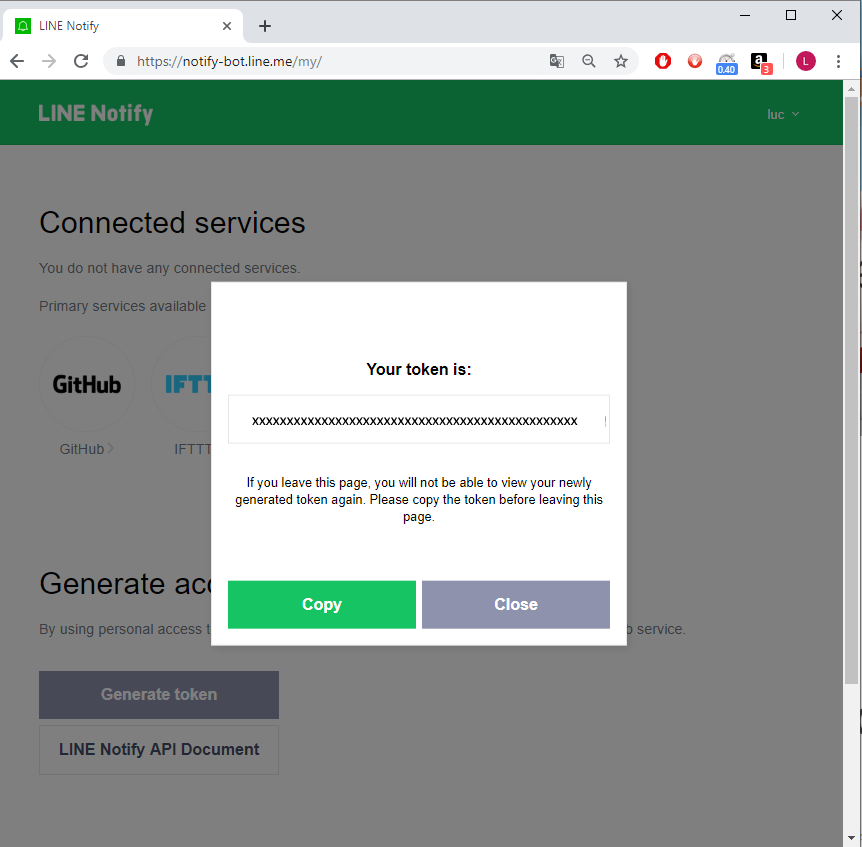
2 - Once connected you will be able to generate token
3 - Type token name on top, select recipient(s) and press Generate token
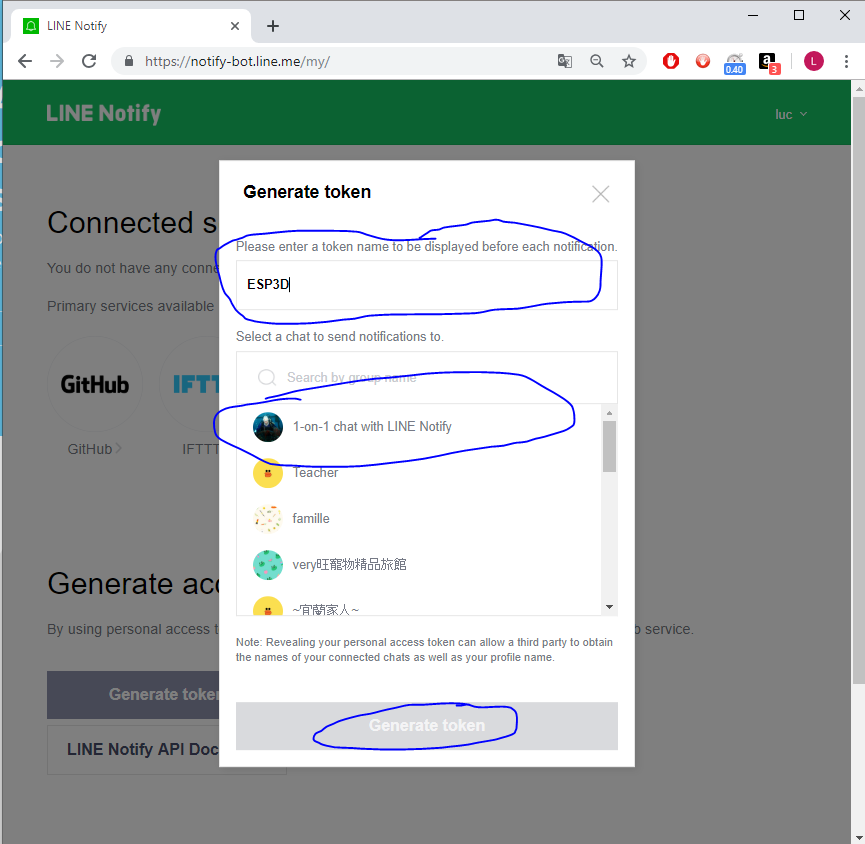
4 - Once token is created you need to copy it
5 - You can create as many tokens you want, and delete the ones you do not need
6 - Save the generate token in ESP3D, and set LINE as notification supplier
[ESP610]type=LINE T1=xxxxxxxxxxxxxxxxxx
7 - type [ESP610] to verify (T1 won’t be displayed)
8 - Try to send message:
[ESP600]Hi there, test from ESP3D
Email Notification
Email Notification is using SMTP and HTTPS, so you need to collect the following information fof your email supplier
- smtp server address and https port
- smtp username/ID
- smtp password
ESP3D use the parameters as follow:
- token 1 = ID to login to your email supplier
- token 2 = Password to login to your email supplier
- token settings =
the_recipient email#smtp_server:port where # and : are fields separators.
For example: luc@gmail.com#smtp.gmail.com:465
1 -Save the token 1, token 2 and token settings in ESP3D, and set EMAIL as notification supplier
[ESP610]type=EMAIL T1=luc@gmail.com T2=mypassword TS=luc@gmail.com#smtp.gmail.com:465
2 - Type [ESP610] to verify (T1 and T2 won’t be displayed)
3 - Try to send message:
[ESP600]Hi there, test from ESP3D
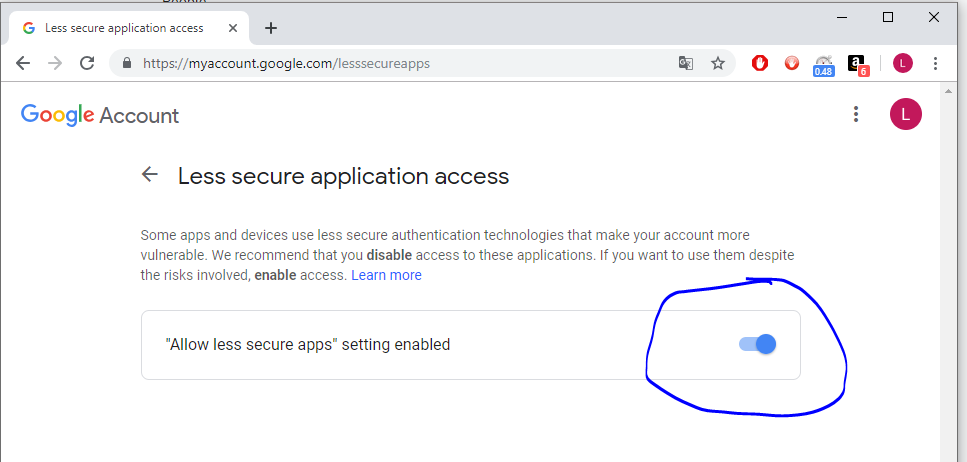
4 - Important : if you are using Gmail there is an additional step, as by default https access is disabled.
go to : https://myaccount.google.com/lesssecureapps and allow less secure applications to connect
IFTTT Notification
IFTTT is free service up to 5 applets
IFTTT is a wrapper that allows several kind of notifications, please refer to it documentation.
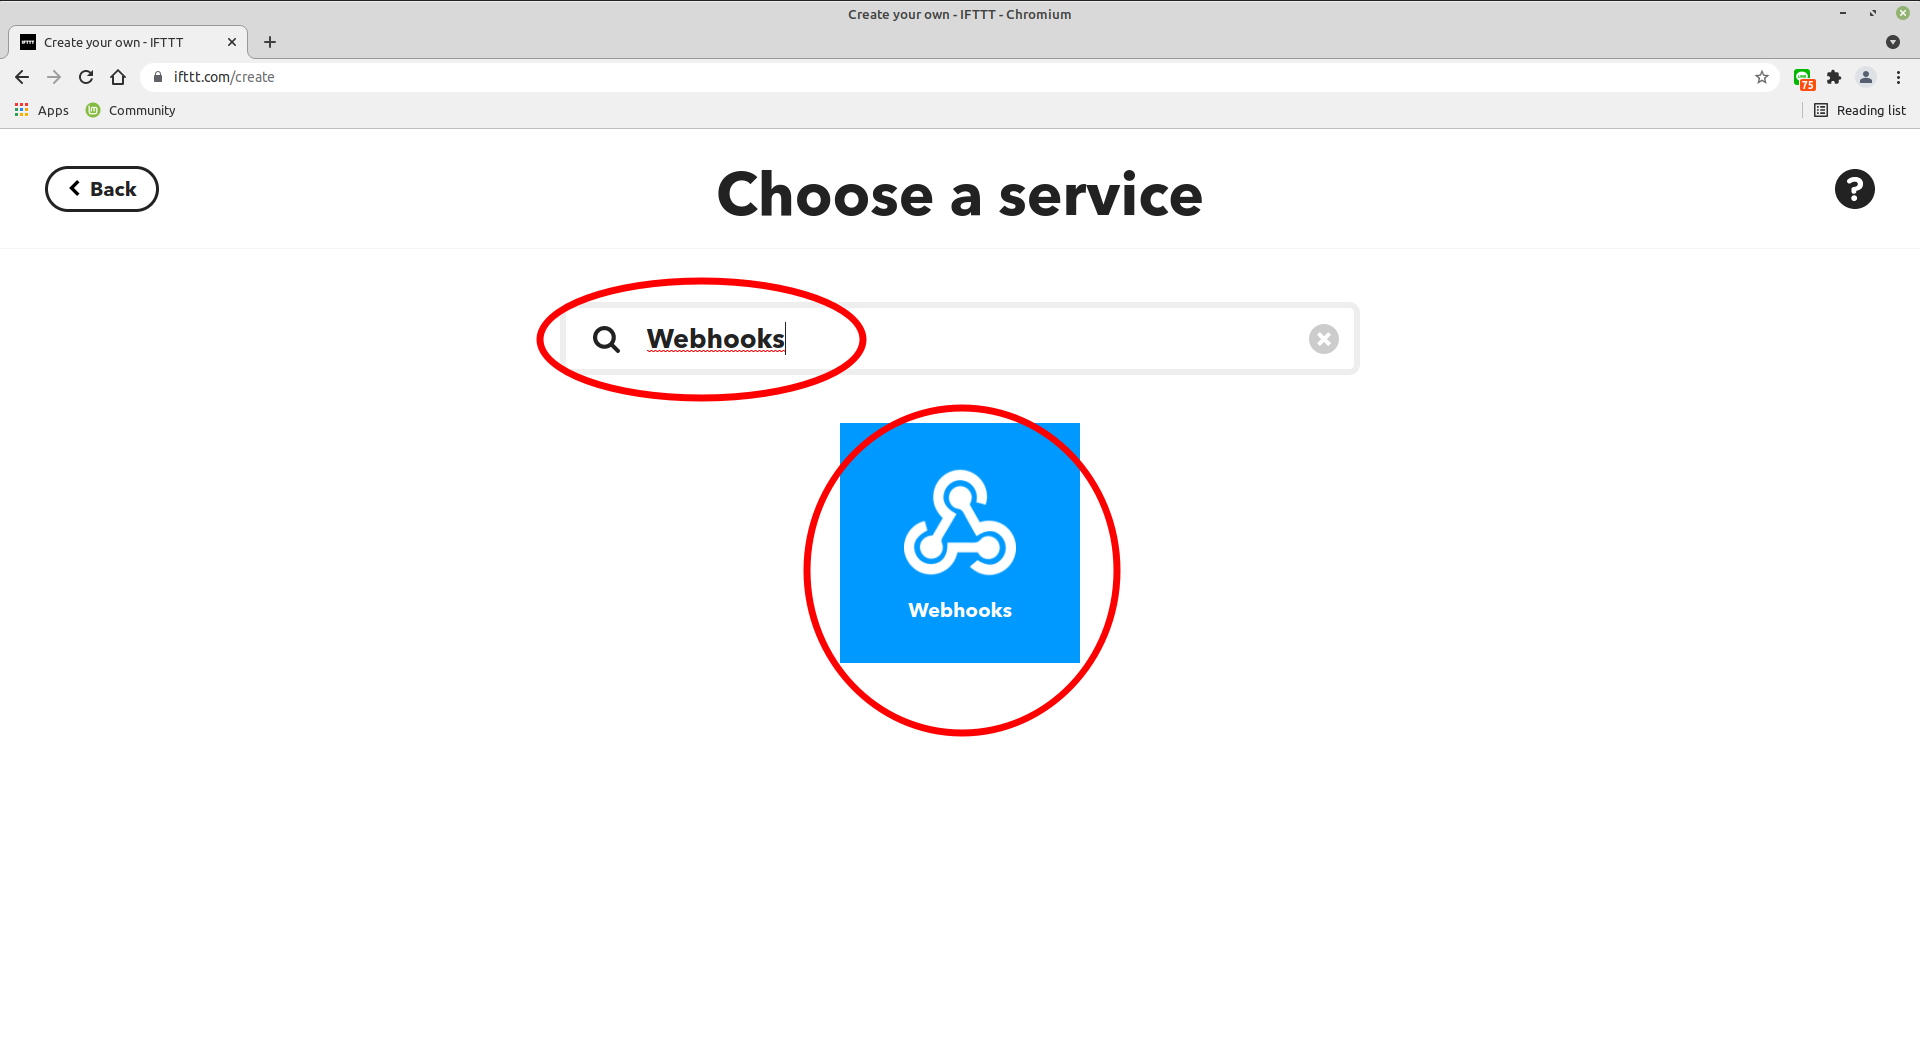
ESP3D use the webhook method.
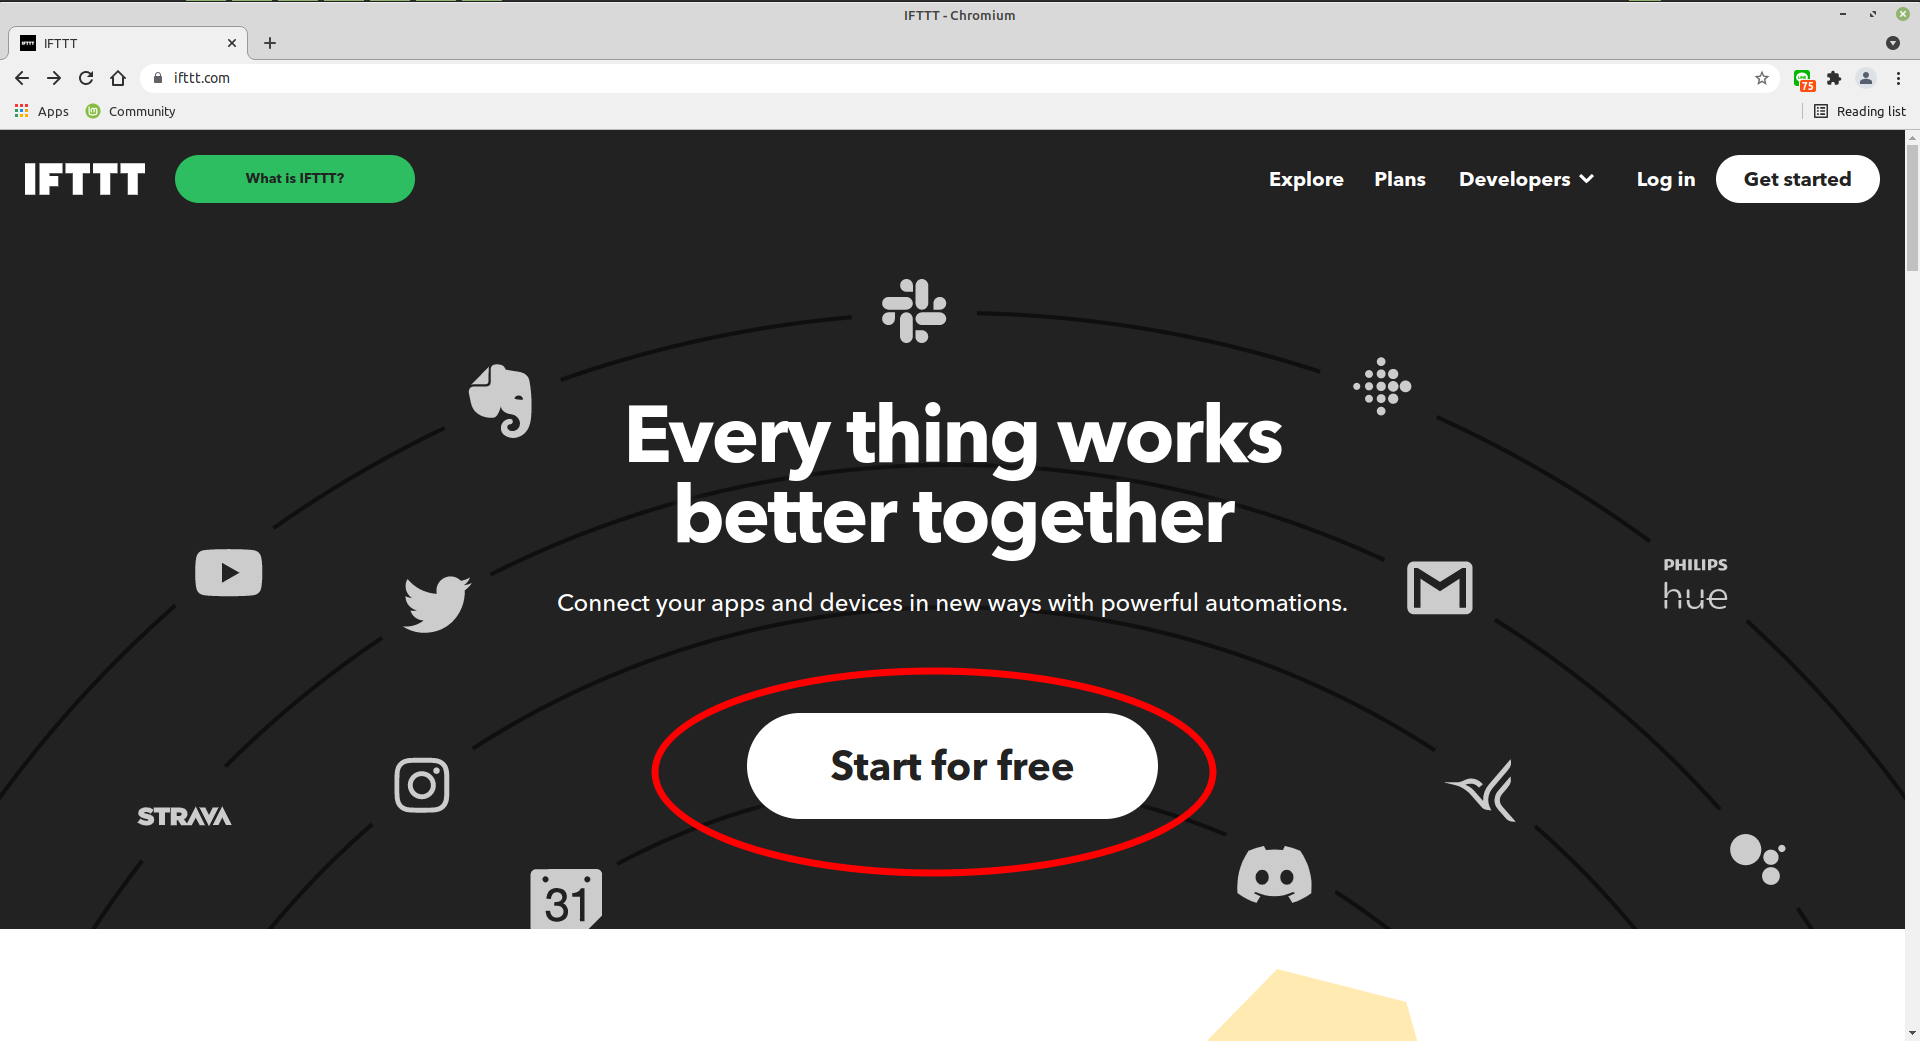
1 - If you do not have IFTTT account you can create for free to use up to 5 applets.
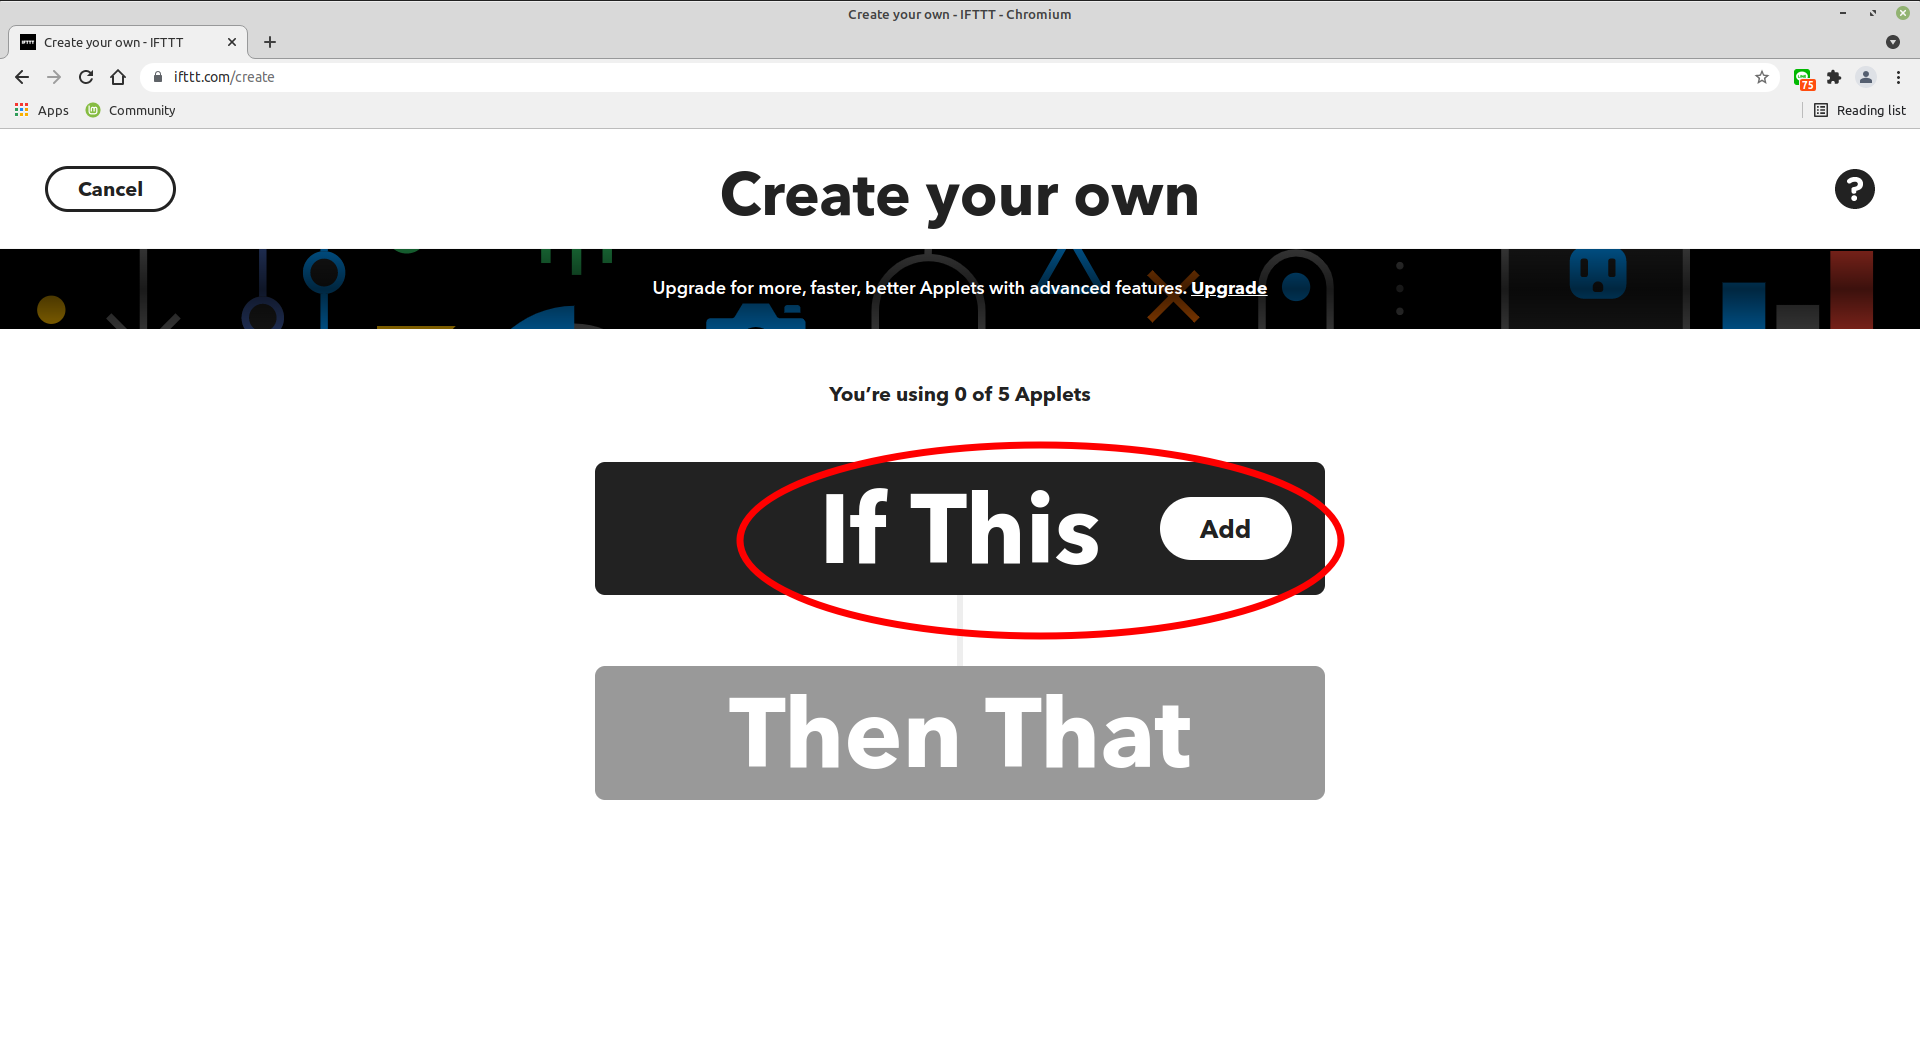
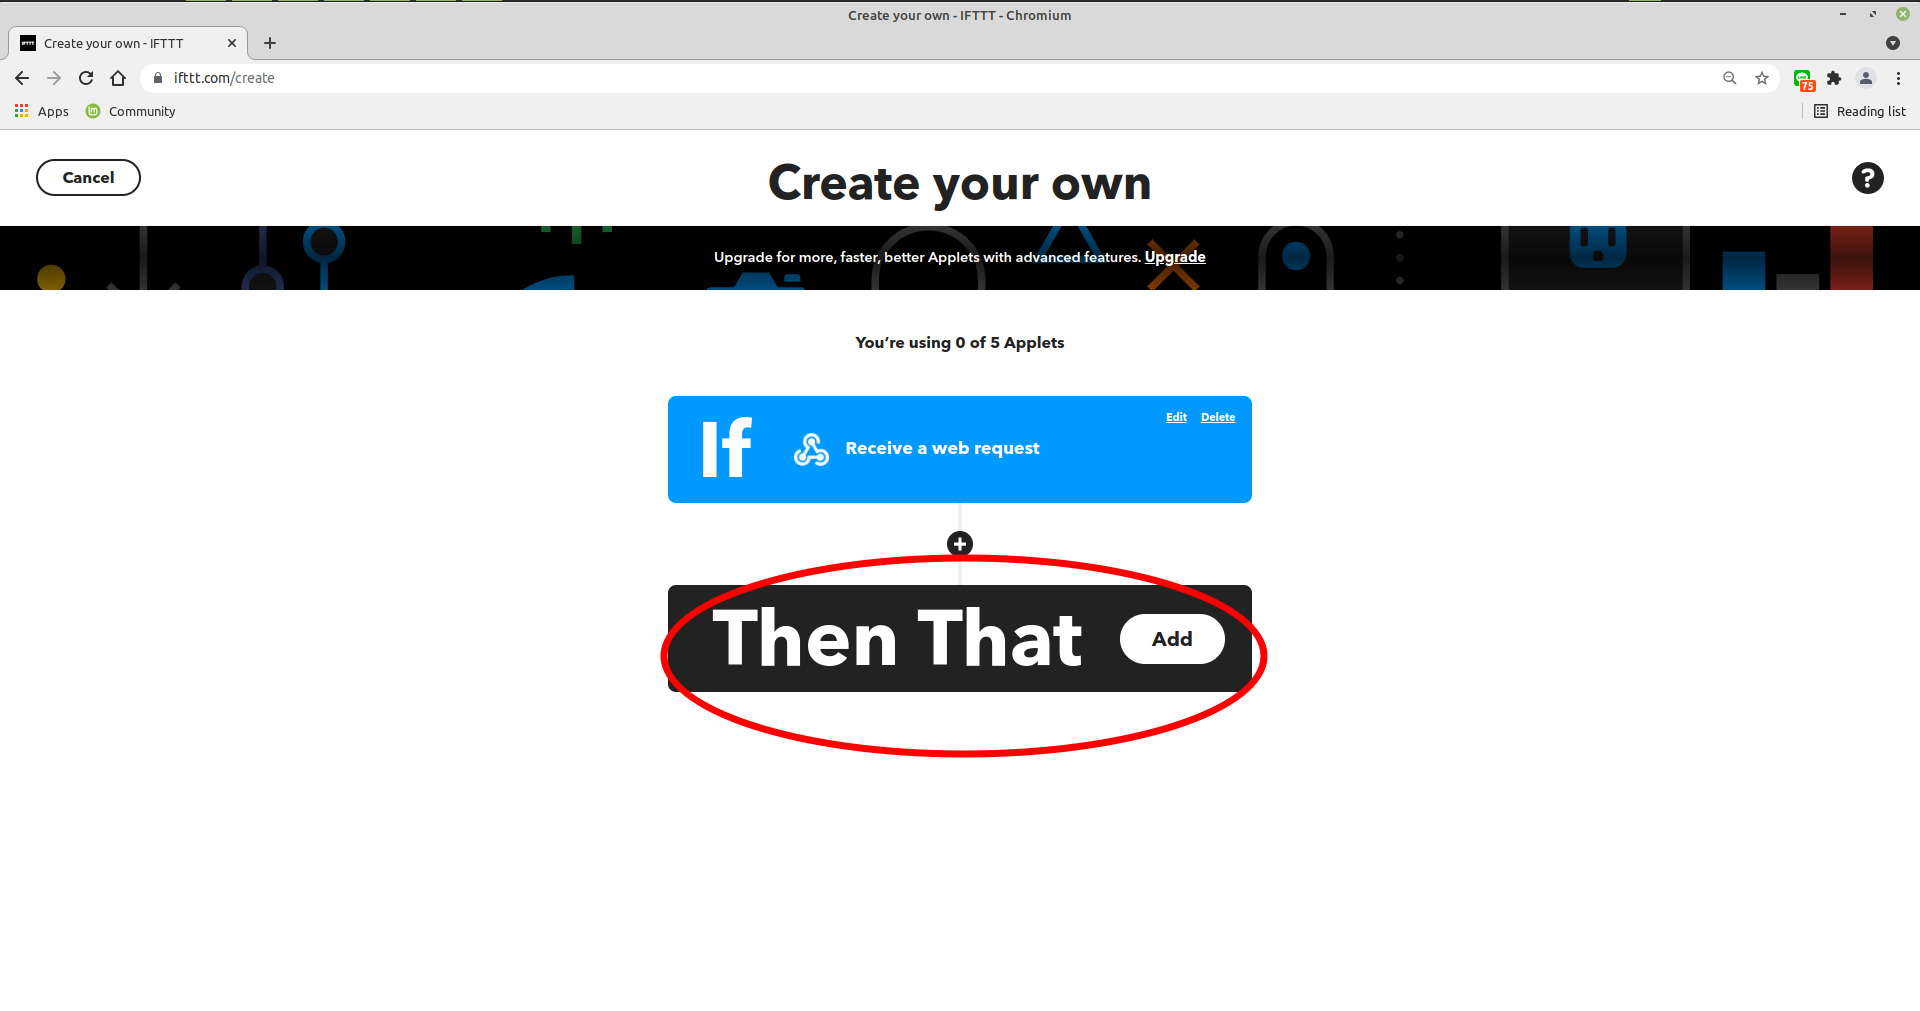
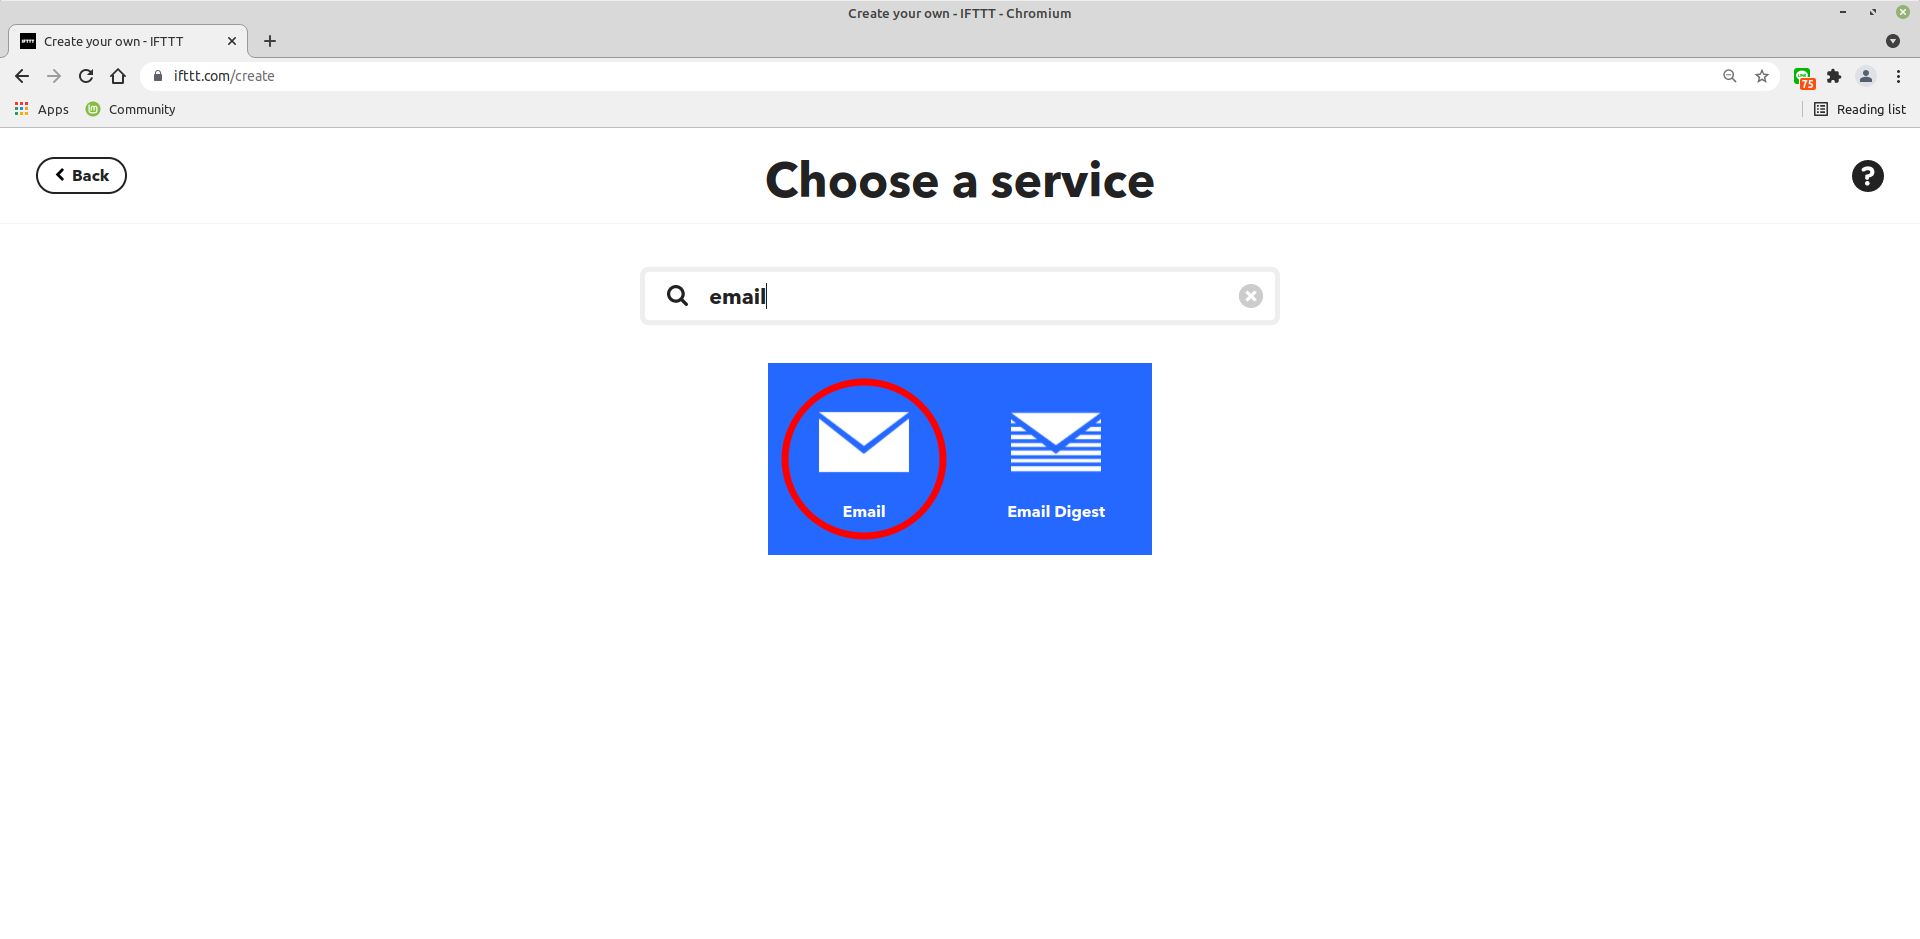
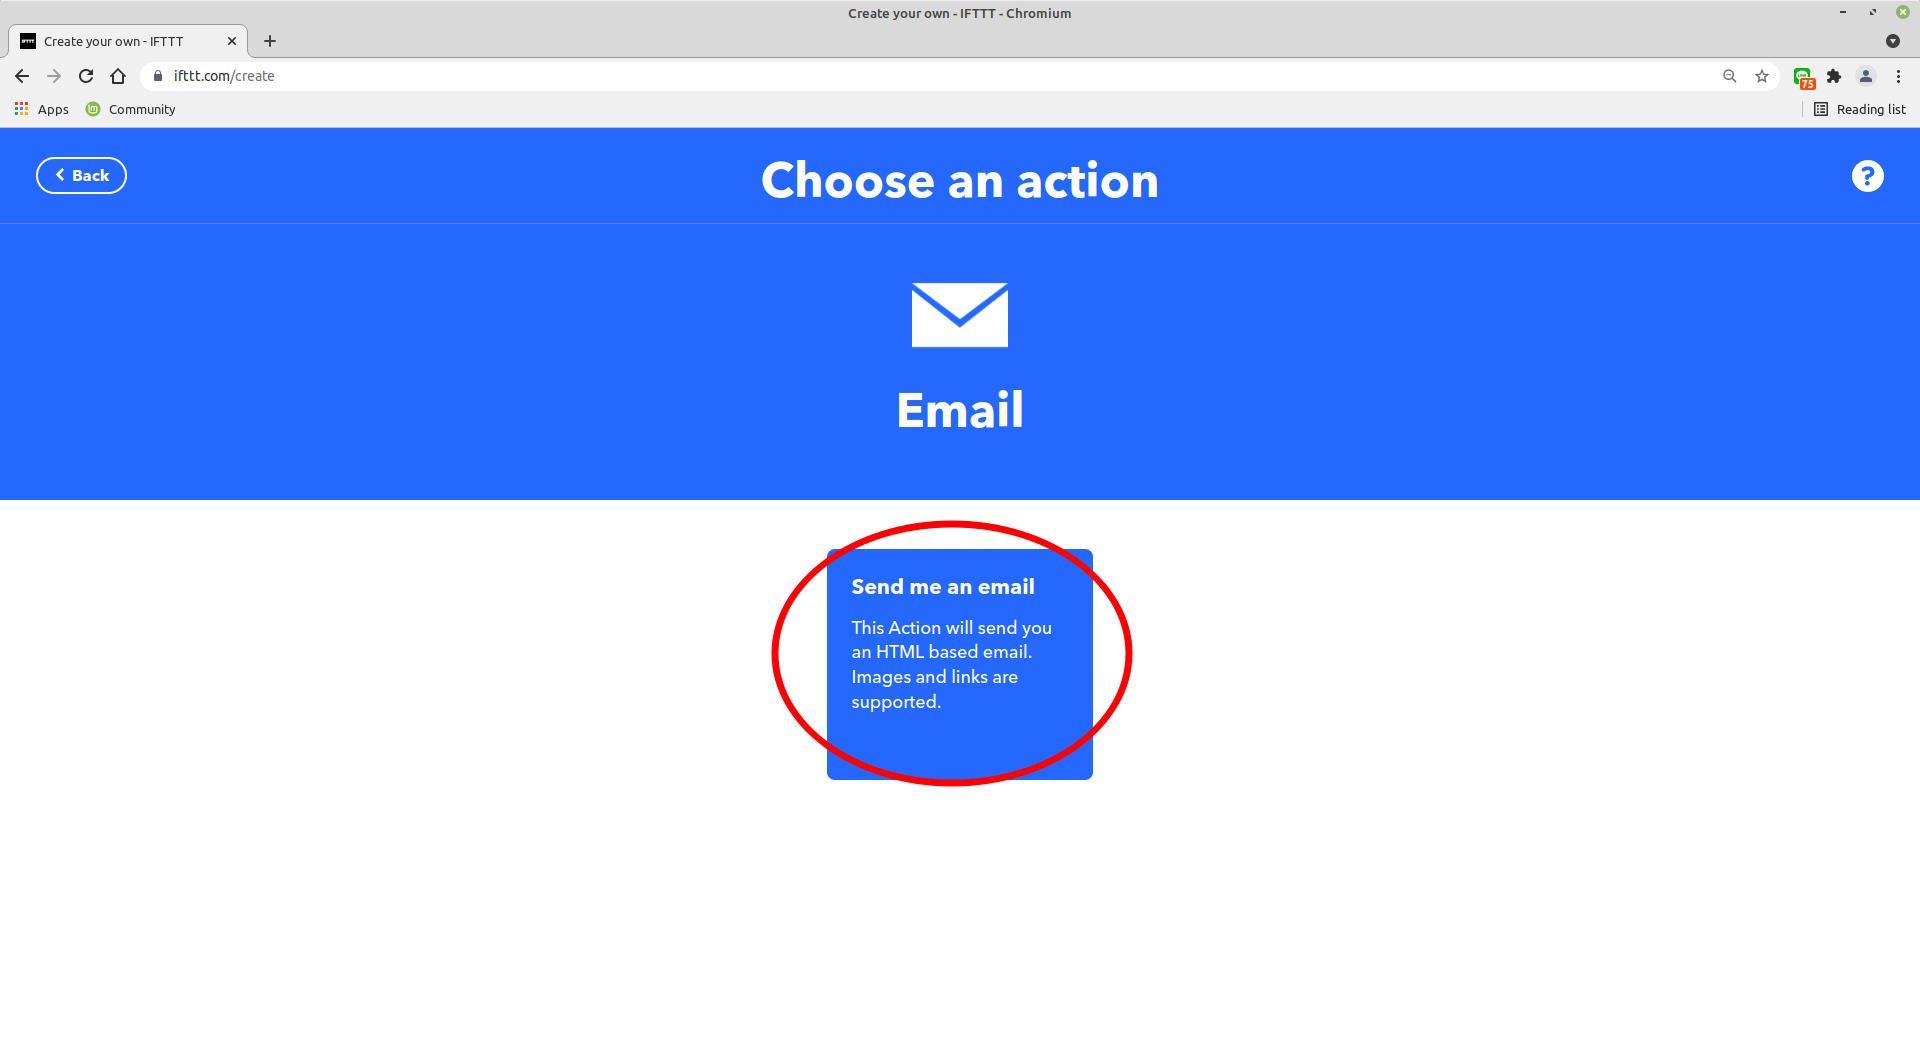
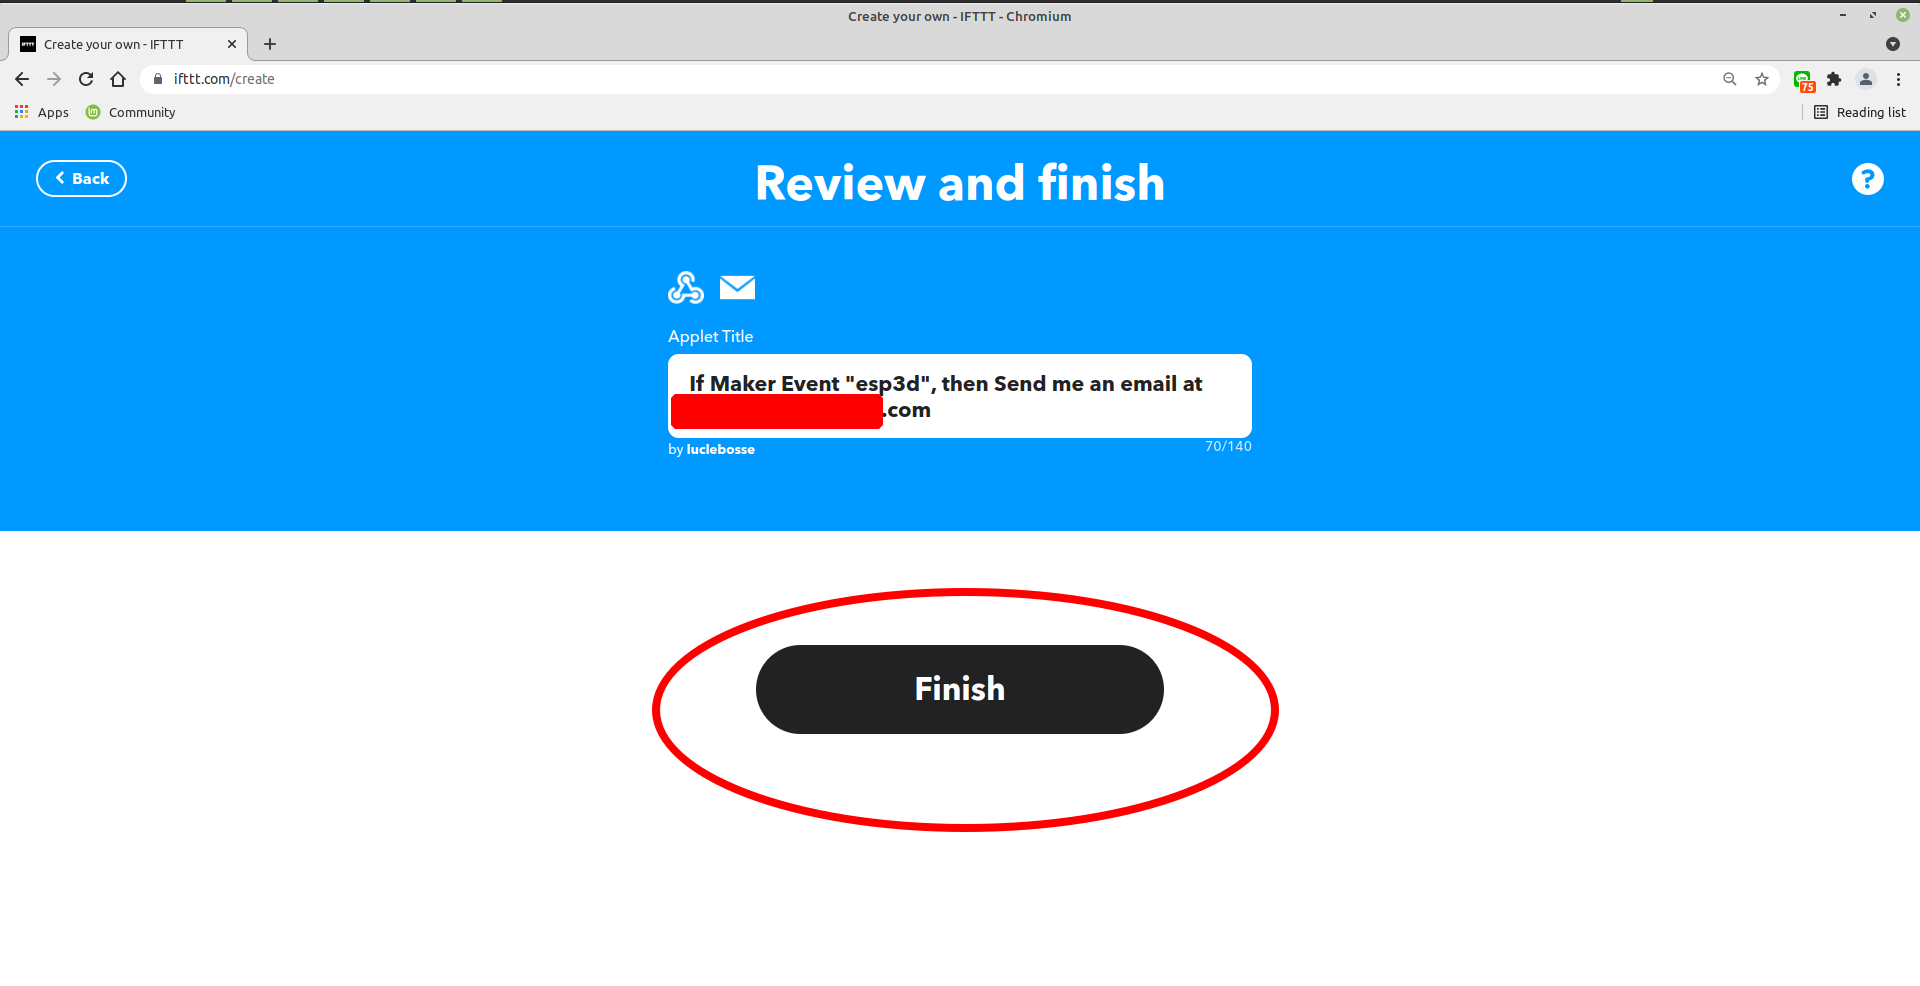
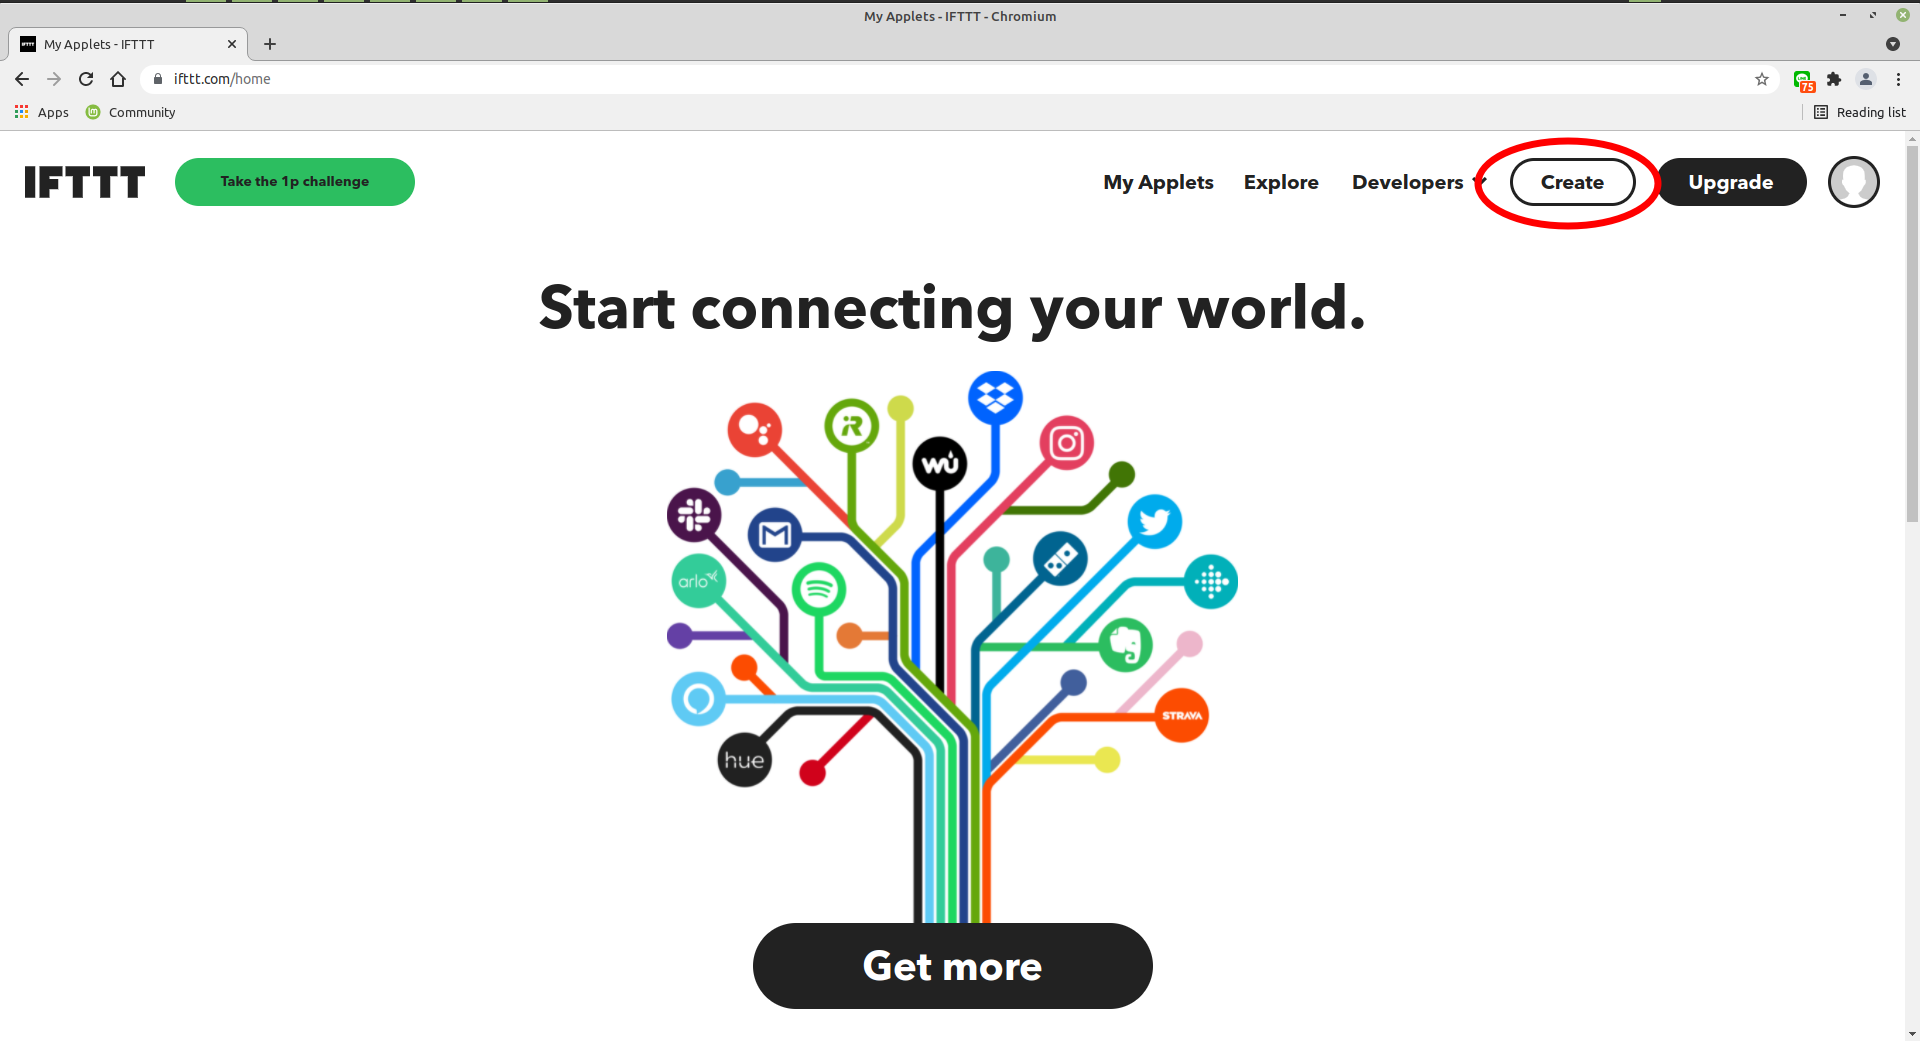
2 - Create New applet
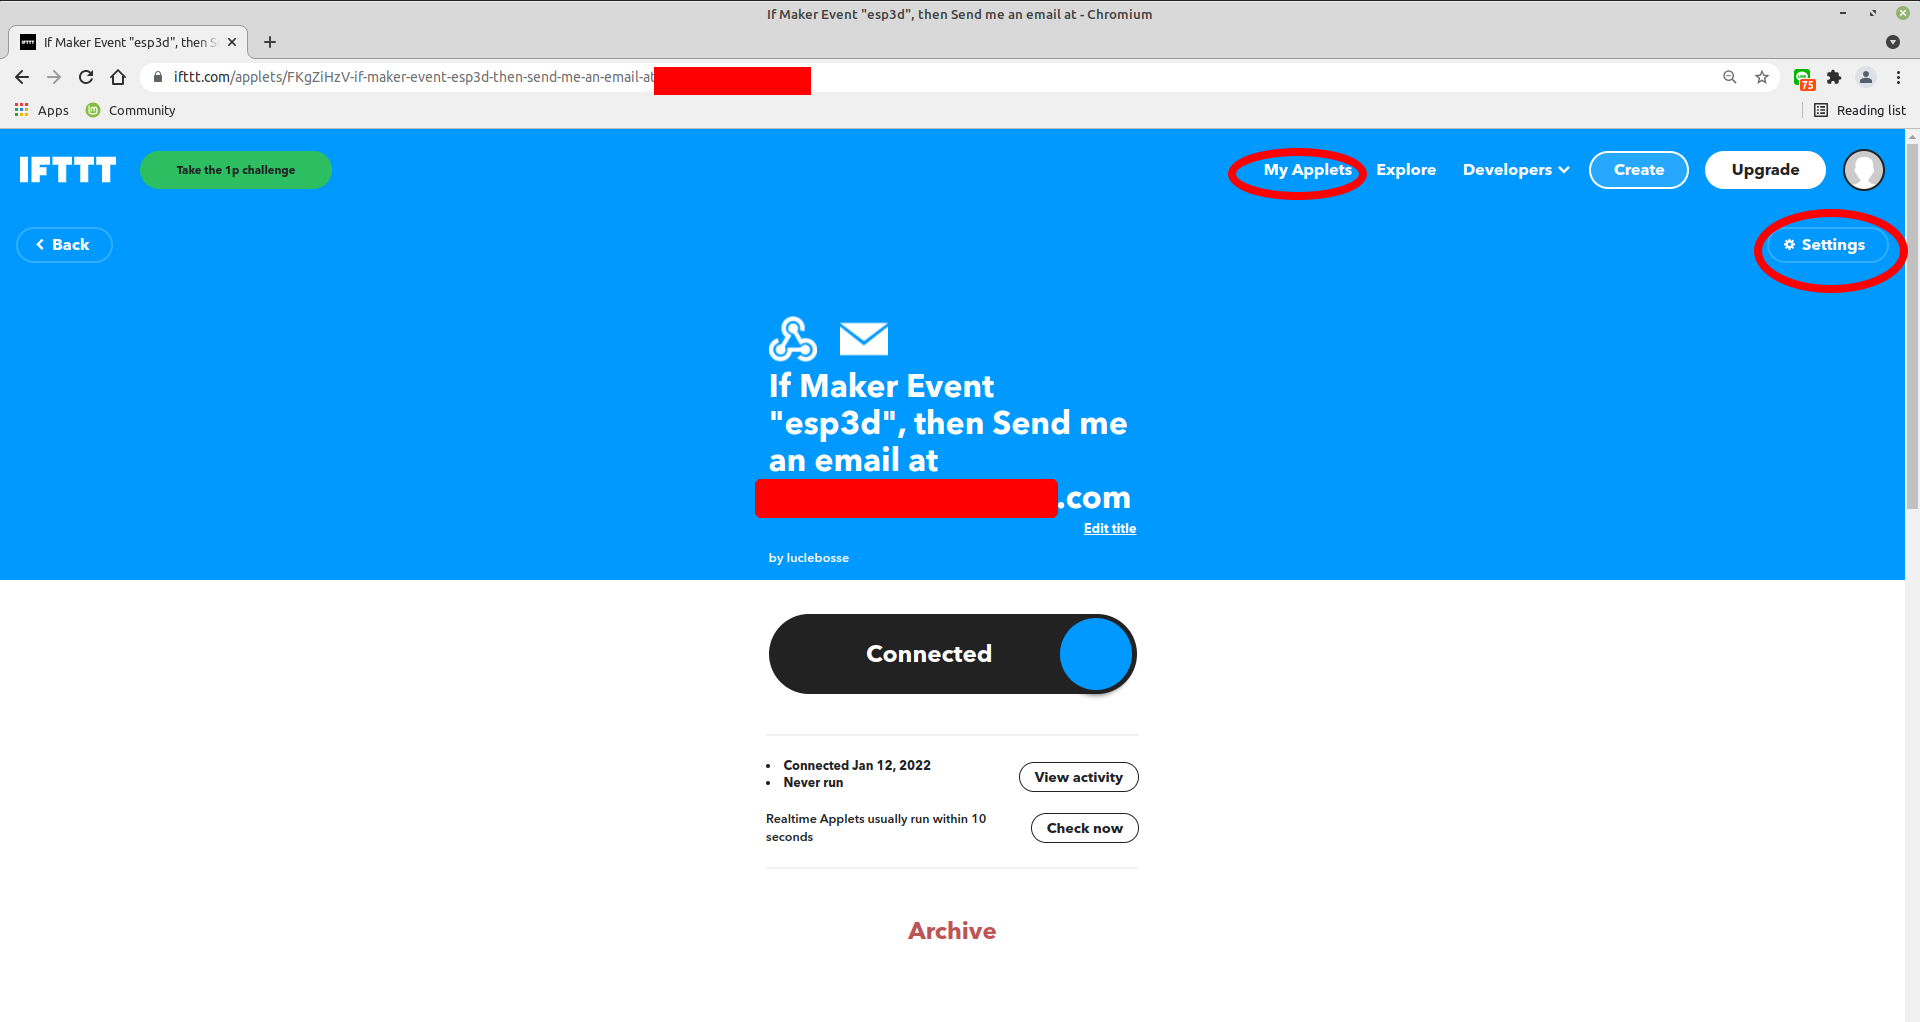
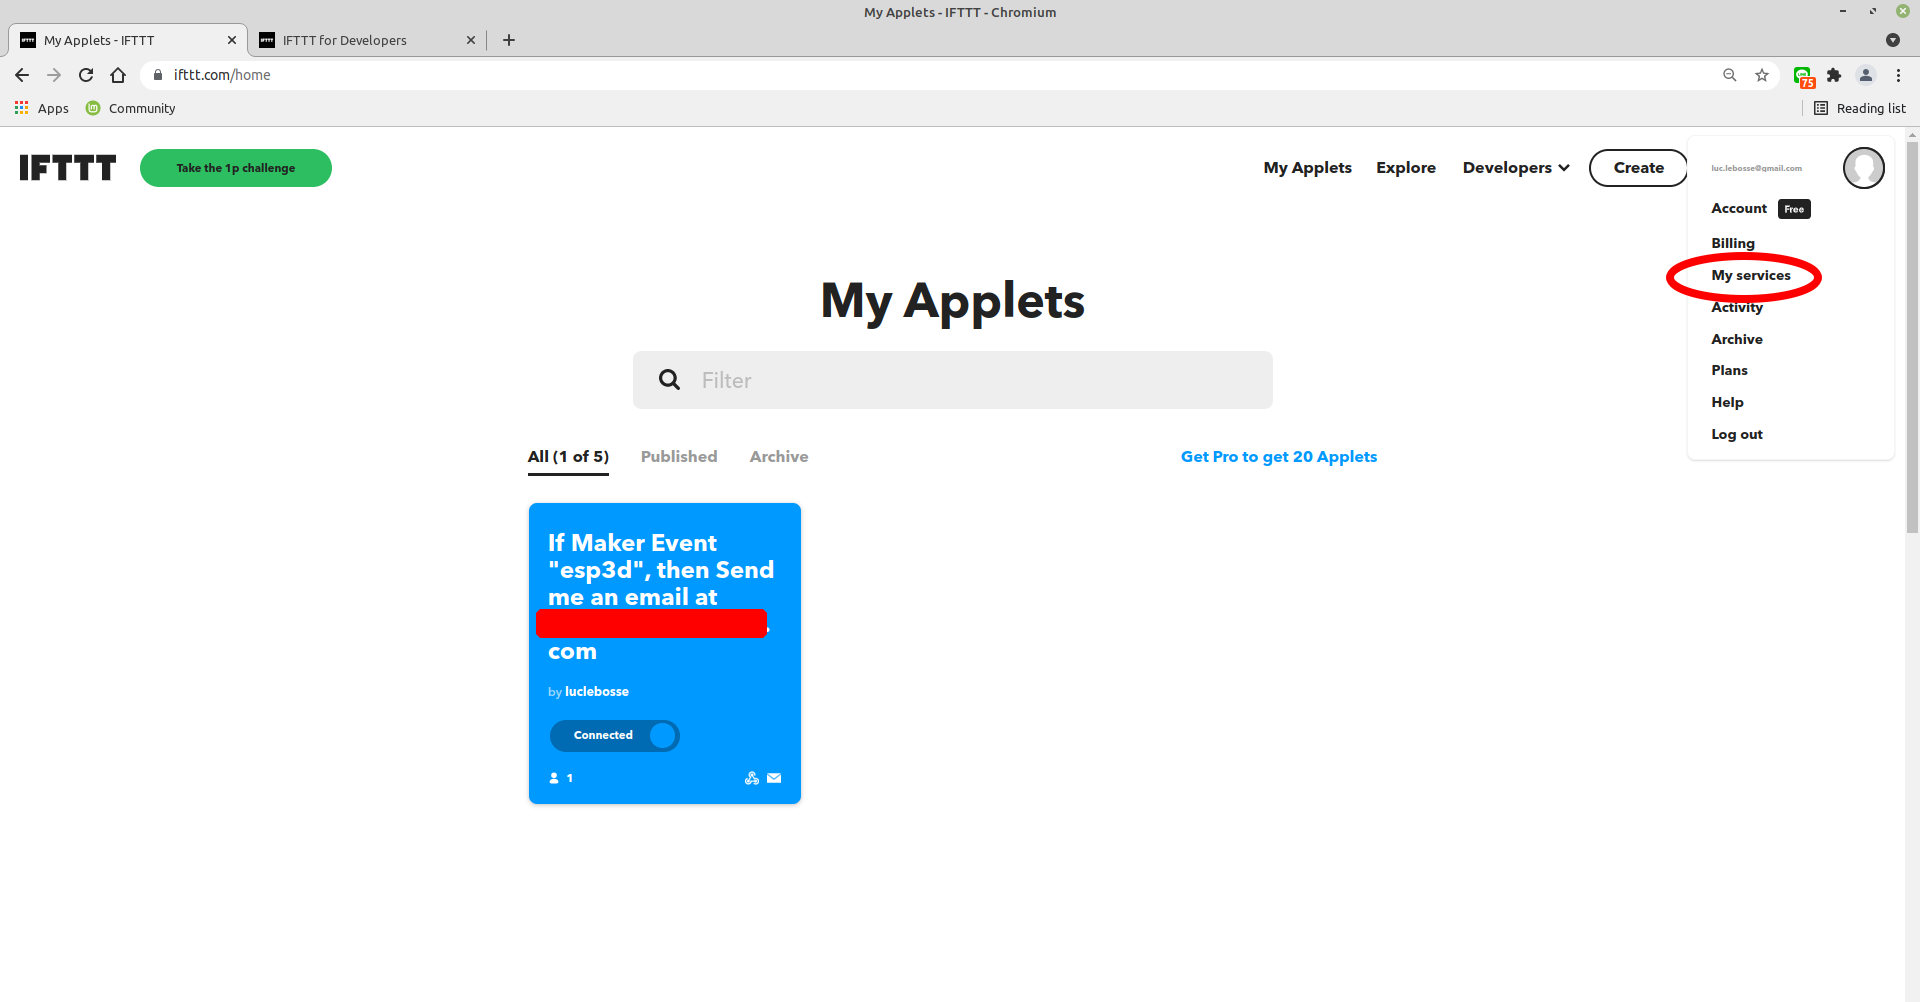
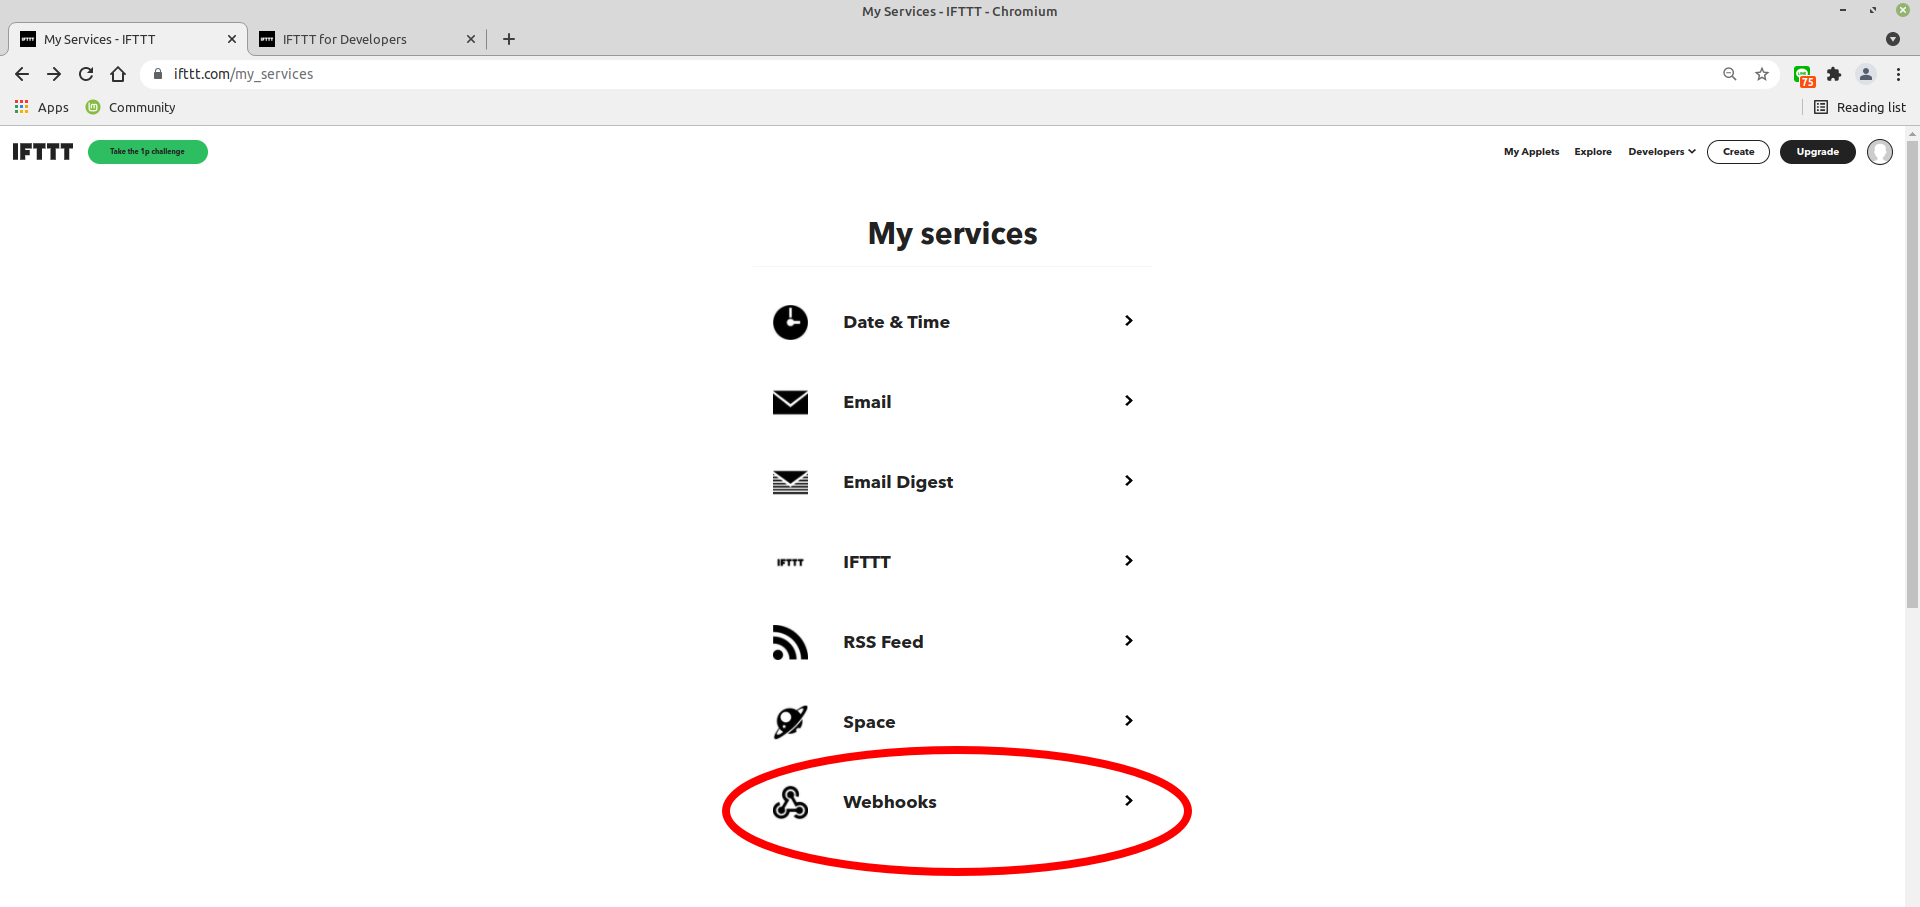
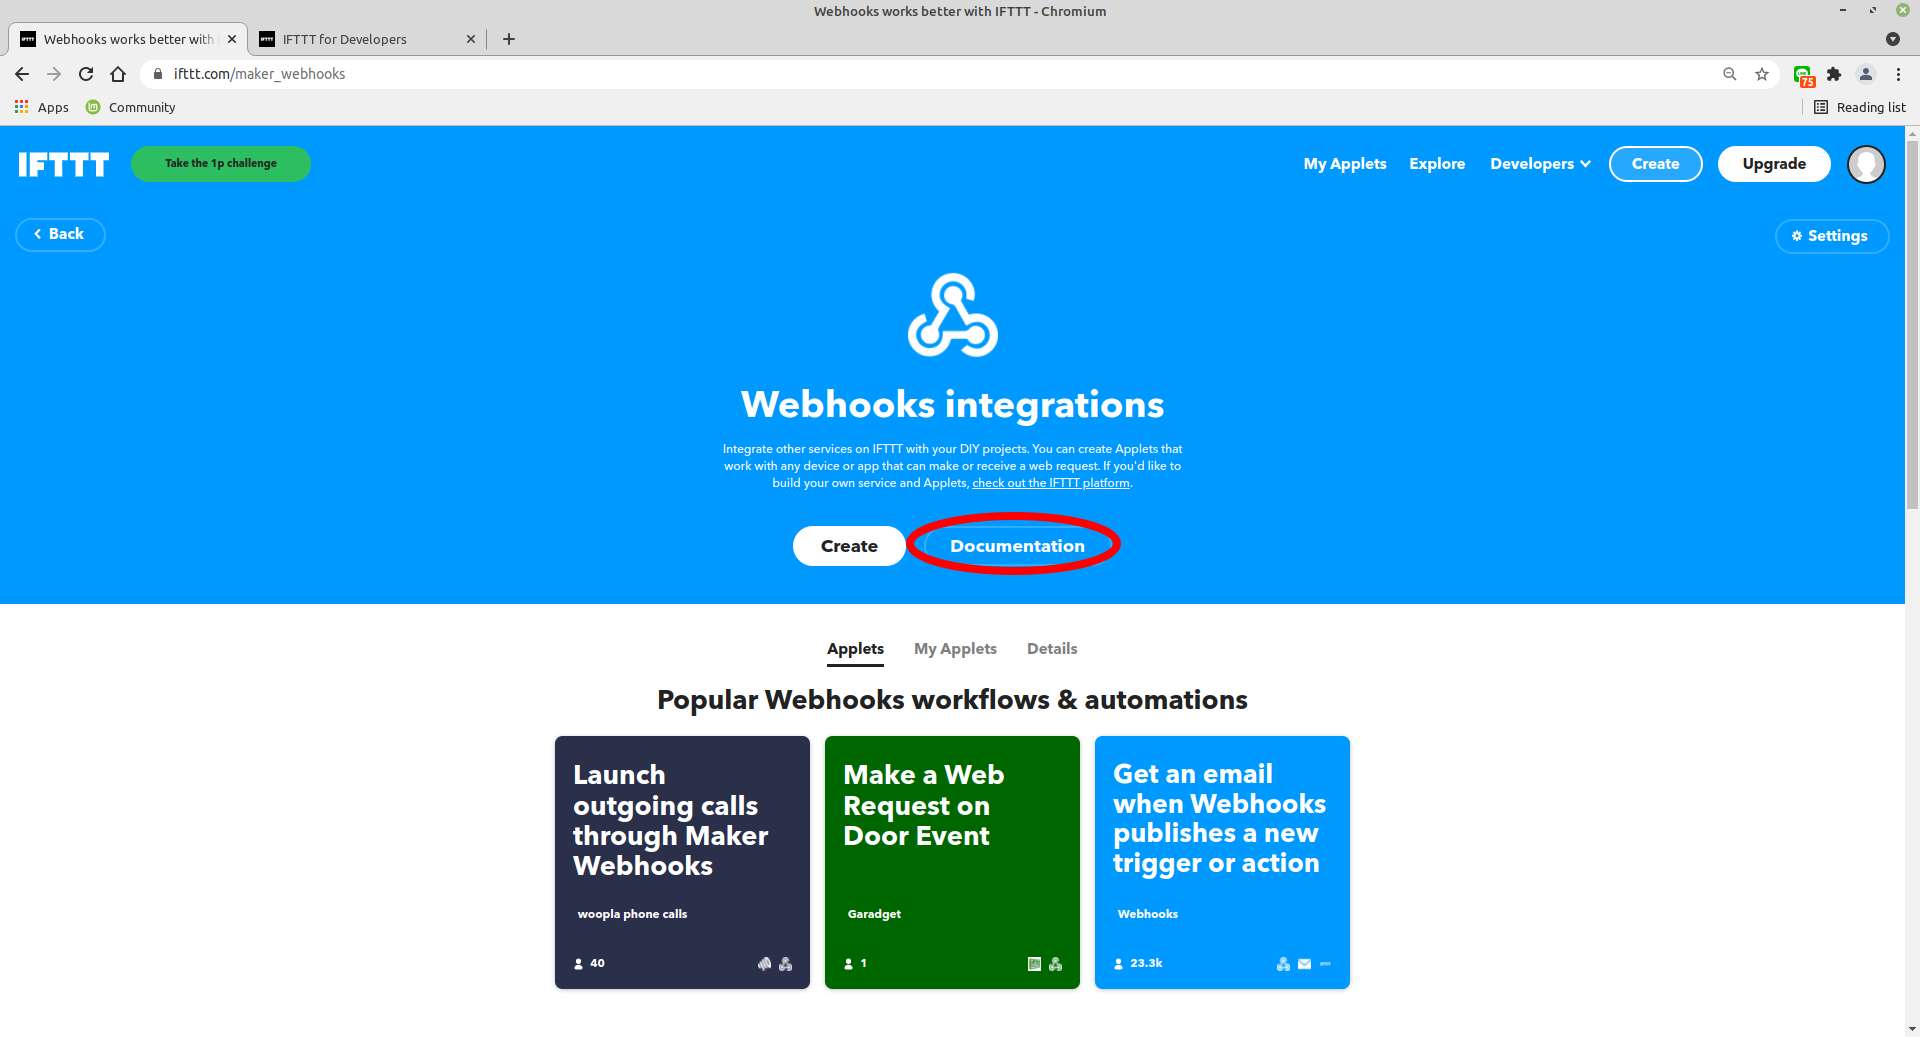
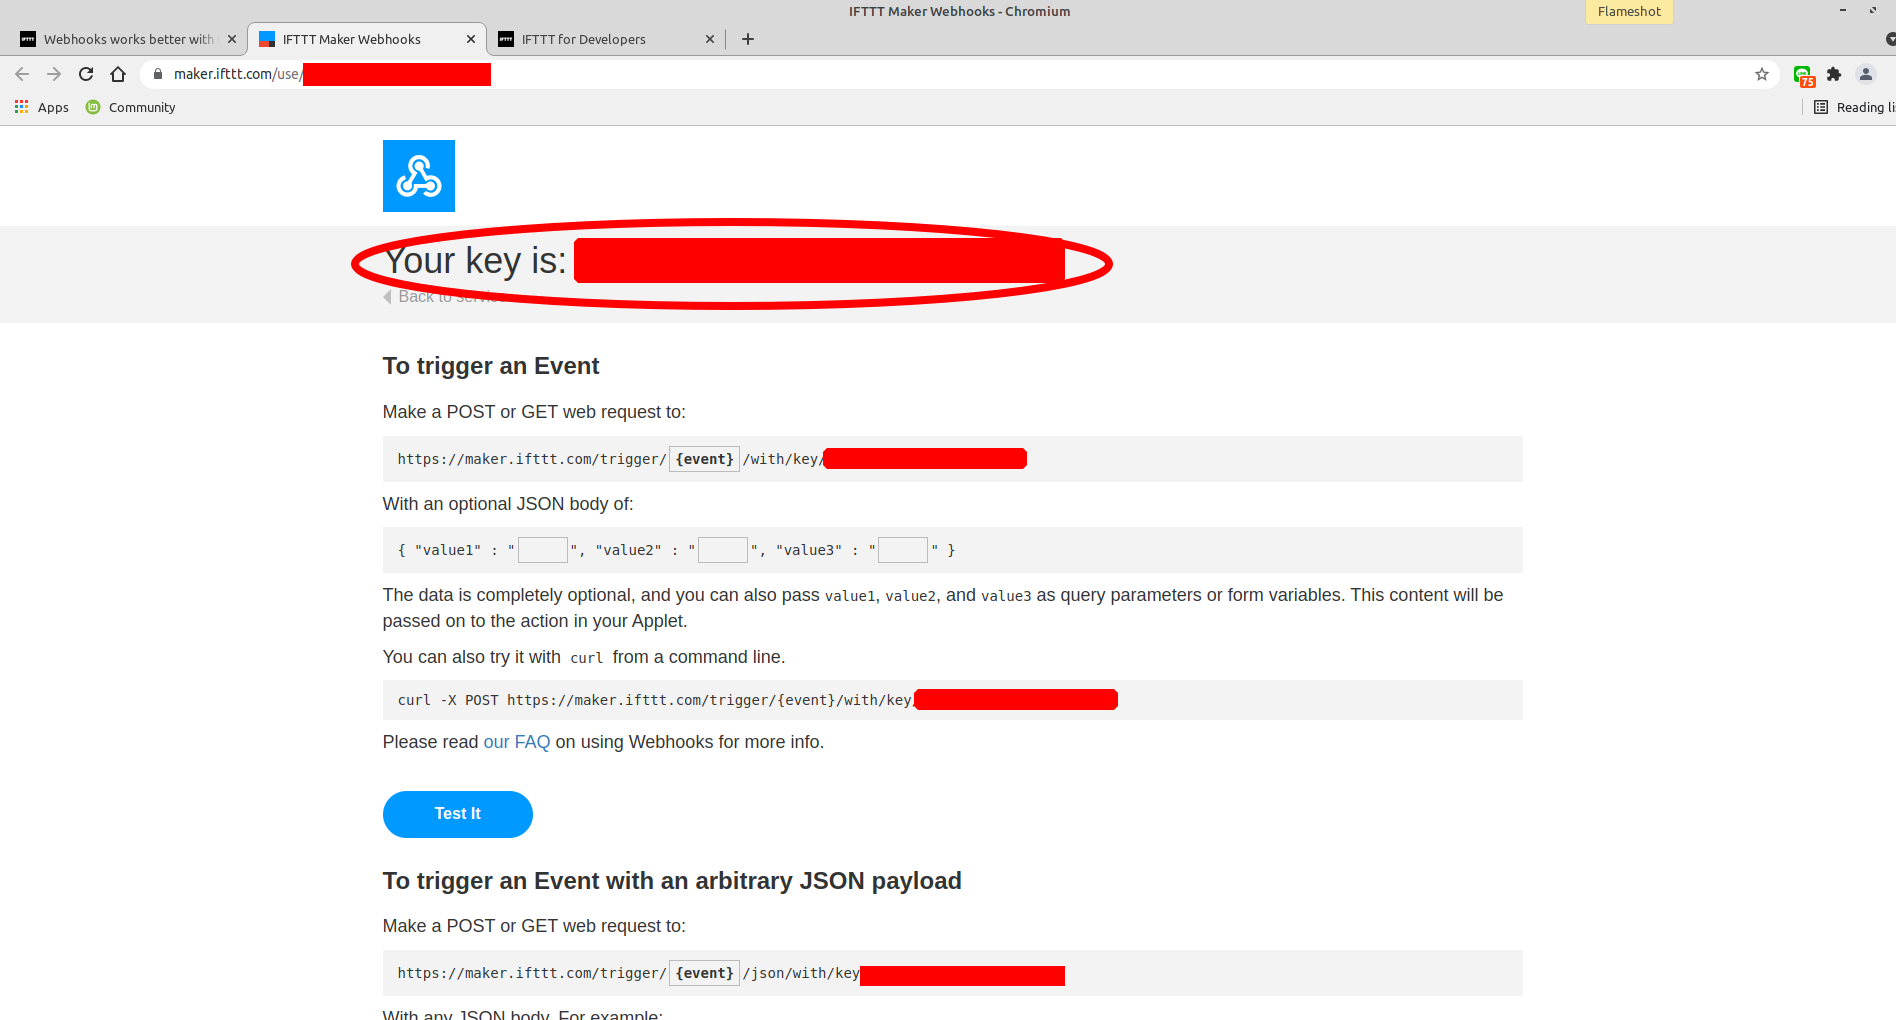
3 - Retrieve the webhook key
4 - Save the generate token and chatID in ESP3D, and set IFTTT as notification supplier
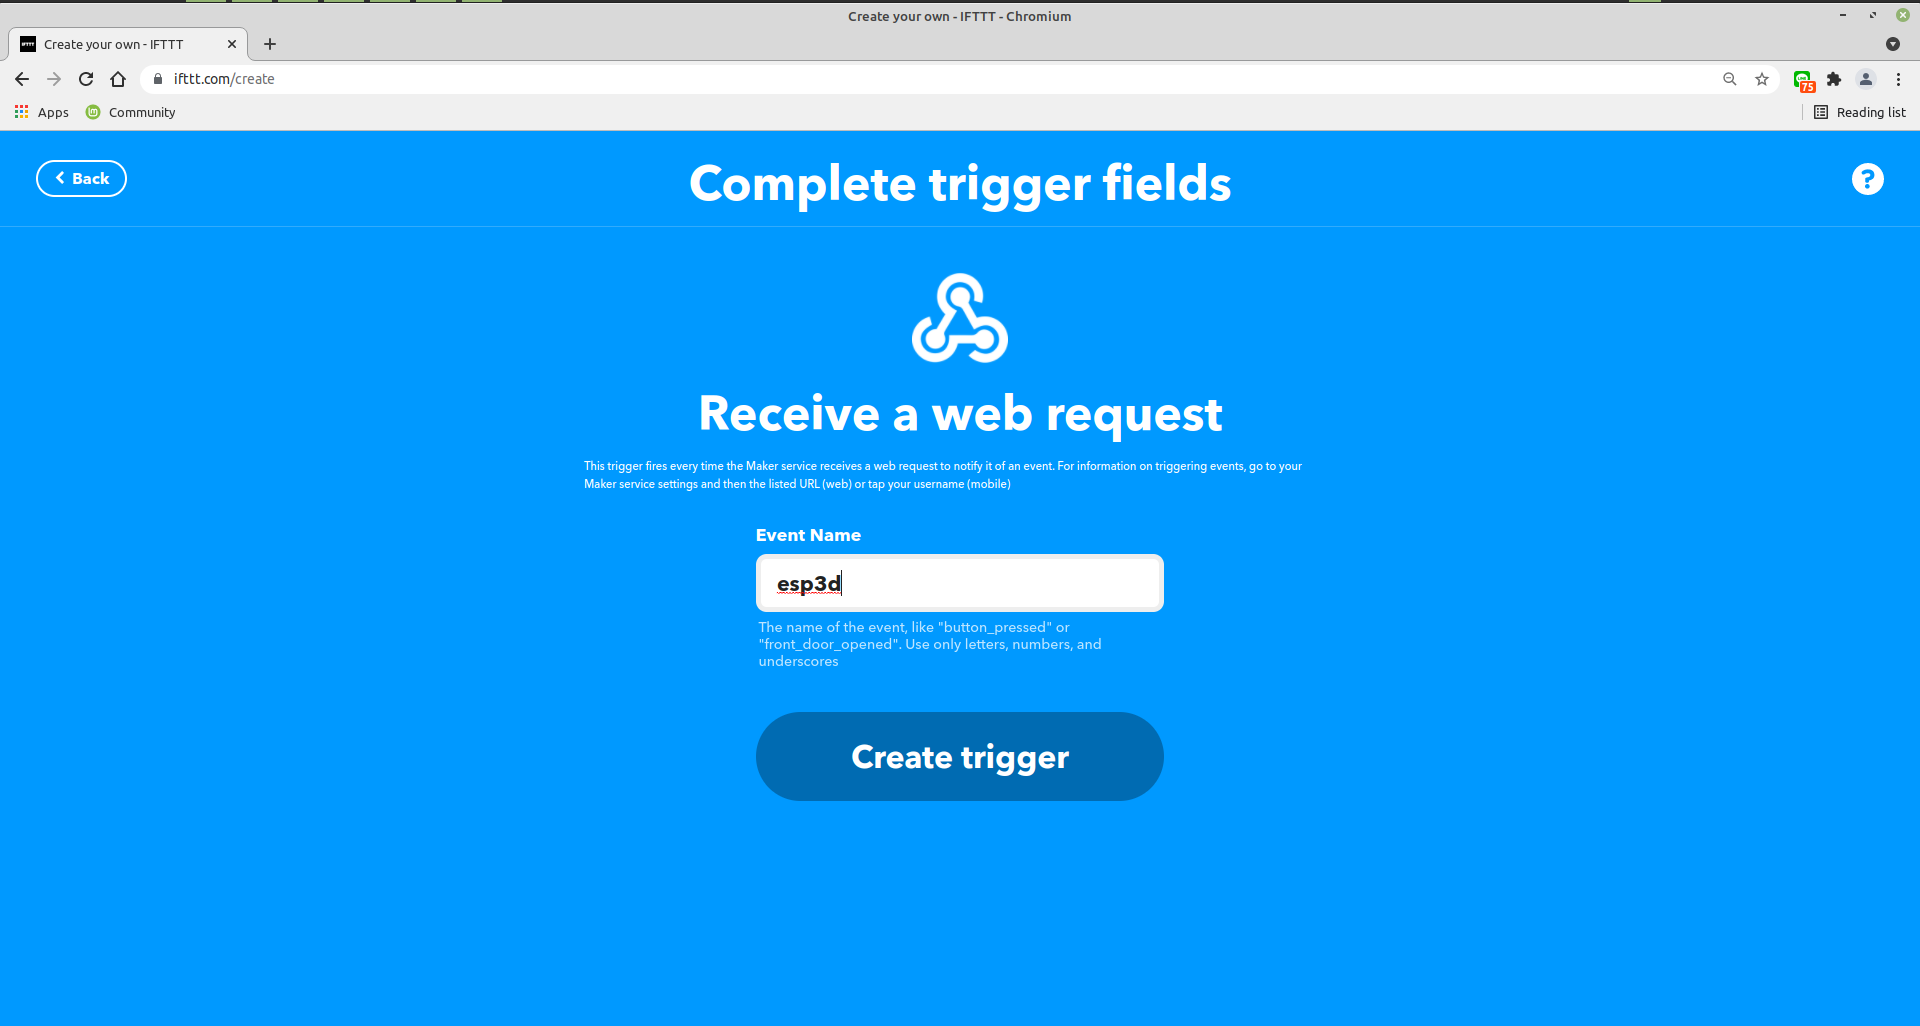
[ESP610]type=IFTTT T1={event} T2={webhooks_key}
5 - type [ESP610] to verify (T1/T2 won’t be displayed)
6 - Try to send message:
[ESP600]Hi there, test from ESP3D
7 - Verify the workflow
- Go to Applets
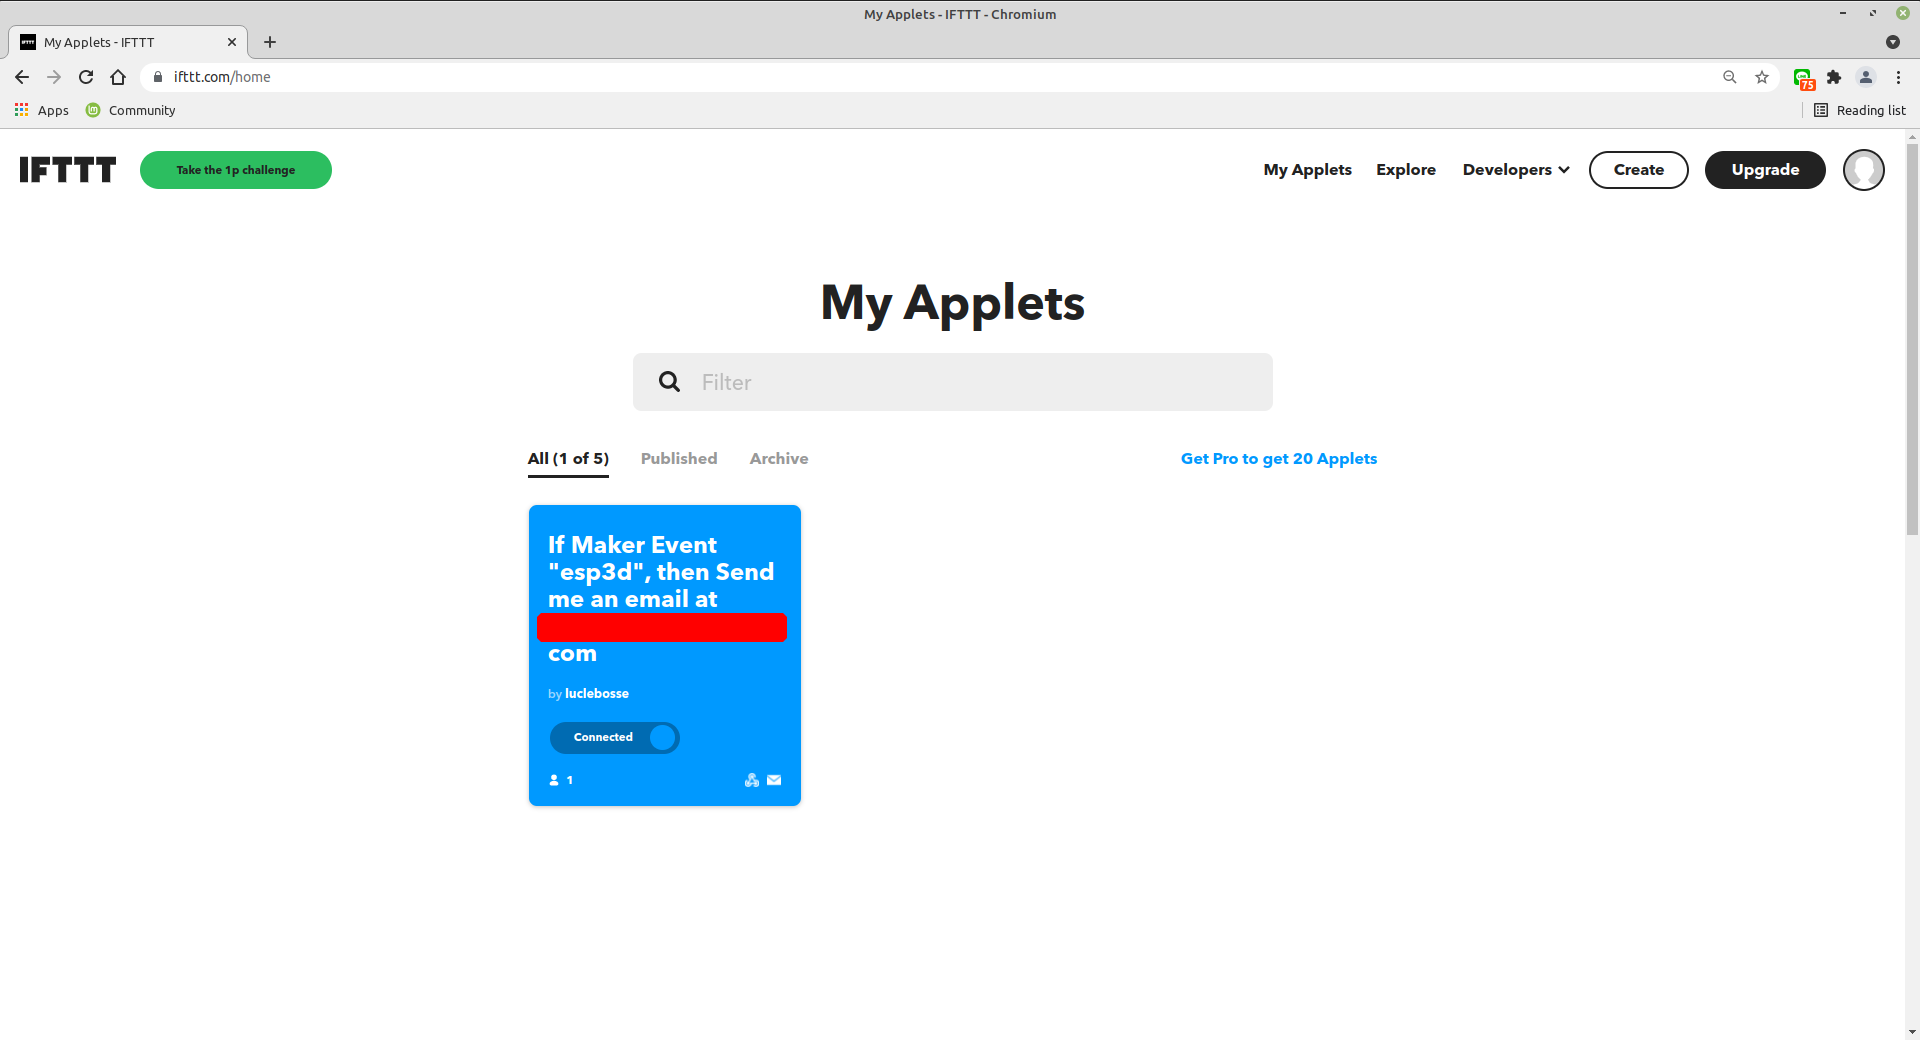
- Select Activity
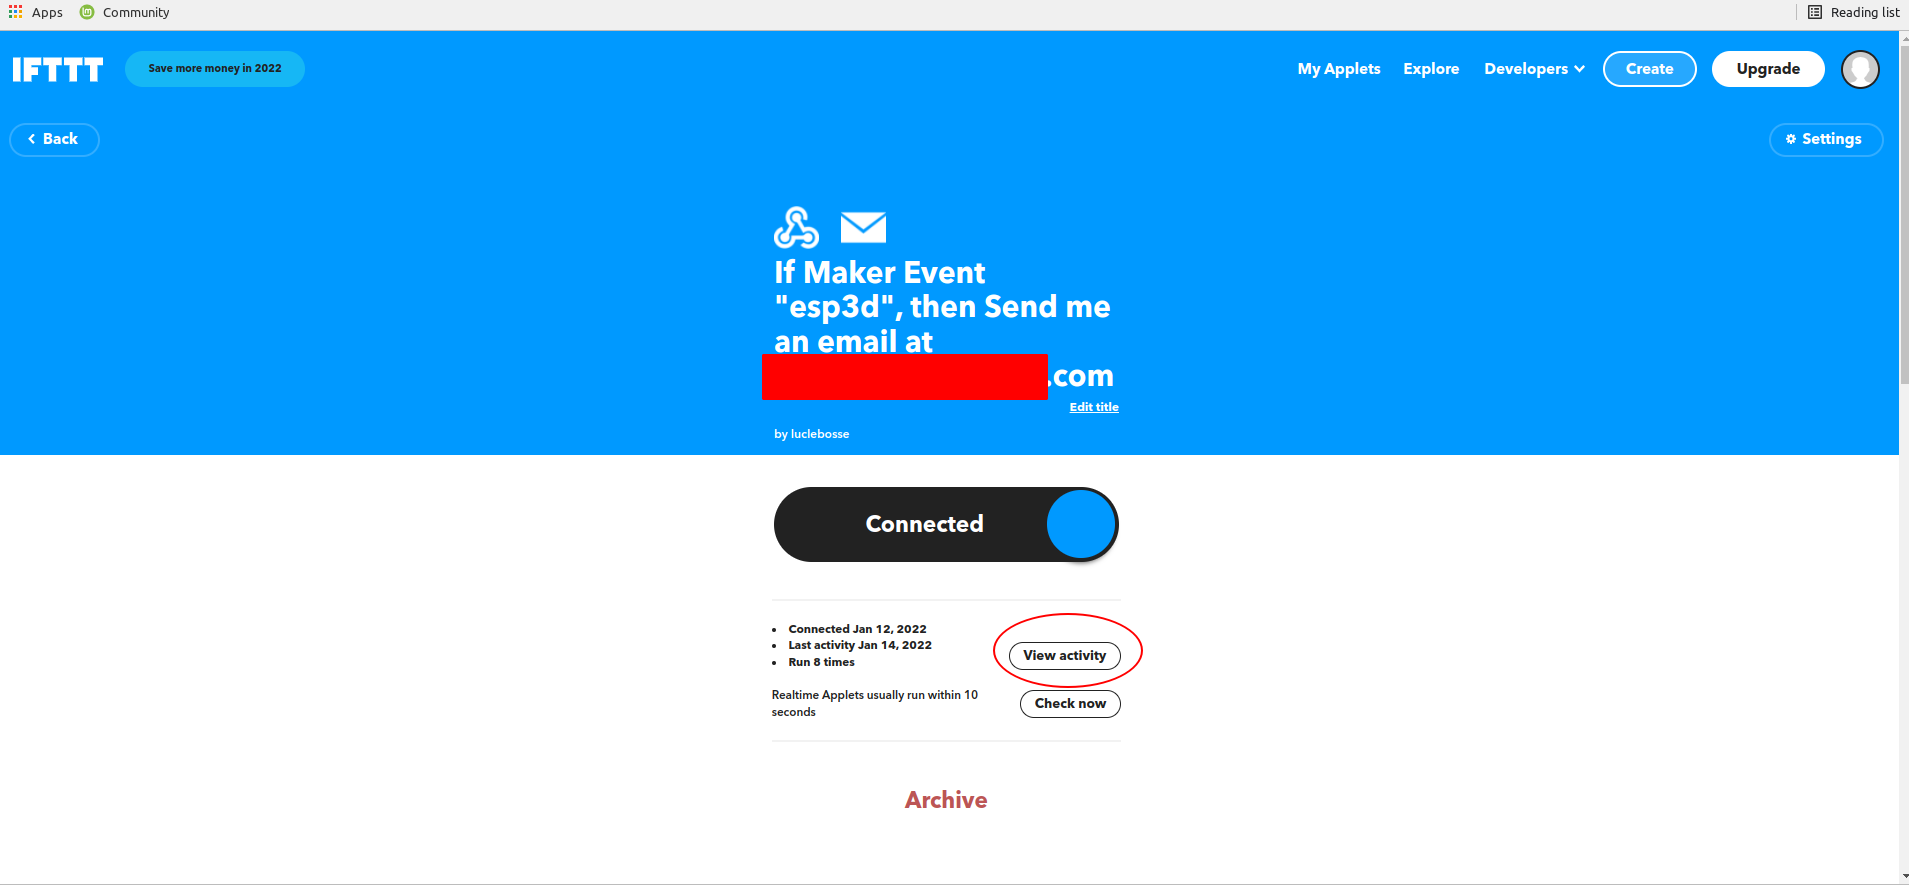
- Select the flow to display
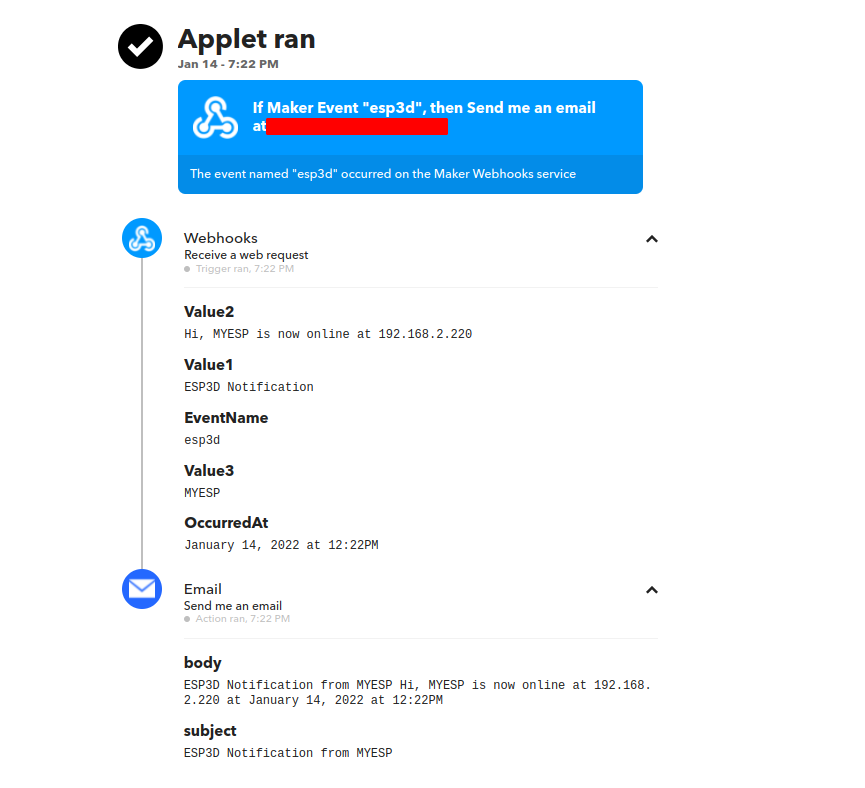
Note: This documentation is not exaustive due to huge features of IFTTT notifications service but base is always same :
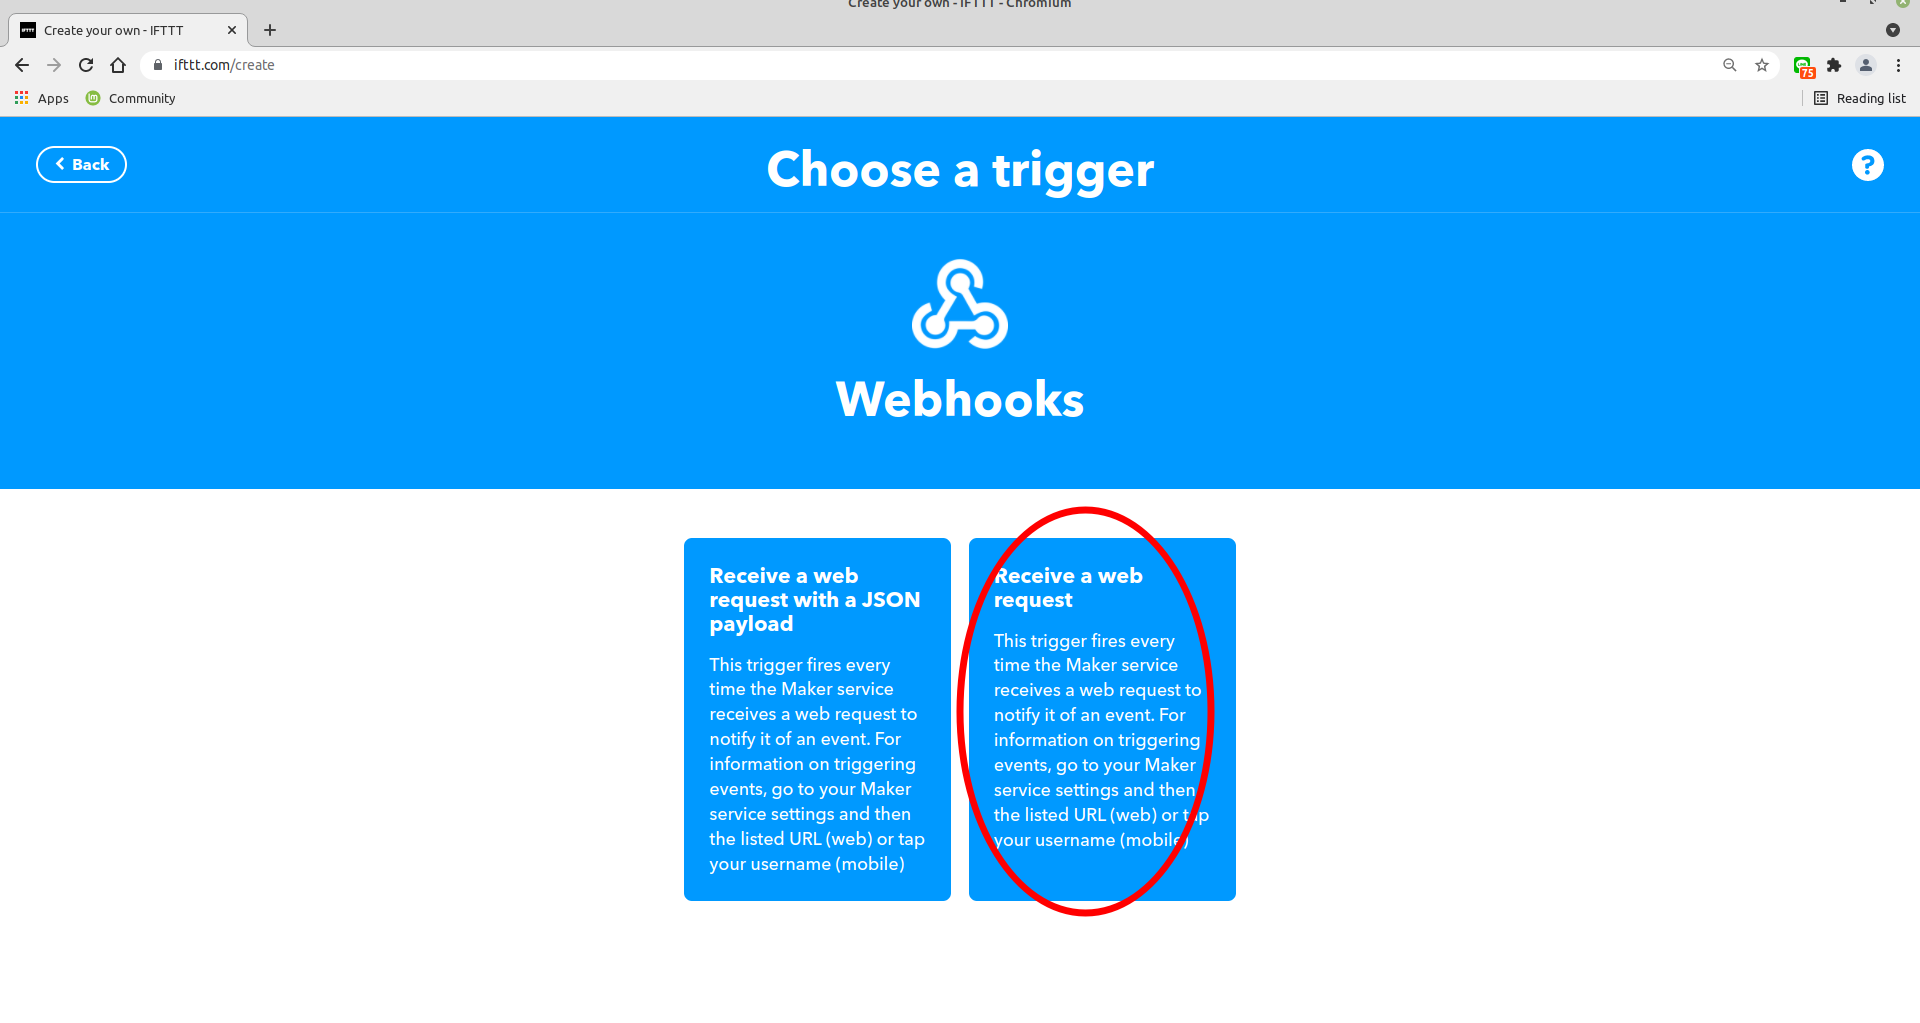
IFThis => webhooks based on webrequest
THENThat => IFTTT notification service
Telegram Notification
Telegram is free service
Considering you have Telegram account and you already installed Telegram on you phone/PC:
You need a bot token and a chat/channel id:
1 - Create a bot with BotFather
- Open telegram application and open chat with Botfather.
- Type or select
/newbot
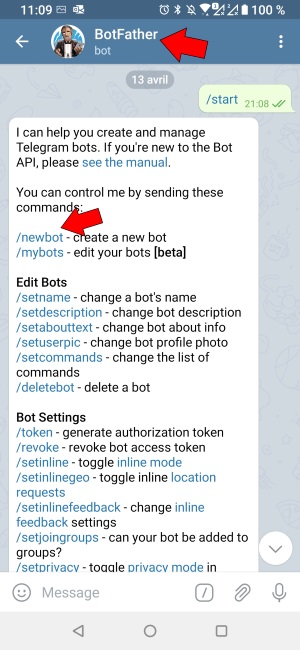
- Type the name of the bot (2) and its username (3)

- Doing this you will get your bot token (4) that you need for
T1=<bot token>
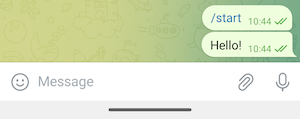
- You can have notifications directly from your bot by finding the numeric chatid.
In order to find it you need to say something to your bot:
 Copy this url into your browser and modify it with your bot’s token
 https://api.telegram.org/bot<TOKEN>/getUpdates?offset=-1
You can quickly find your numeric chat id T2=<numeric chat id>

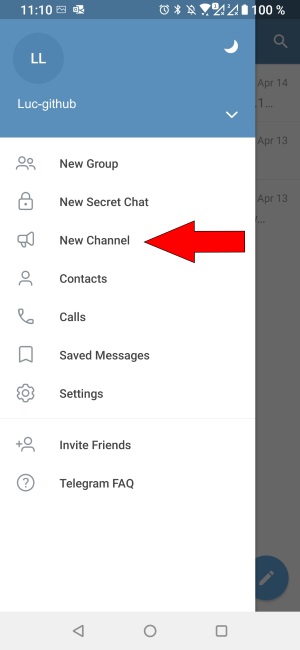
2 - Alternatively you may create a public channel if you want to share your printer. If isn’t the case proceed to step 4.
- In telegram select new channel
- Type channel name (1) and description (2)
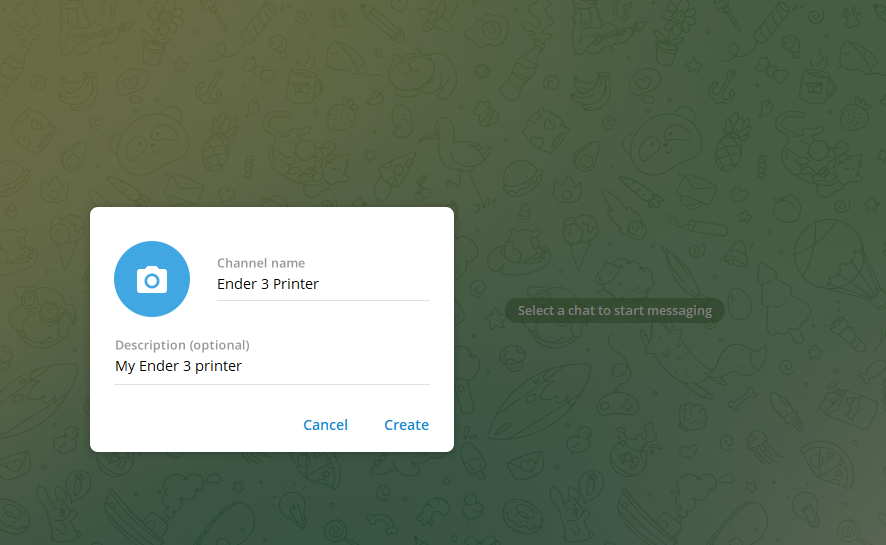
- Make channel public and create your channelid/chatid
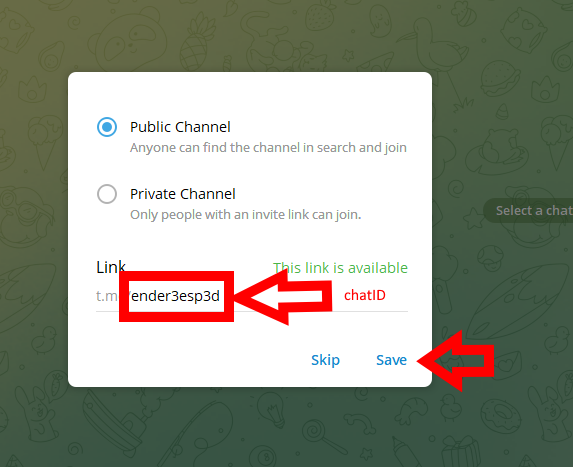
- Now you have your chatid without the
@
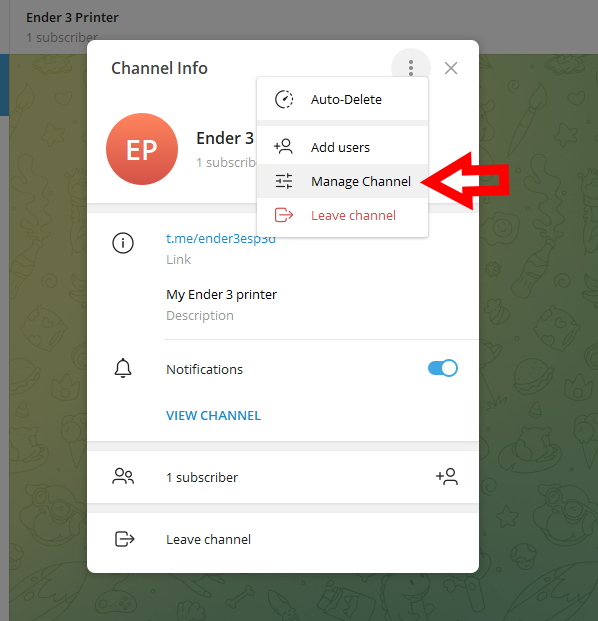
3 - Assign your bot as administrator of your channel so it can use it
- Press your channel title, the top banner will expand
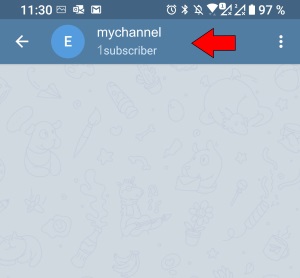
- Selet manage channel
- Push Administrators
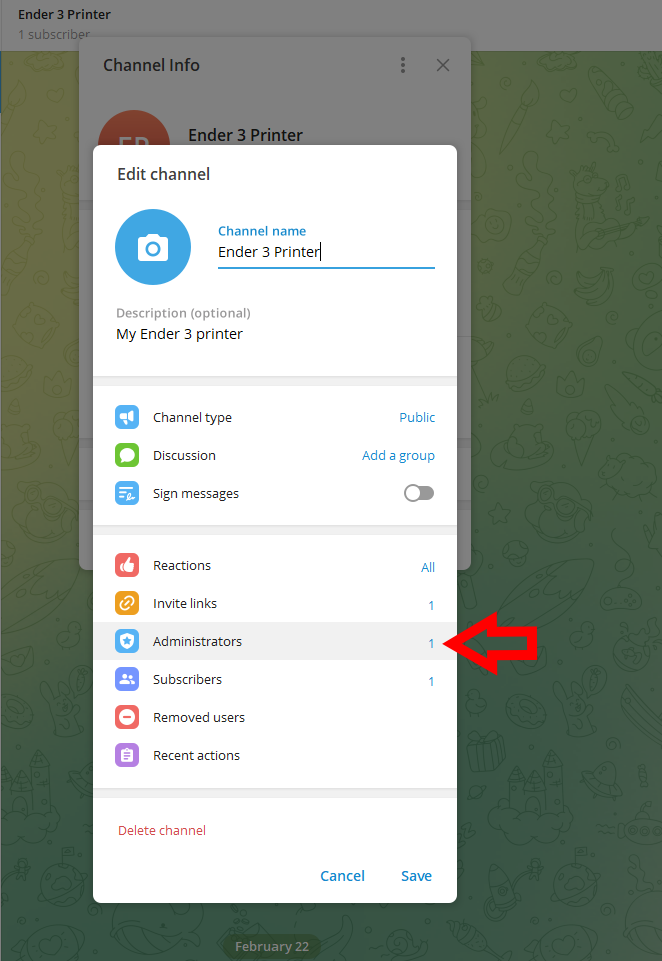
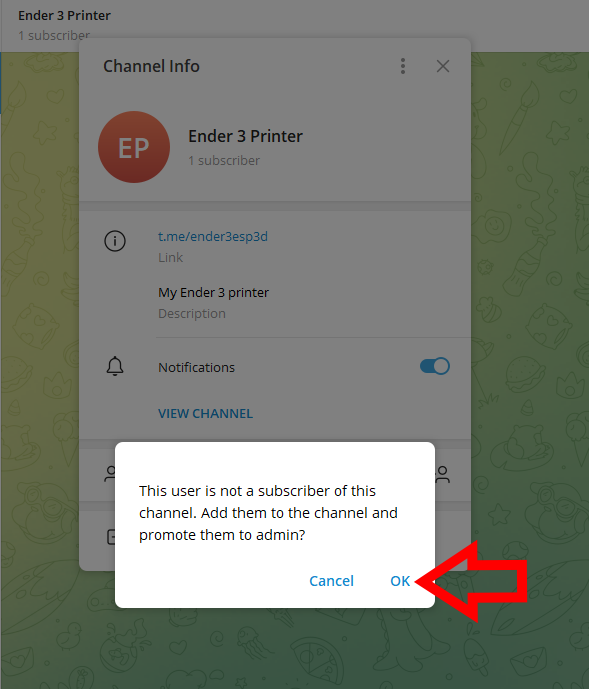
- Look for your bot in search and add it
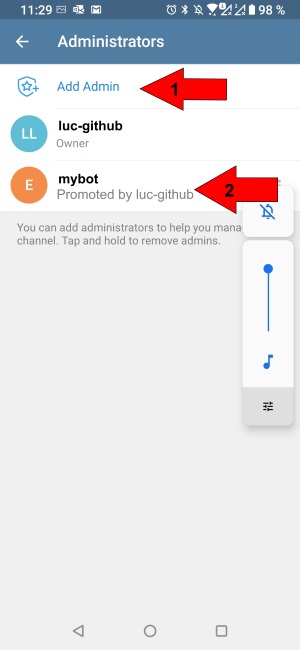
- Validate bot can have access to channel
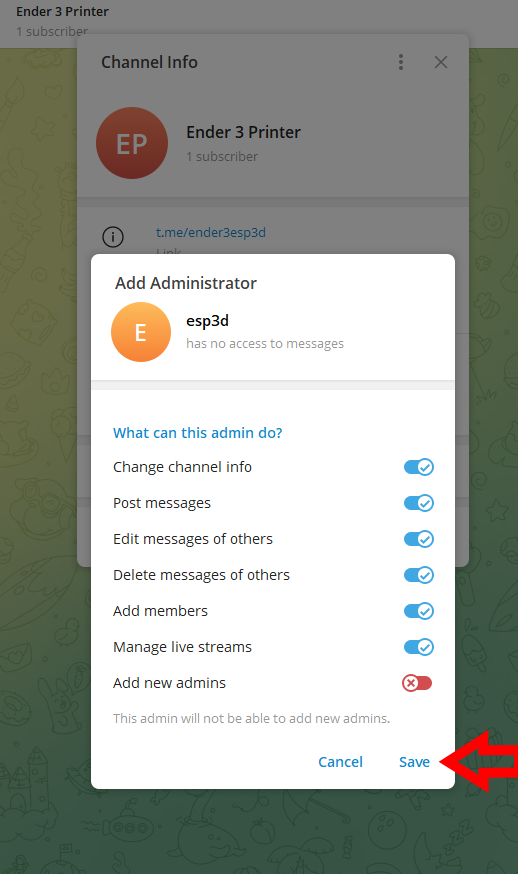
- Validate bot can admin the channel
4 - Save the generate token and chatID in ESP3D, and set Telegram as notification supplier
[ESP610]type=TELEGRAM T1=<bot token> T2=<numeric chat id>
[ESP610]type=TELEGRAM T1=<bot token> T2=<@chatID> (for channel)
5 - Type [ESP610] to verify (T1/T2 won’t be displayed)
6 - Try to send message:
[ESP600]Hi there, test from ESP3D