Prepare the development environment
Section titled “Prepare the development environment”- Please download ide from https://www.arduino.cc/en/software
-
Install the esp core according your target:
☛ If ESP8266
☛ If ESP32
- Copy the content of the libraries directory and extra libraries directory (according your target ESP8266 or ESP32 ) to your arduino library directory
Open esp3d/esp3d.ino file in Arduino IDE
Section titled “Open esp3d/esp3d.ino file in Arduino IDE”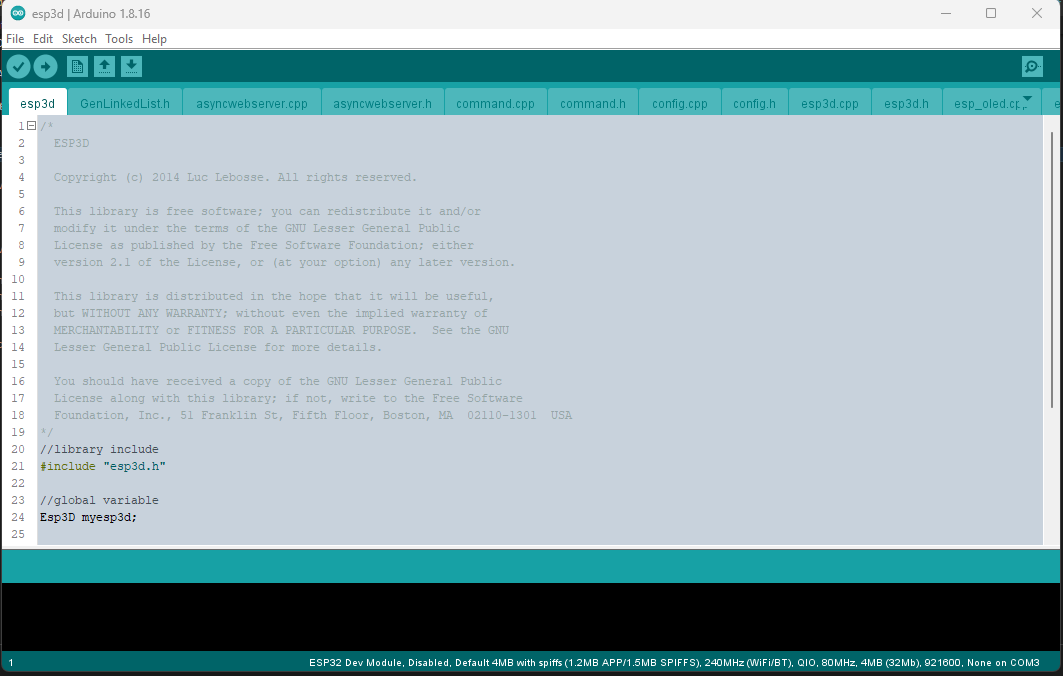
ESP3D configuration
Section titled “ESP3D configuration”Open esp3d/configuration.h and set features you want.
You can also generate it, using the ESP3D configurator, which simplify a lot this step.
See configuration.
Configure Flash settings
Section titled “Configure Flash settings”For ESP8266 with 4MB of flash
Section titled “For ESP8266 with 4MB of flash”- Board: Generic ESP8266 Module
- Upload Speed: 115200
- CPU frequency: 160 MHz
- Flash Size: 4M (2M SPIFFS)
- Flash Mode: DIO
- Flash Frequency: 40Mhz
- Reset Method: CK
- Debug Port: Disabled
- Debug Level: None
For ESP8266 with 1MB of flash (this one may not support Web Update due to limited flash size)
Section titled “For ESP8266 with 1MB of flash (this one may not support Web Update due to limited flash size)”- Board: Generic ESP8266 Module
- Upload Speed: 115200
- CPU frequency: 160 MHz
- Flash Size: 1M (128K SPIFFS)
- Flash Mode: DIO
- Flash Frequency: 40Mhz
- Reset Method: CK
- Debug Port: Disabled
- Debug Level: None
For ESP32 with 4MB of flash
Section titled “For ESP32 with 4MB of flash”- Board: ESP32 Dev Module
- Upload Speed: 115200
- CPU frequency: 240 MHz
- Flash Frequency: 80Mhz
- Flash Mode: QIO
- Flash Size: 4MB
- Partition Scheme: Default 4MB with SPIFFS
- Core Debug Level: None
- PSRAM: Disabled
For ESP32 with 4MB of flash and Camera
Section titled “For ESP32 with 4MB of flash and Camera”- Board: ESP32 Dev Module
- Upload Speed: 115200
- CPU frequency: 240 MHz
- Flash Frequency: 80Mhz
- Flash Mode: QIO
- Flash Size: 4MB
- Partition Scheme: Default 4MB with SPIFFS
- Core Debug Level: None
- PSRAM: Enabled
Connect your board
Section titled “Connect your board”Compile and flash your module
Section titled “Compile and flash your module”Select the port you device is connected to and select Upload from sketch menu to compile and flash.